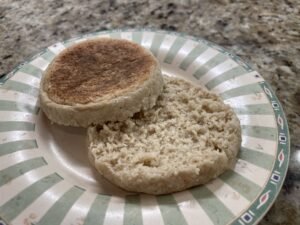
Soft, chewy and delicious
As someone who eats allergen friendly food every day for every meal, I have those days where I just want good, homemade foods. I used to crave bread but after 11 years you get use to not having it I guess. When I stumbled across an English muffin recipe and thought…”hmm…could I recreate these to be gluten, dairy and mammal free?” I did some research and started testing. Many failed attempts later it has finally been perfected.
These took a while to perfect (to my liking) but once I got the ingredients figured out it is a pretty simple process of measuring, mixing and cooking. Give yourself some grace the first time you try the recipe though!
to start
First let’s talk tools and ingredients. Obviously all of the ingredients I use are gluten, dairy and mammal free, but some are better than others.
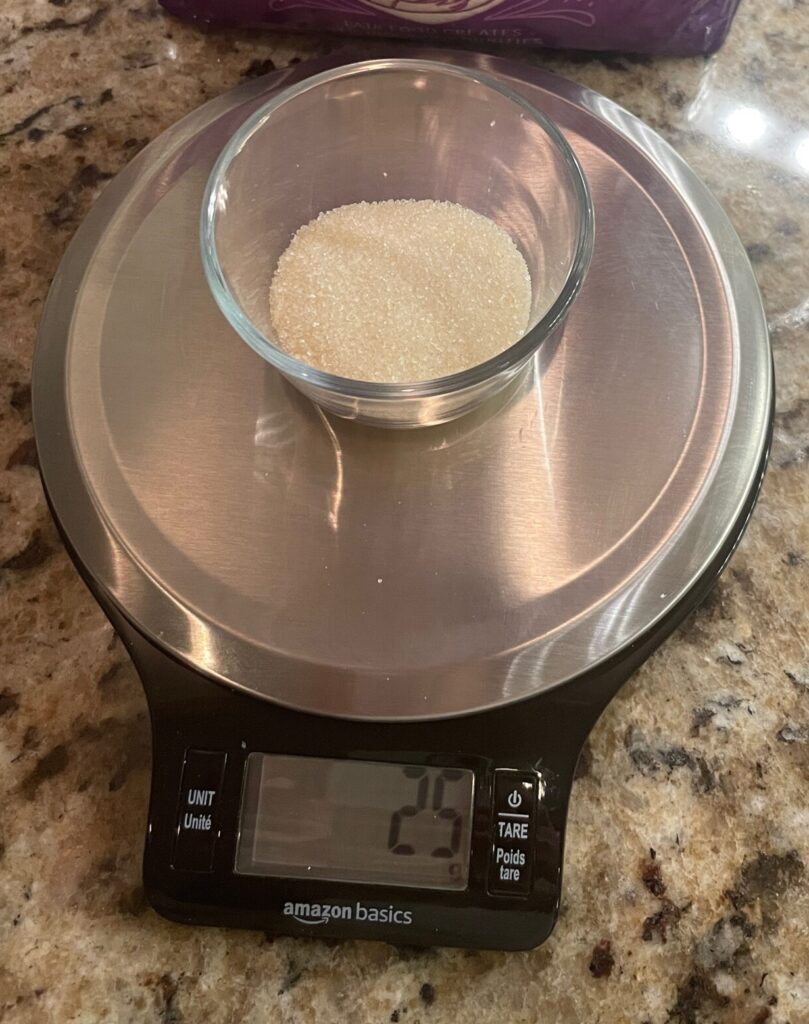
The first tool you are going to need for this recipe, that is of utmost importance, is your kitchen scale. One that measures grams. I use a basic one I got off Amazon but as long as it measures grams it absolutely doesn’t matter what kind it is.
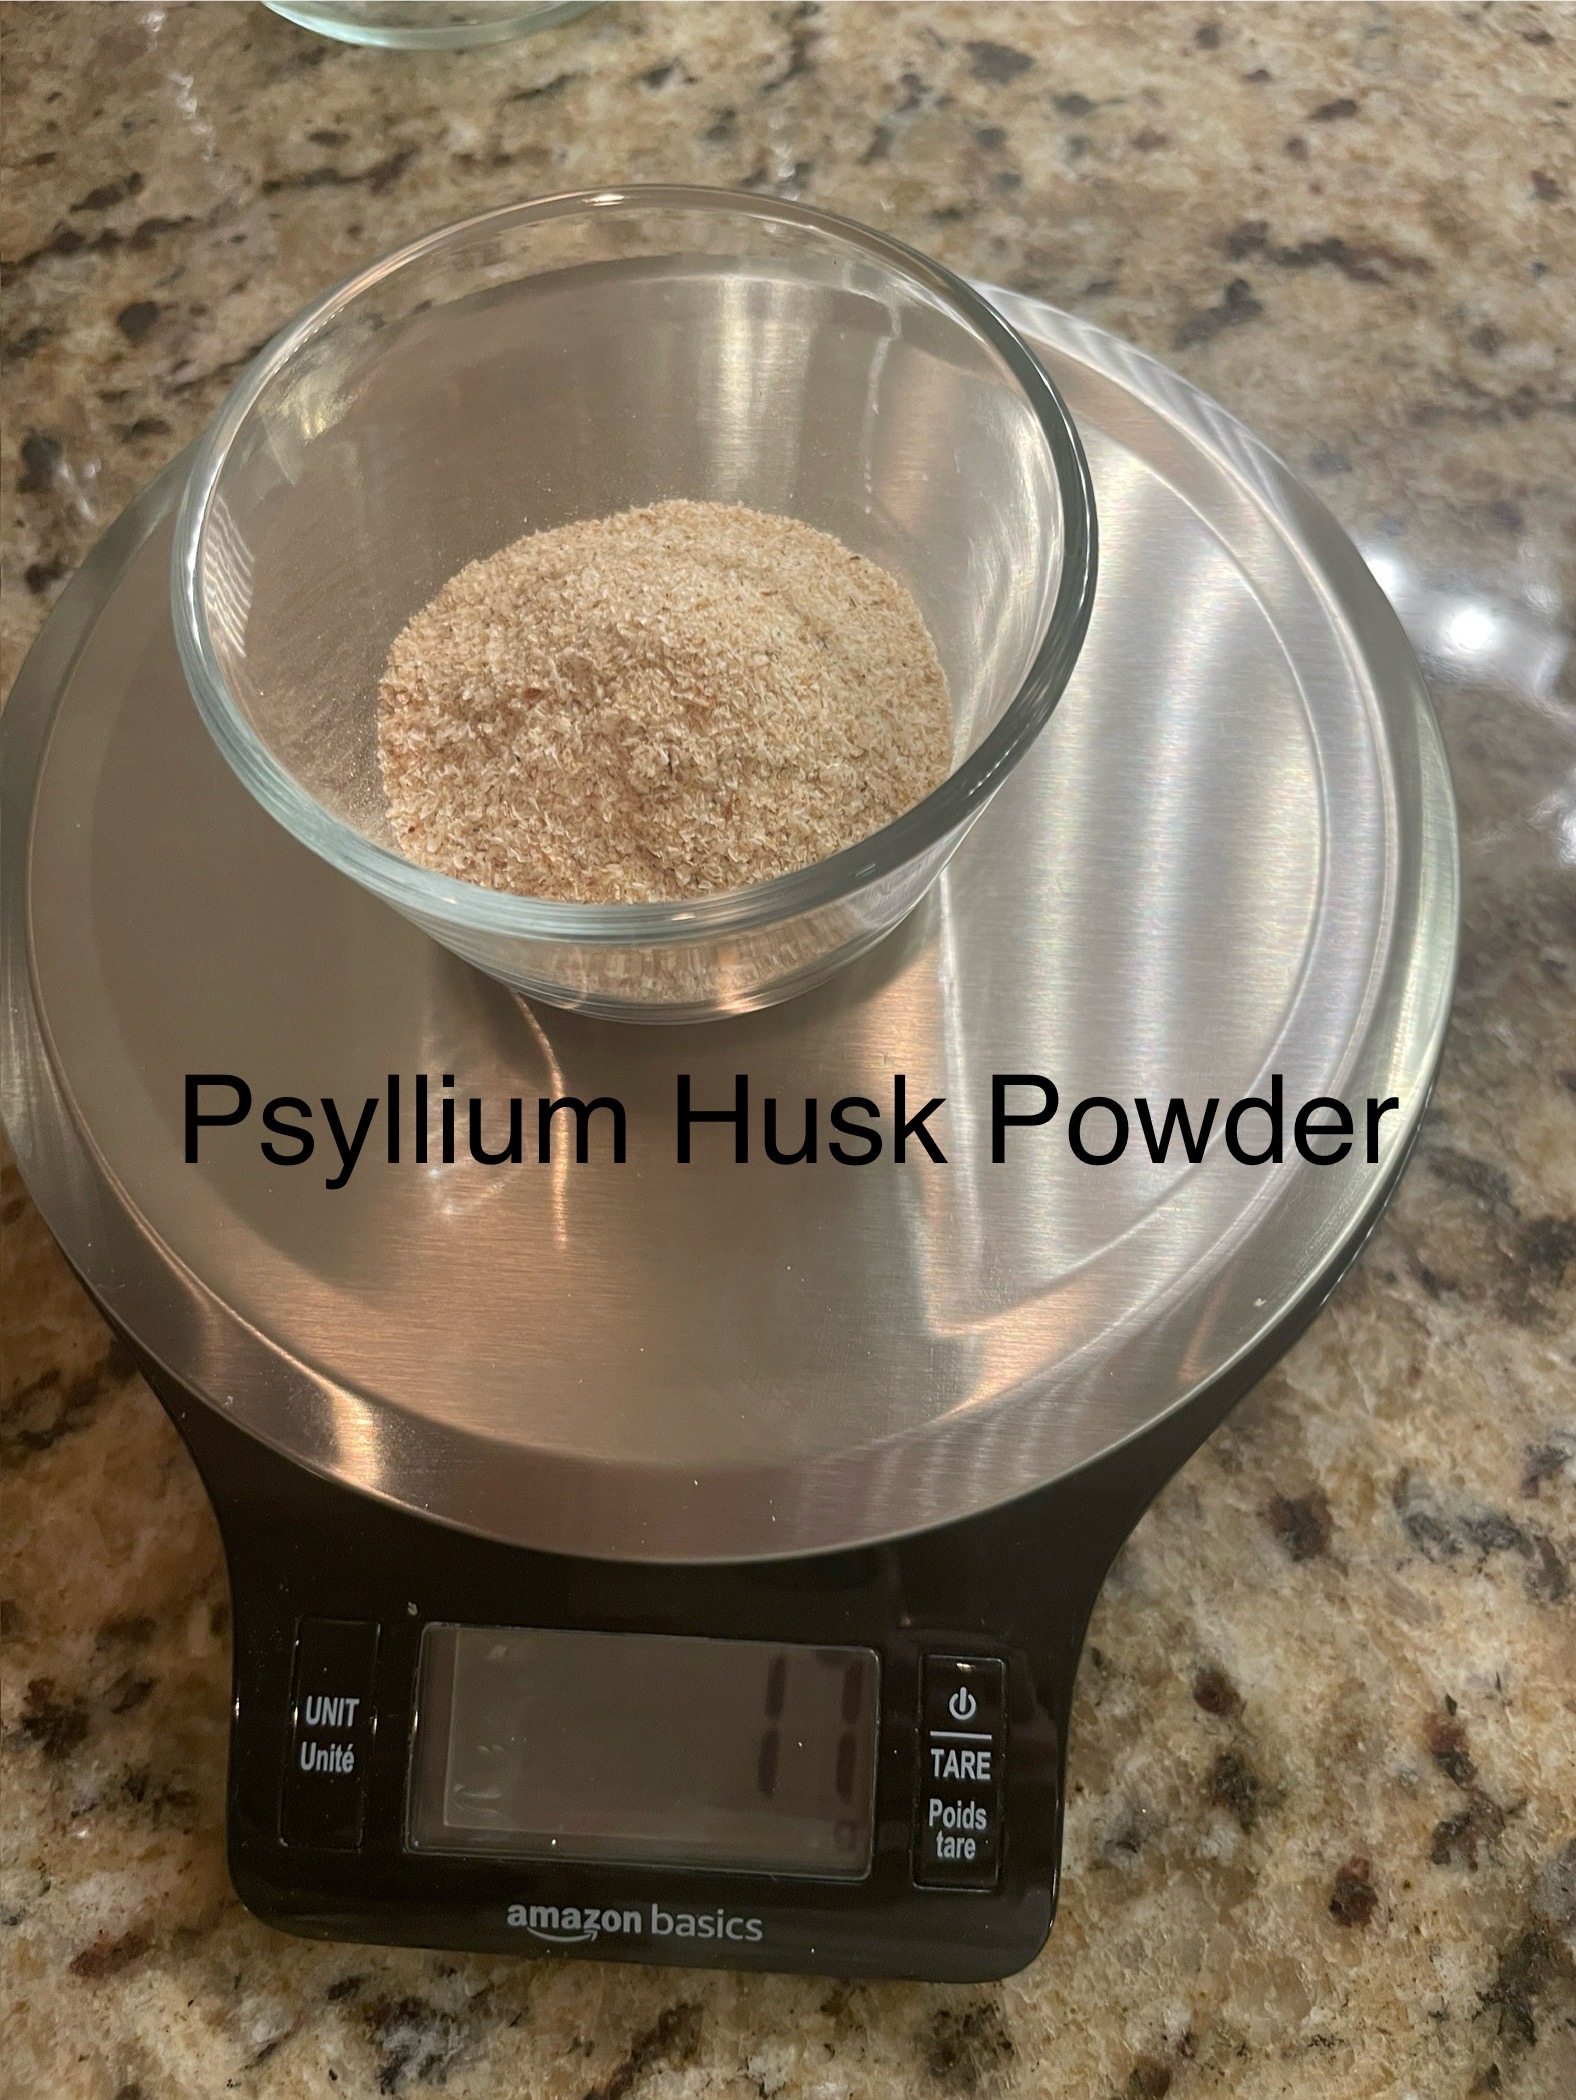
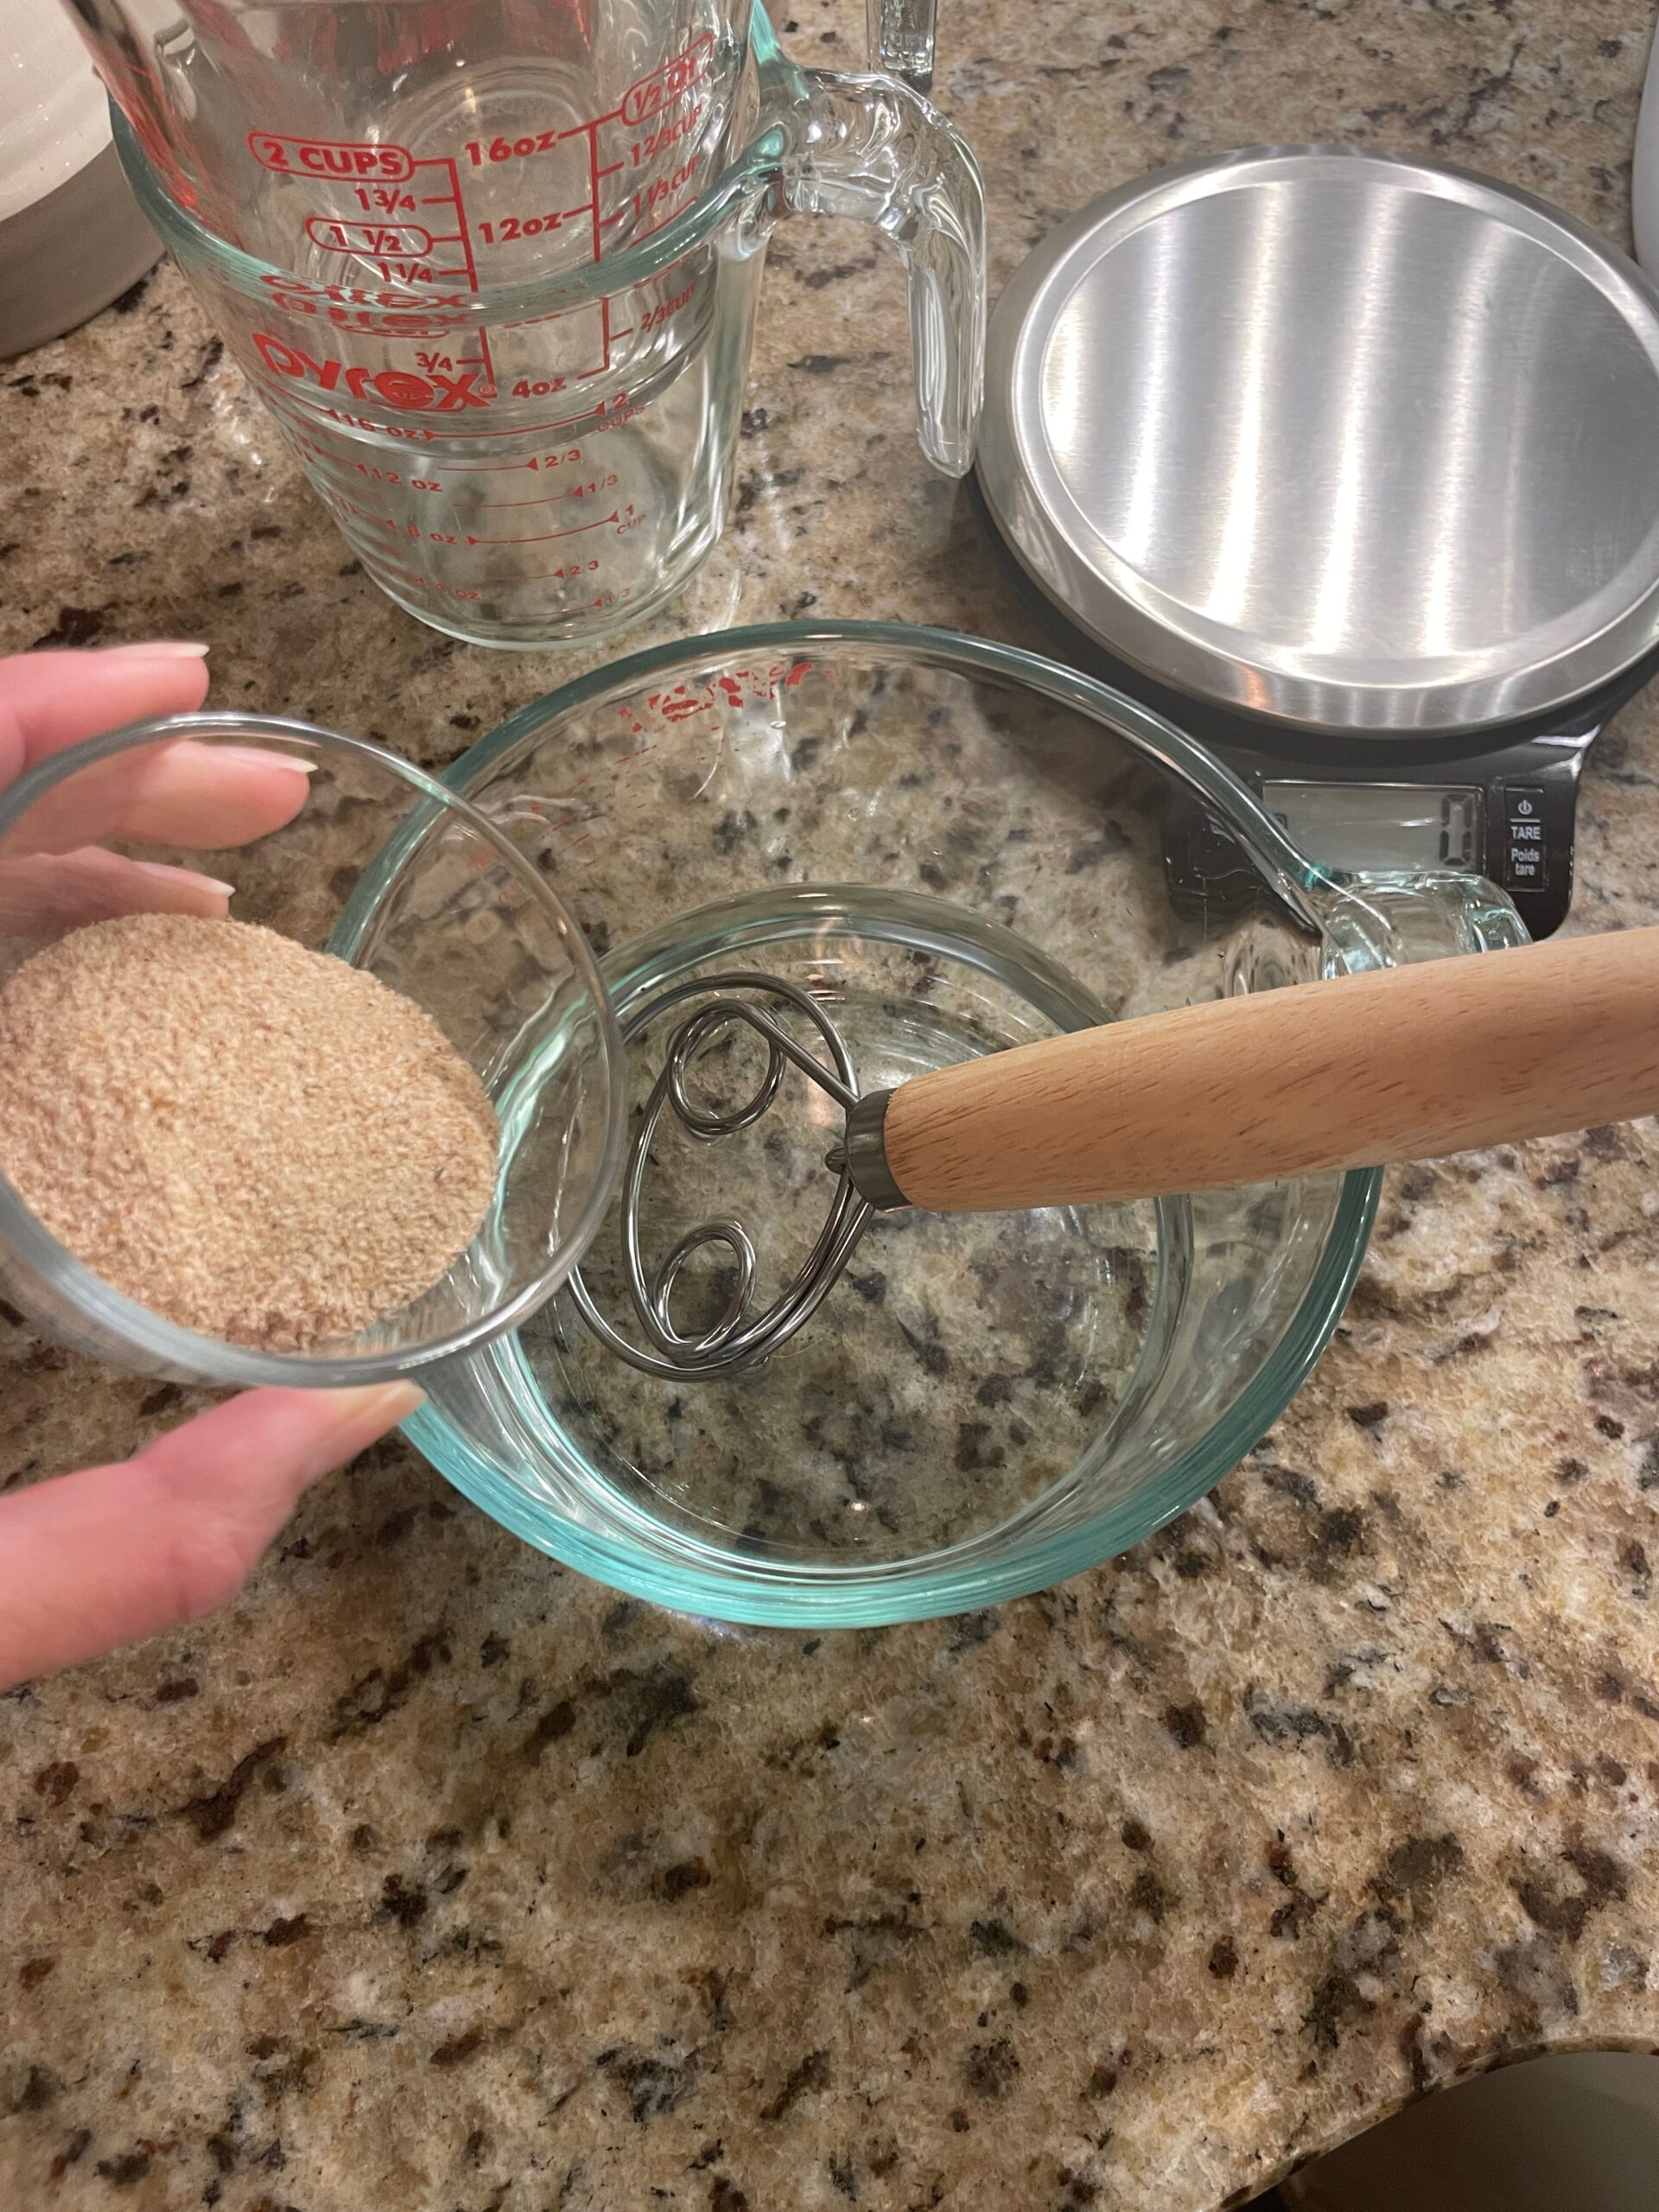

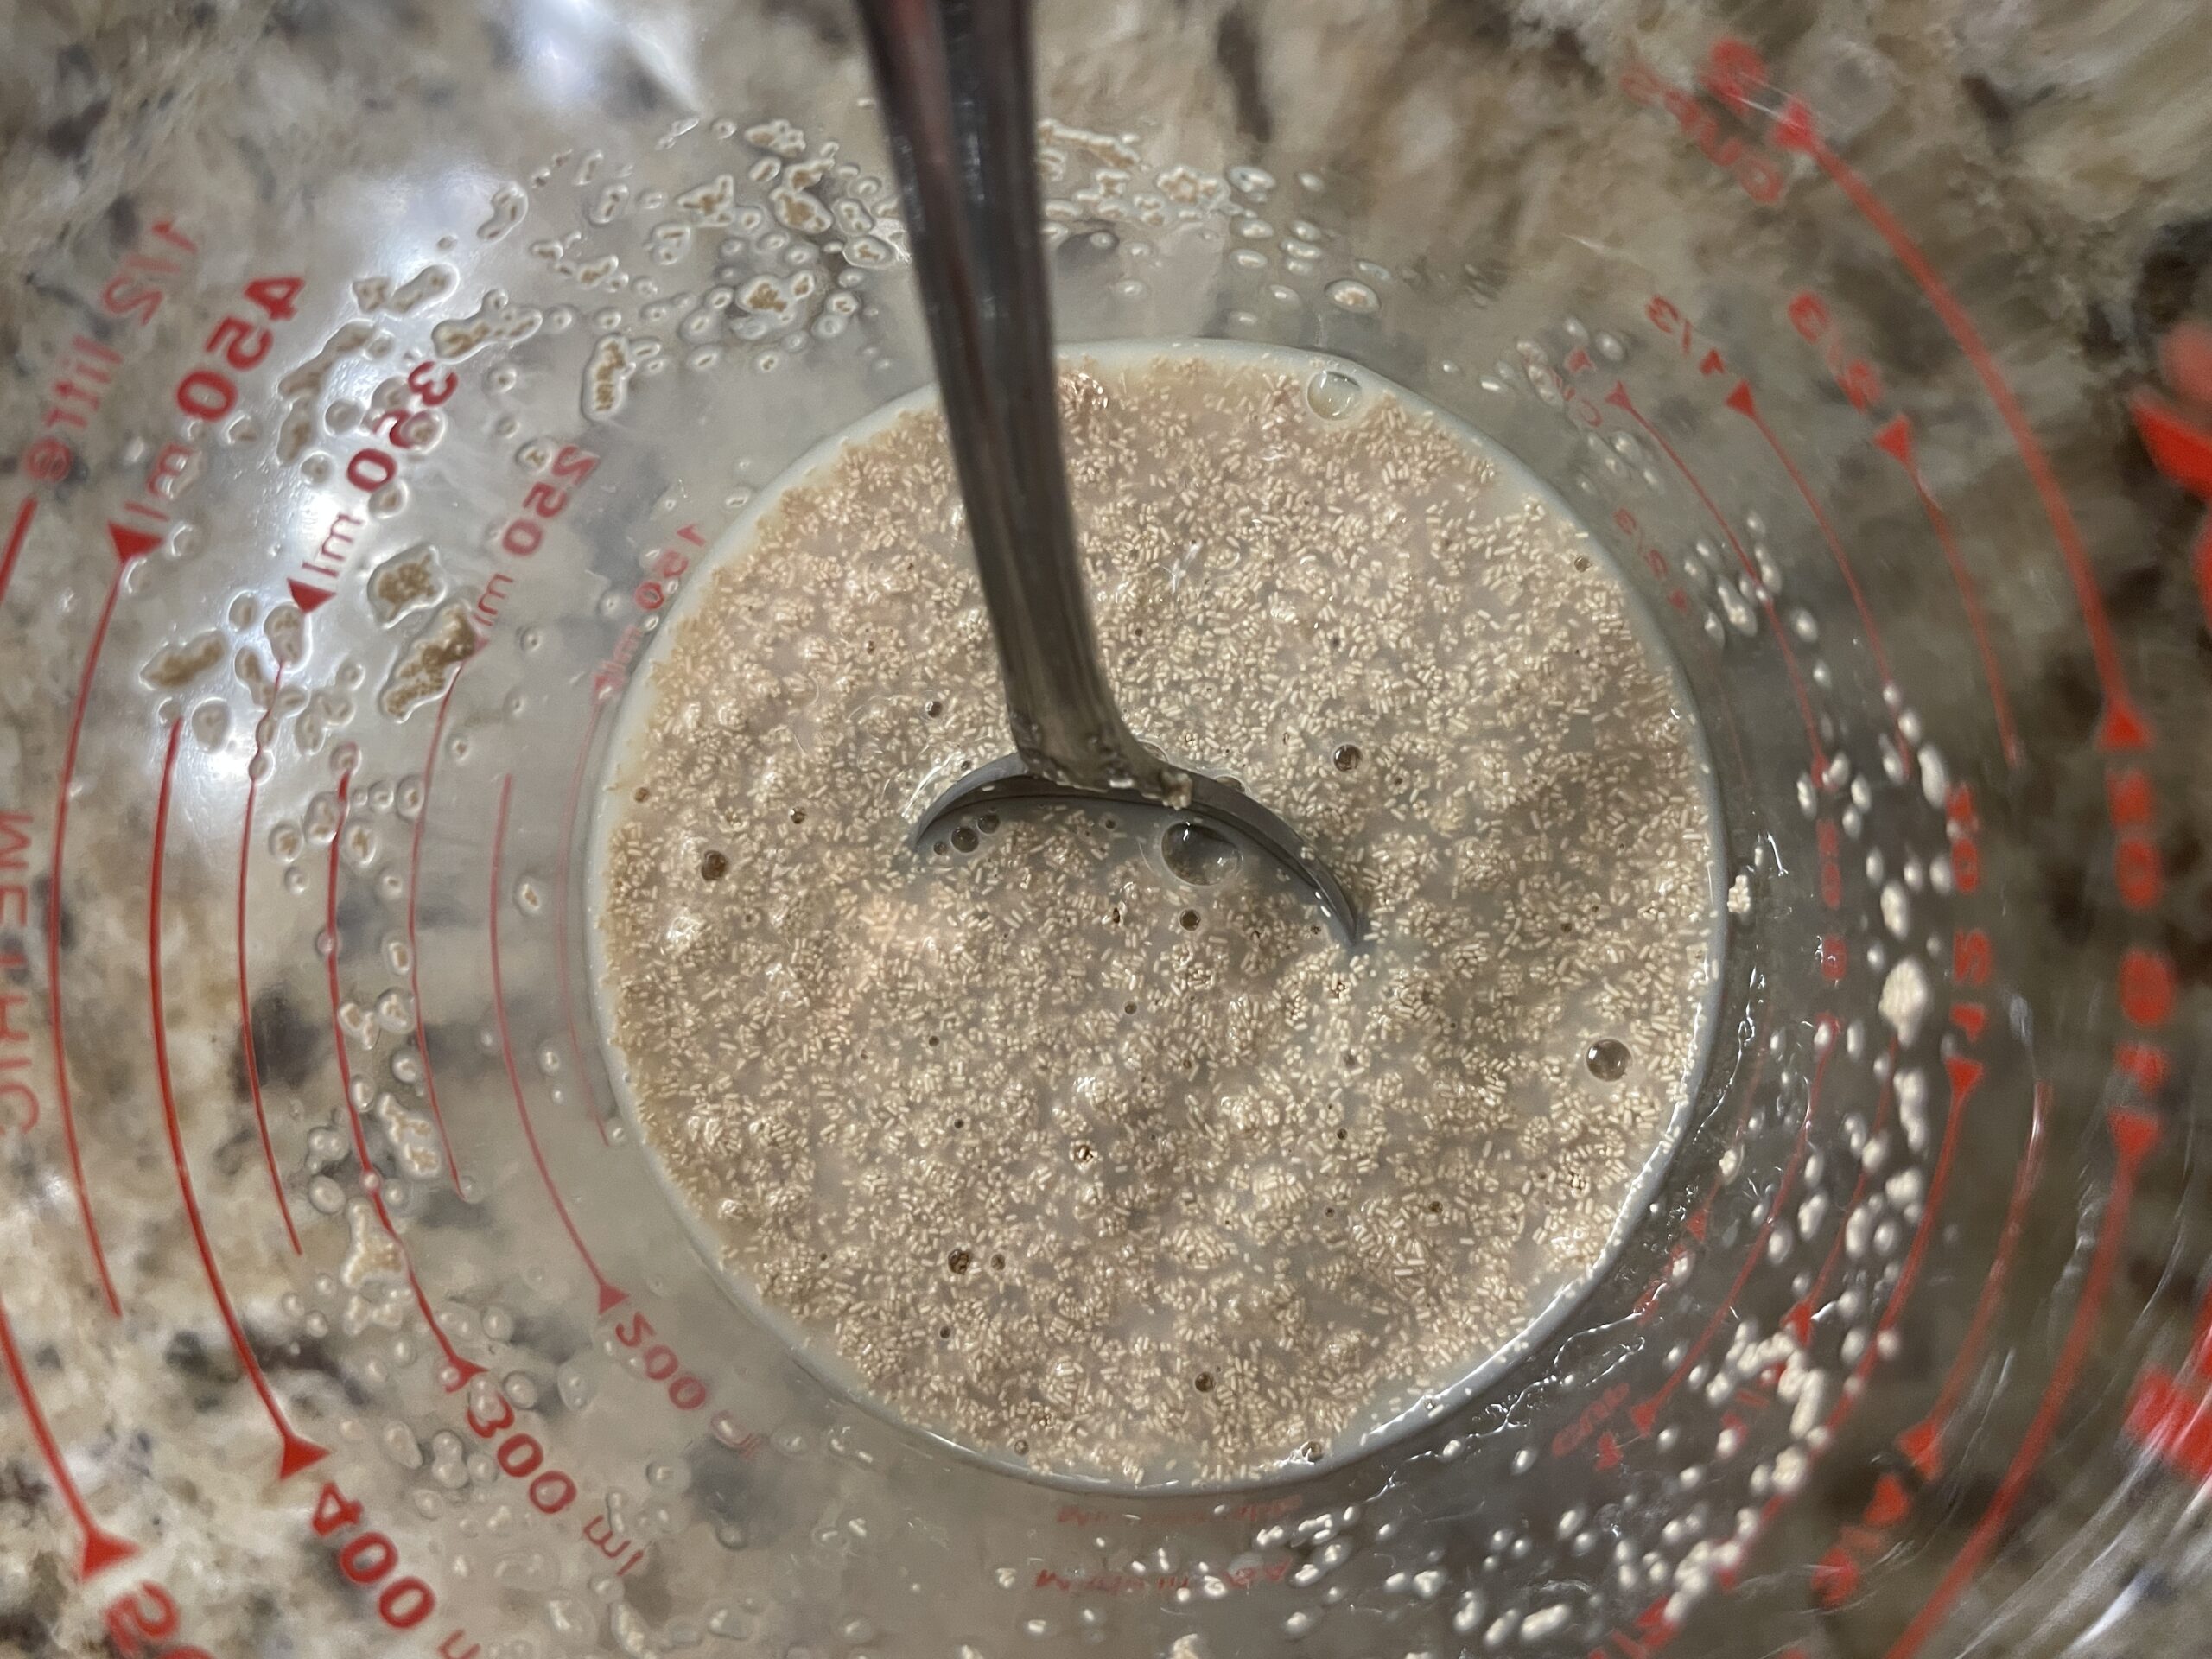
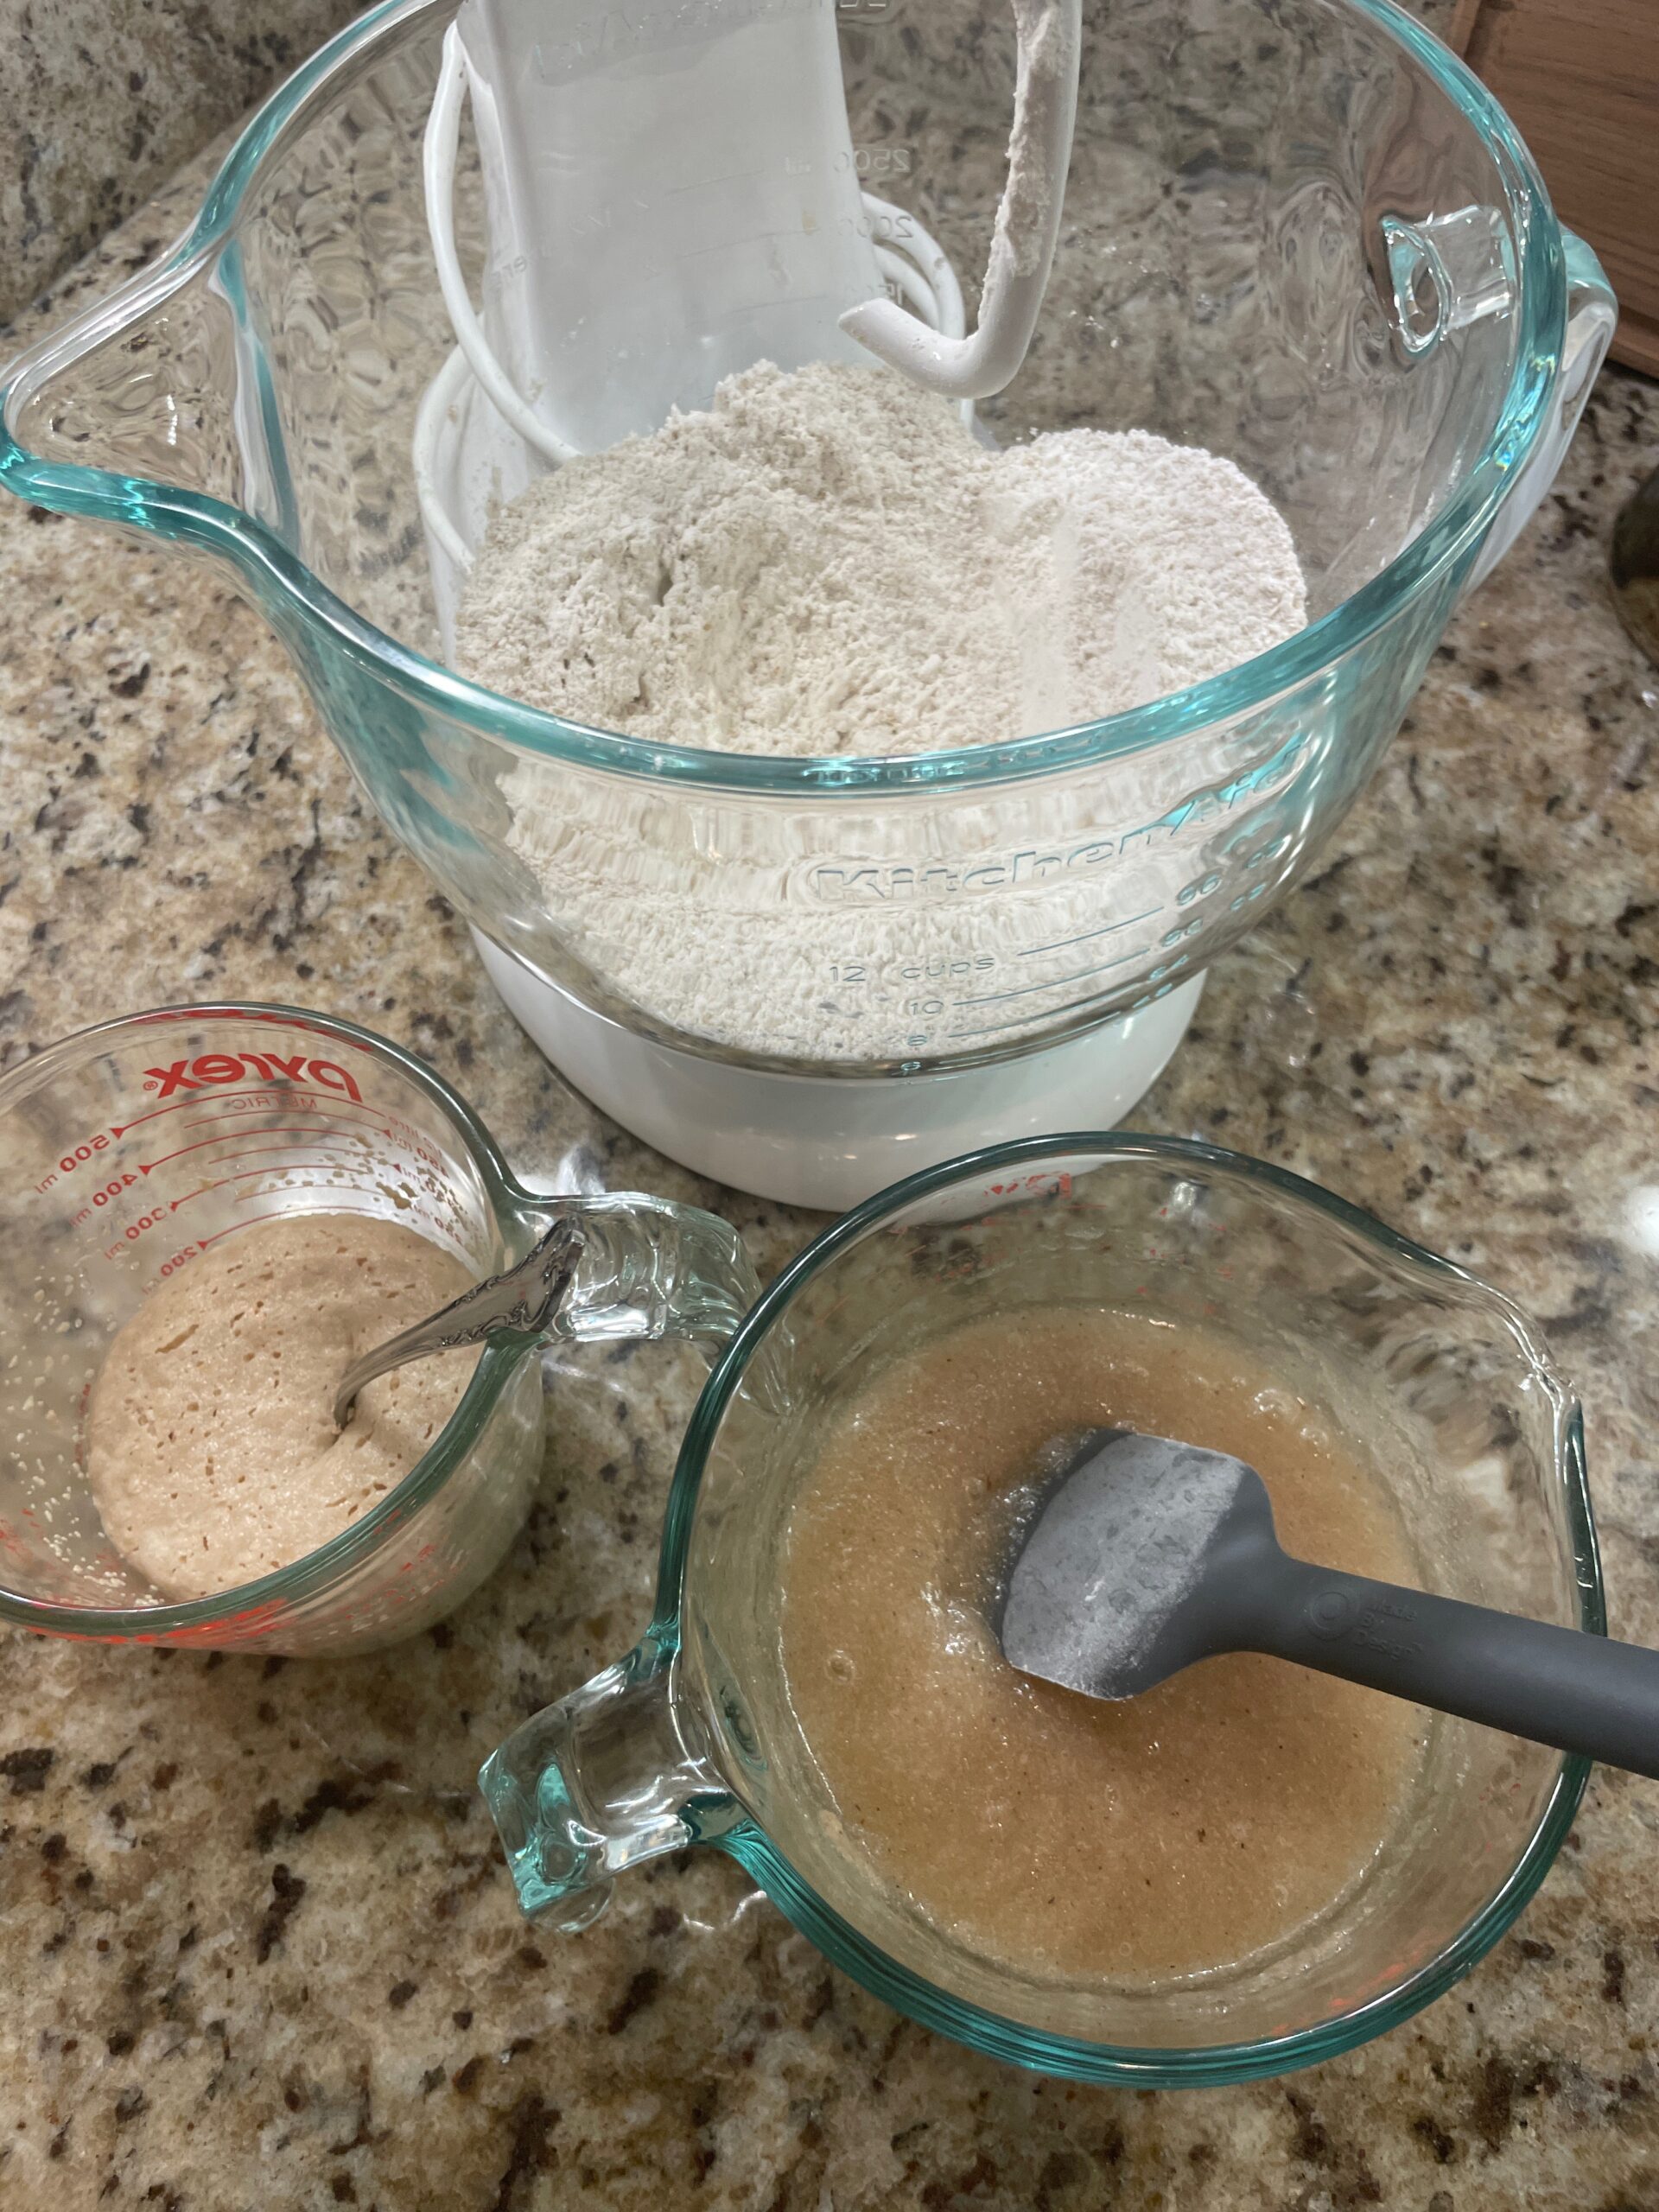
There is a very specific way I combine the ingredients to avoid a gooey mess. The first step in the recipe is to measure out your water in a large measuring cup and then add your measured psyllium husk powder. I actually buy whole psyllium husk and process it to make powder but this is just preference and not a necessary step. You can use whole psyllium husk in your recipe and adjust according to the directions.
This stirring tool you see in the photo is my dough whisk. It is just something I like to use because it mixes well. Definitely, not a necessity here. You could use a spoon, fork, spatula, etc. to stir the psyllium husk mixture.
The wet ingredients
After mixing well, set the psyllium husk mixture aside to gel. This will become the binder that the gluten free flour needs to create a perfectly soft, chewy bread.
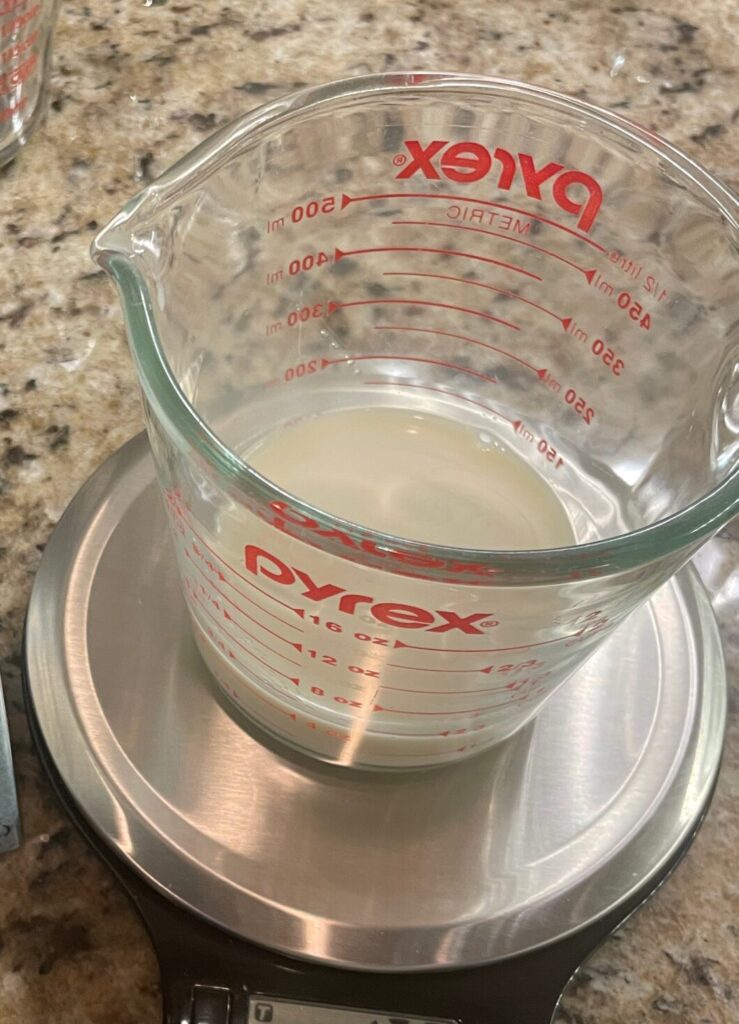
Using the medium size measuring cup measure out your milk and heat it just a bit. This is why you want to use a glass measuring cup. Stick it in the microwave for just a few seconds (25 to 30 seconds works well for mine – but times will vary based on your microwave). You want it warm to touch, not hot. The warmth of your milk will pair well with the sugar and yeast that you add next. It will create a lovely environment for your yeast to activate.
Measure out your yeast and sugar and add them to the warm milk. Stir just until incorporated, not too much. Then set it to the side to froth.
The dry ingredients
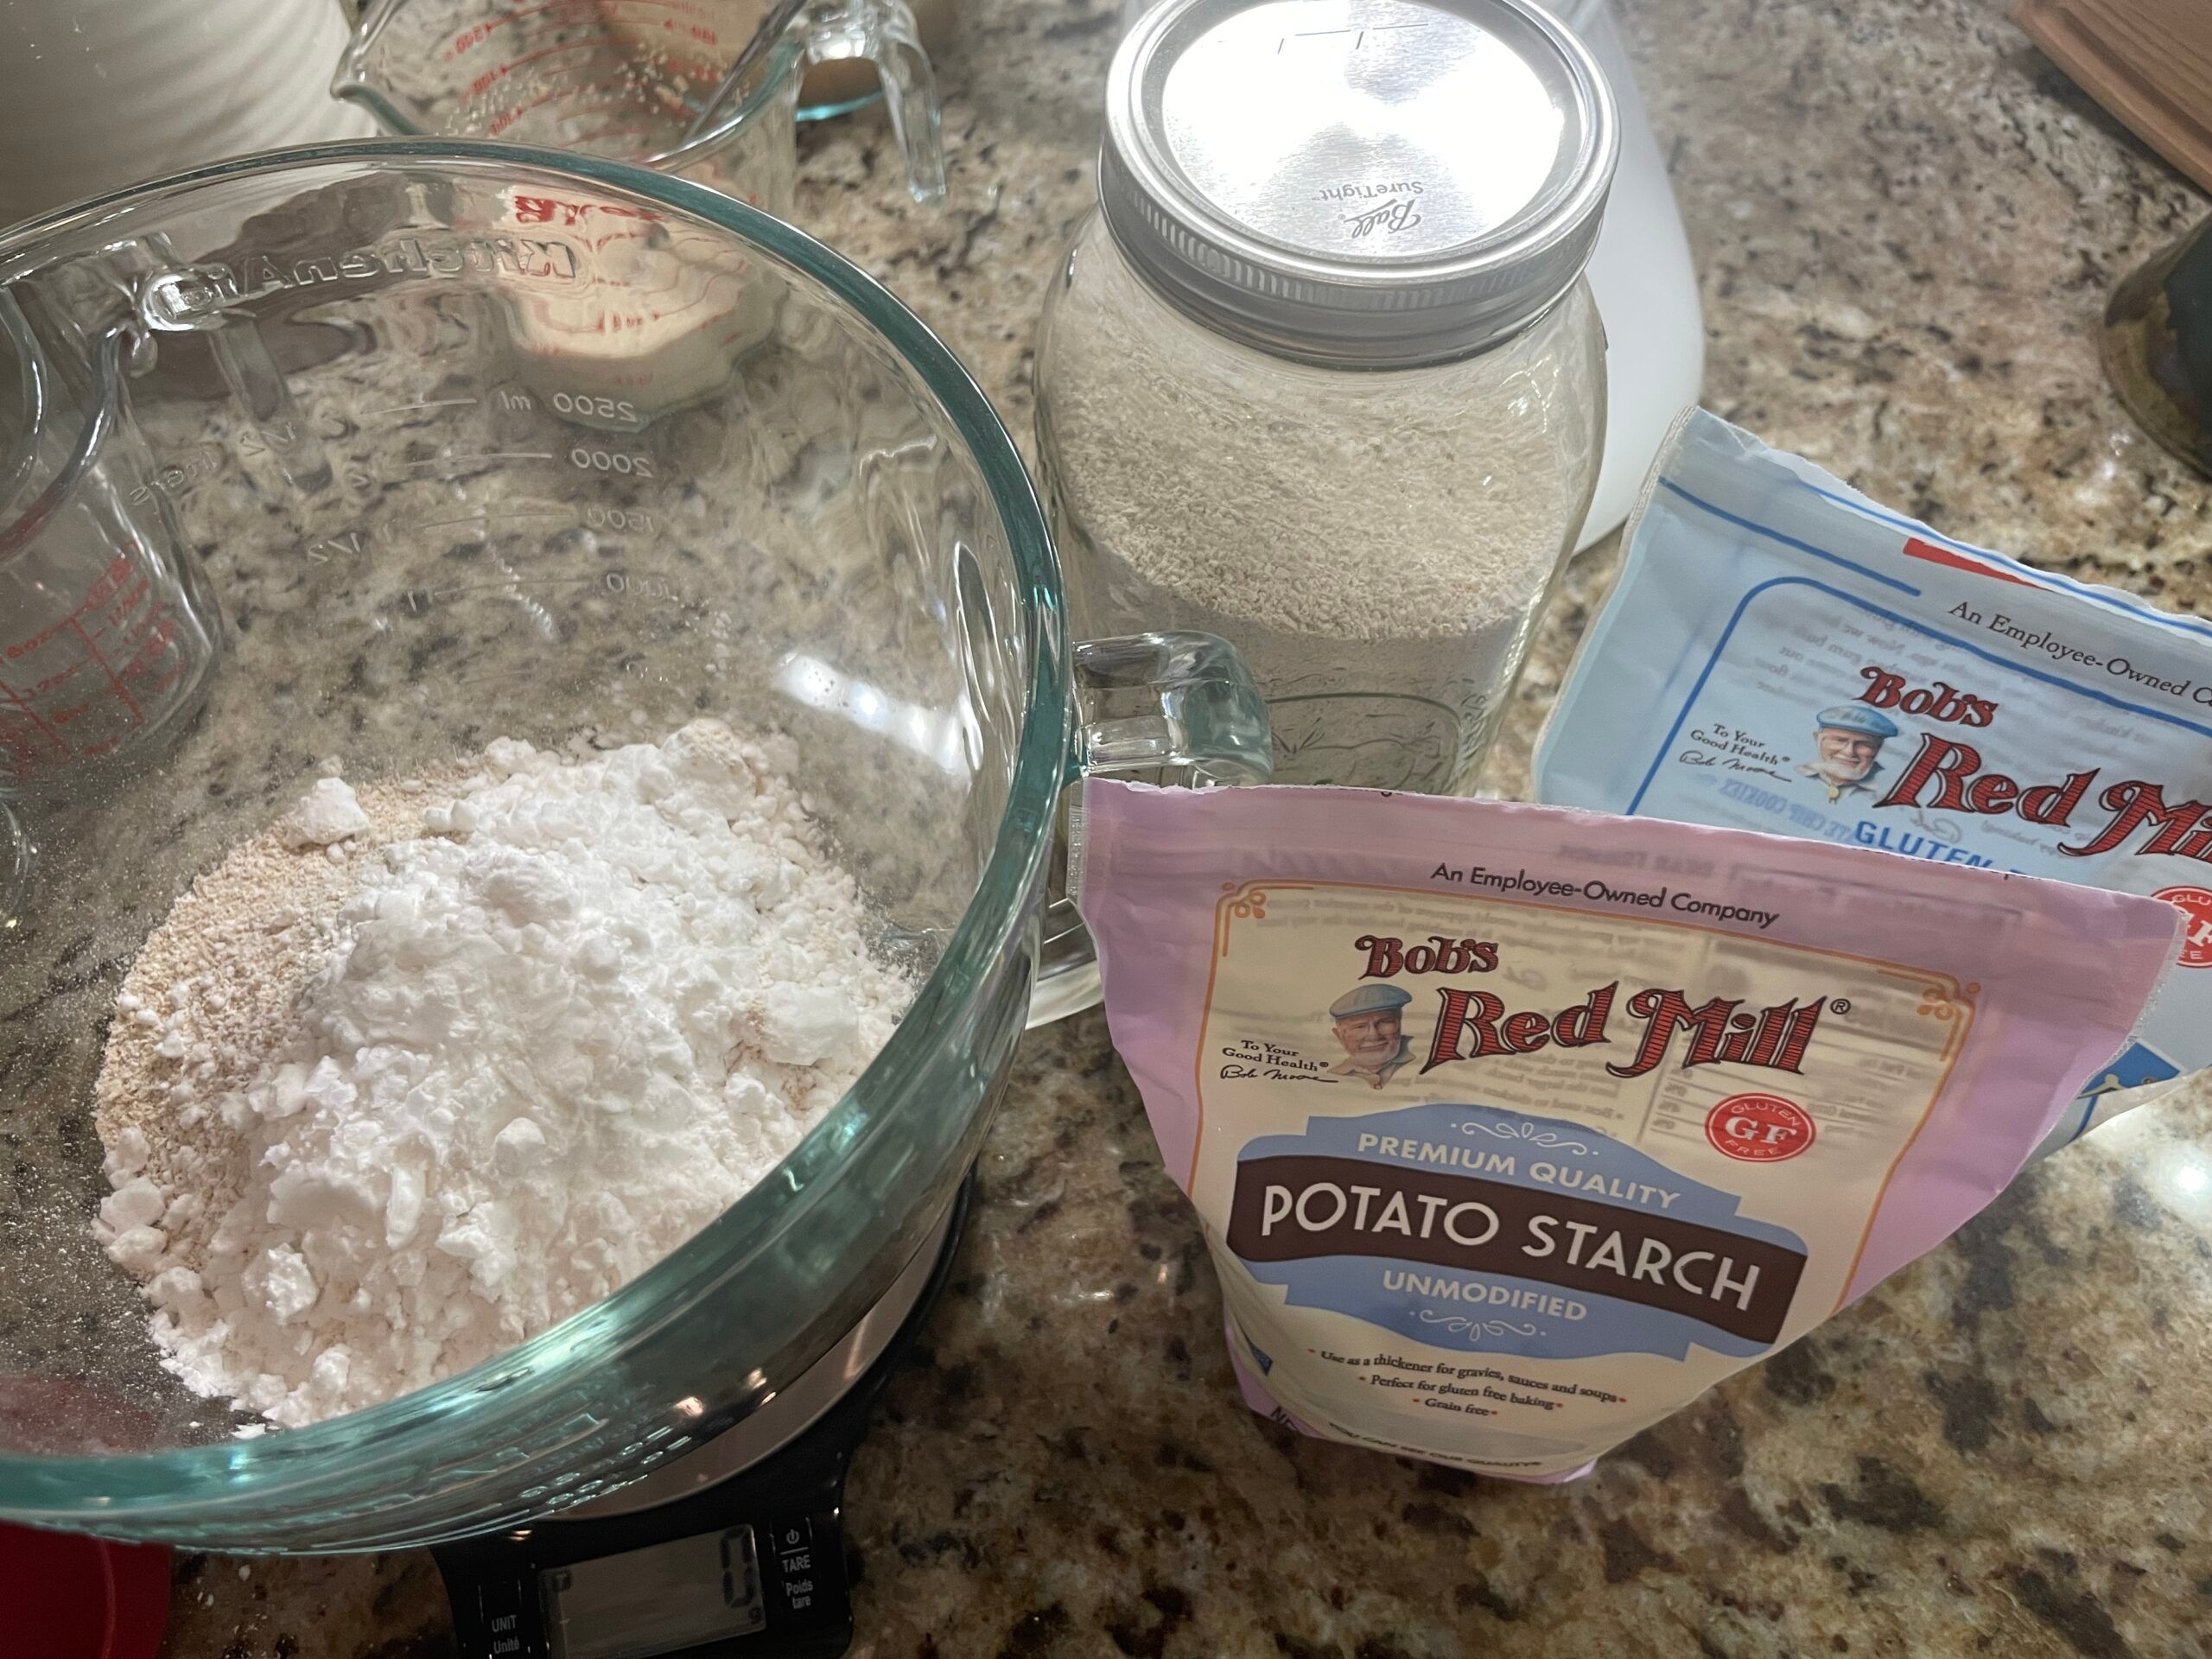
While your psyllium husks gel and your yeast/milk mixture begin to activate, you will need to mix your dry ingredients. I use my glass Kitchen Aid mixer bowl but you can use any mixing bowl. Avoid using a metal if you are using a metal attachment hand mixer. You will need a dough attachment on your mixer to mix this dough.
Using your kitchen scale again, measure out your potato starch, 1 to 1 flour, oat flour and salt. Don’t forget to tare your scale in between. I’ve gotten used to it but if you struggle to remember to tare the scale you can always just measure them all separately and then combine at the end. This step is totally up to you and your comfort level with using the scale.
Once you have all of your dry ingredients, mix them together well before moving on to the next step.
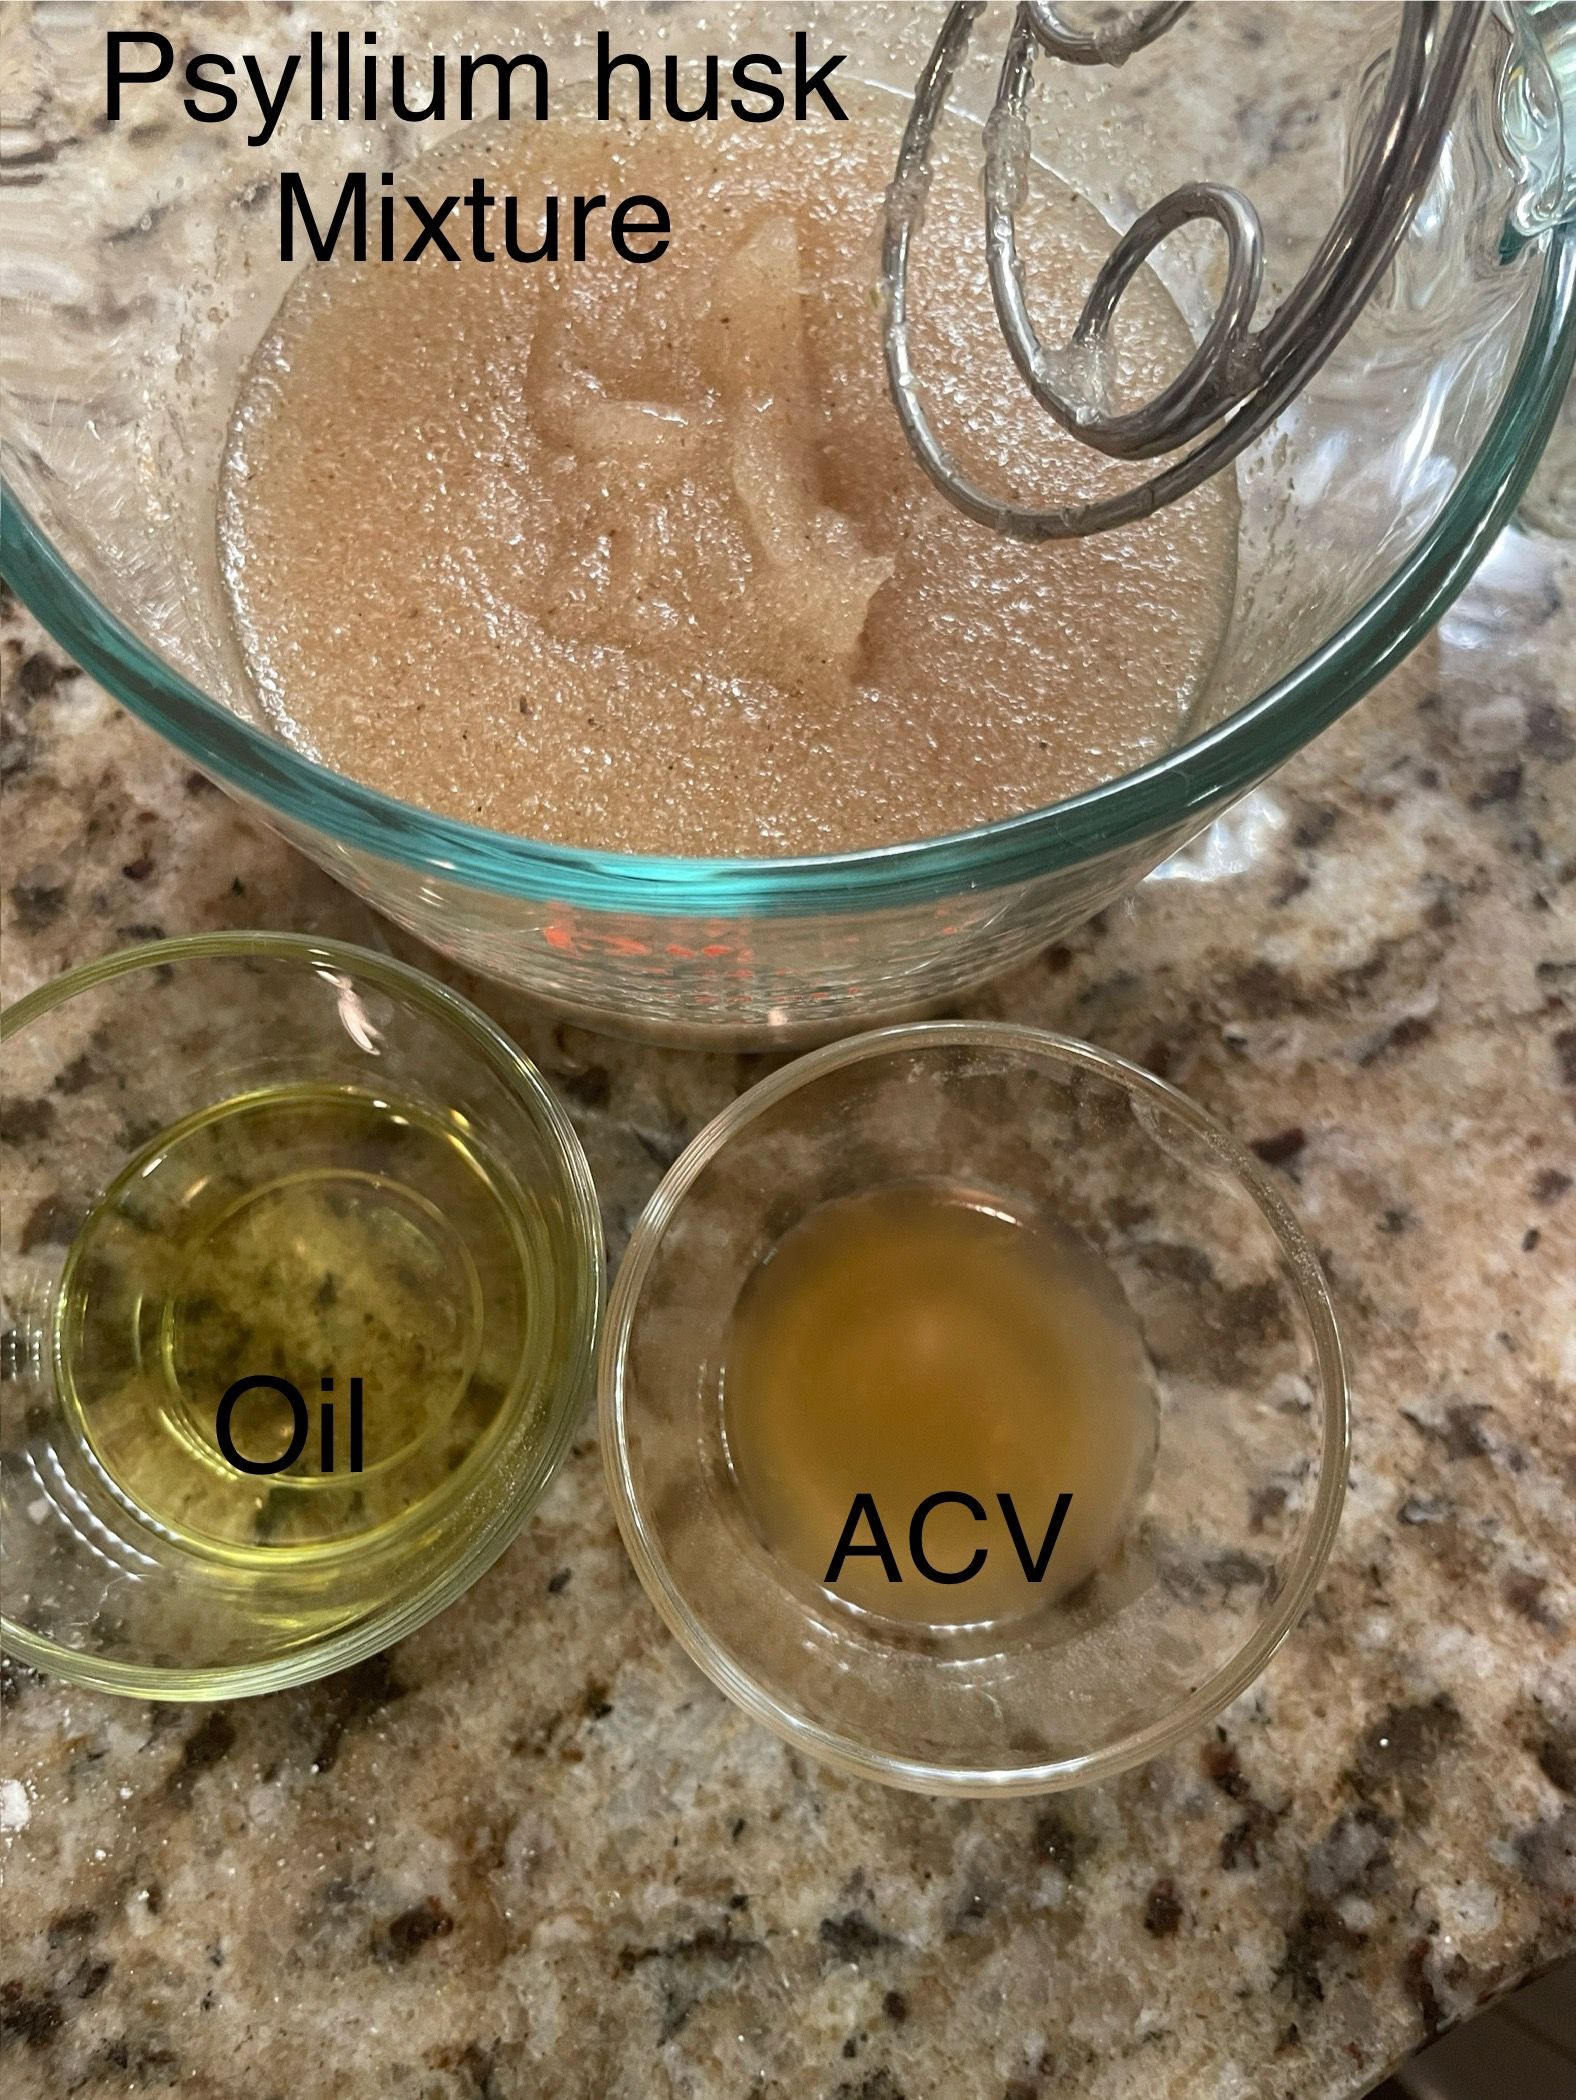
Set your dry ingredients mixture to the side and complete the last step of ingredients. There are two crucial elements that need to be added to the psyllium husk mixture. So grab the measuring cup you set aside that has the psyllium husk mixture. It should have a good gel texture to it at this point and ready for the oil and vinegar to be added.
Measure out your oil and vinegar separately and then add to the mixture, mixing well until it is all incorporated.
The dough
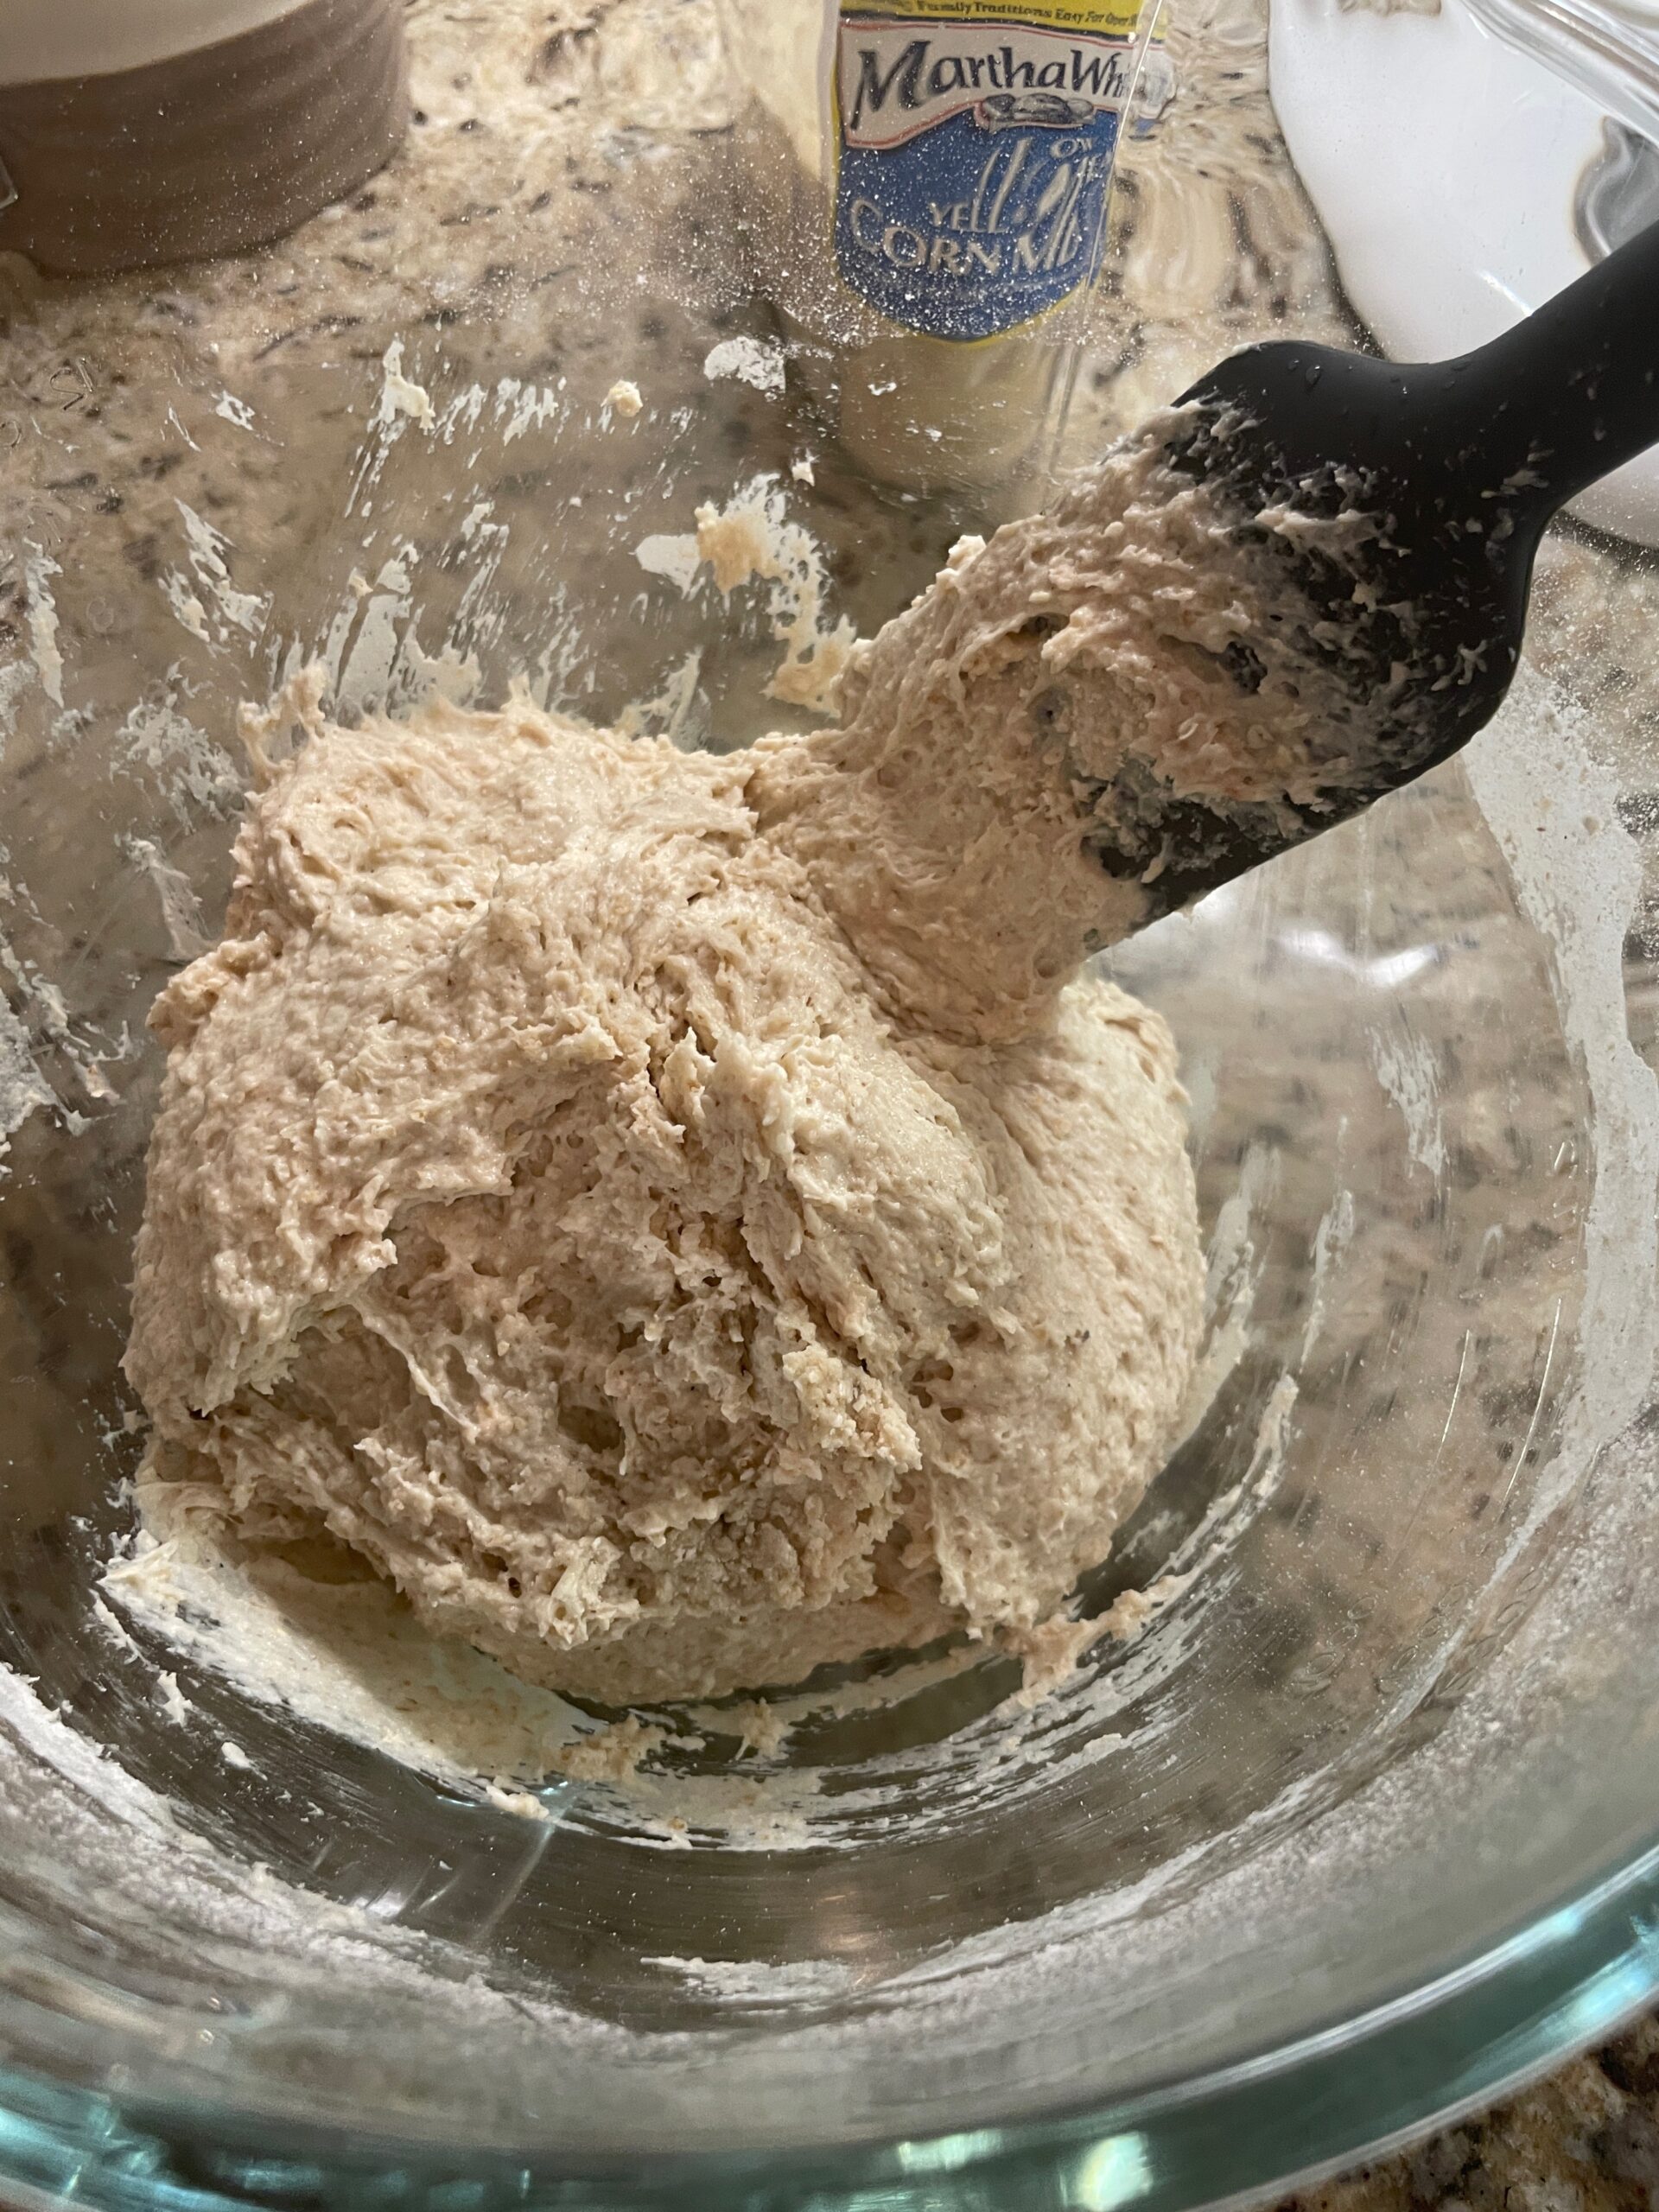
At this point you should be ready to mix your dough. Get your dough hook and your dry ingredients bowl ready. Grab your psyllium husk/oil/vinegar mixture and add that to the bowl. Also, add your milk/yeast/sugar mixture to the bowl. Turn your mixer on low to begin mixing the dough. Once most of the flour is incorporated you will want to turn your mixer up so that the flour in the bottom of the bowl gets incorporated too.
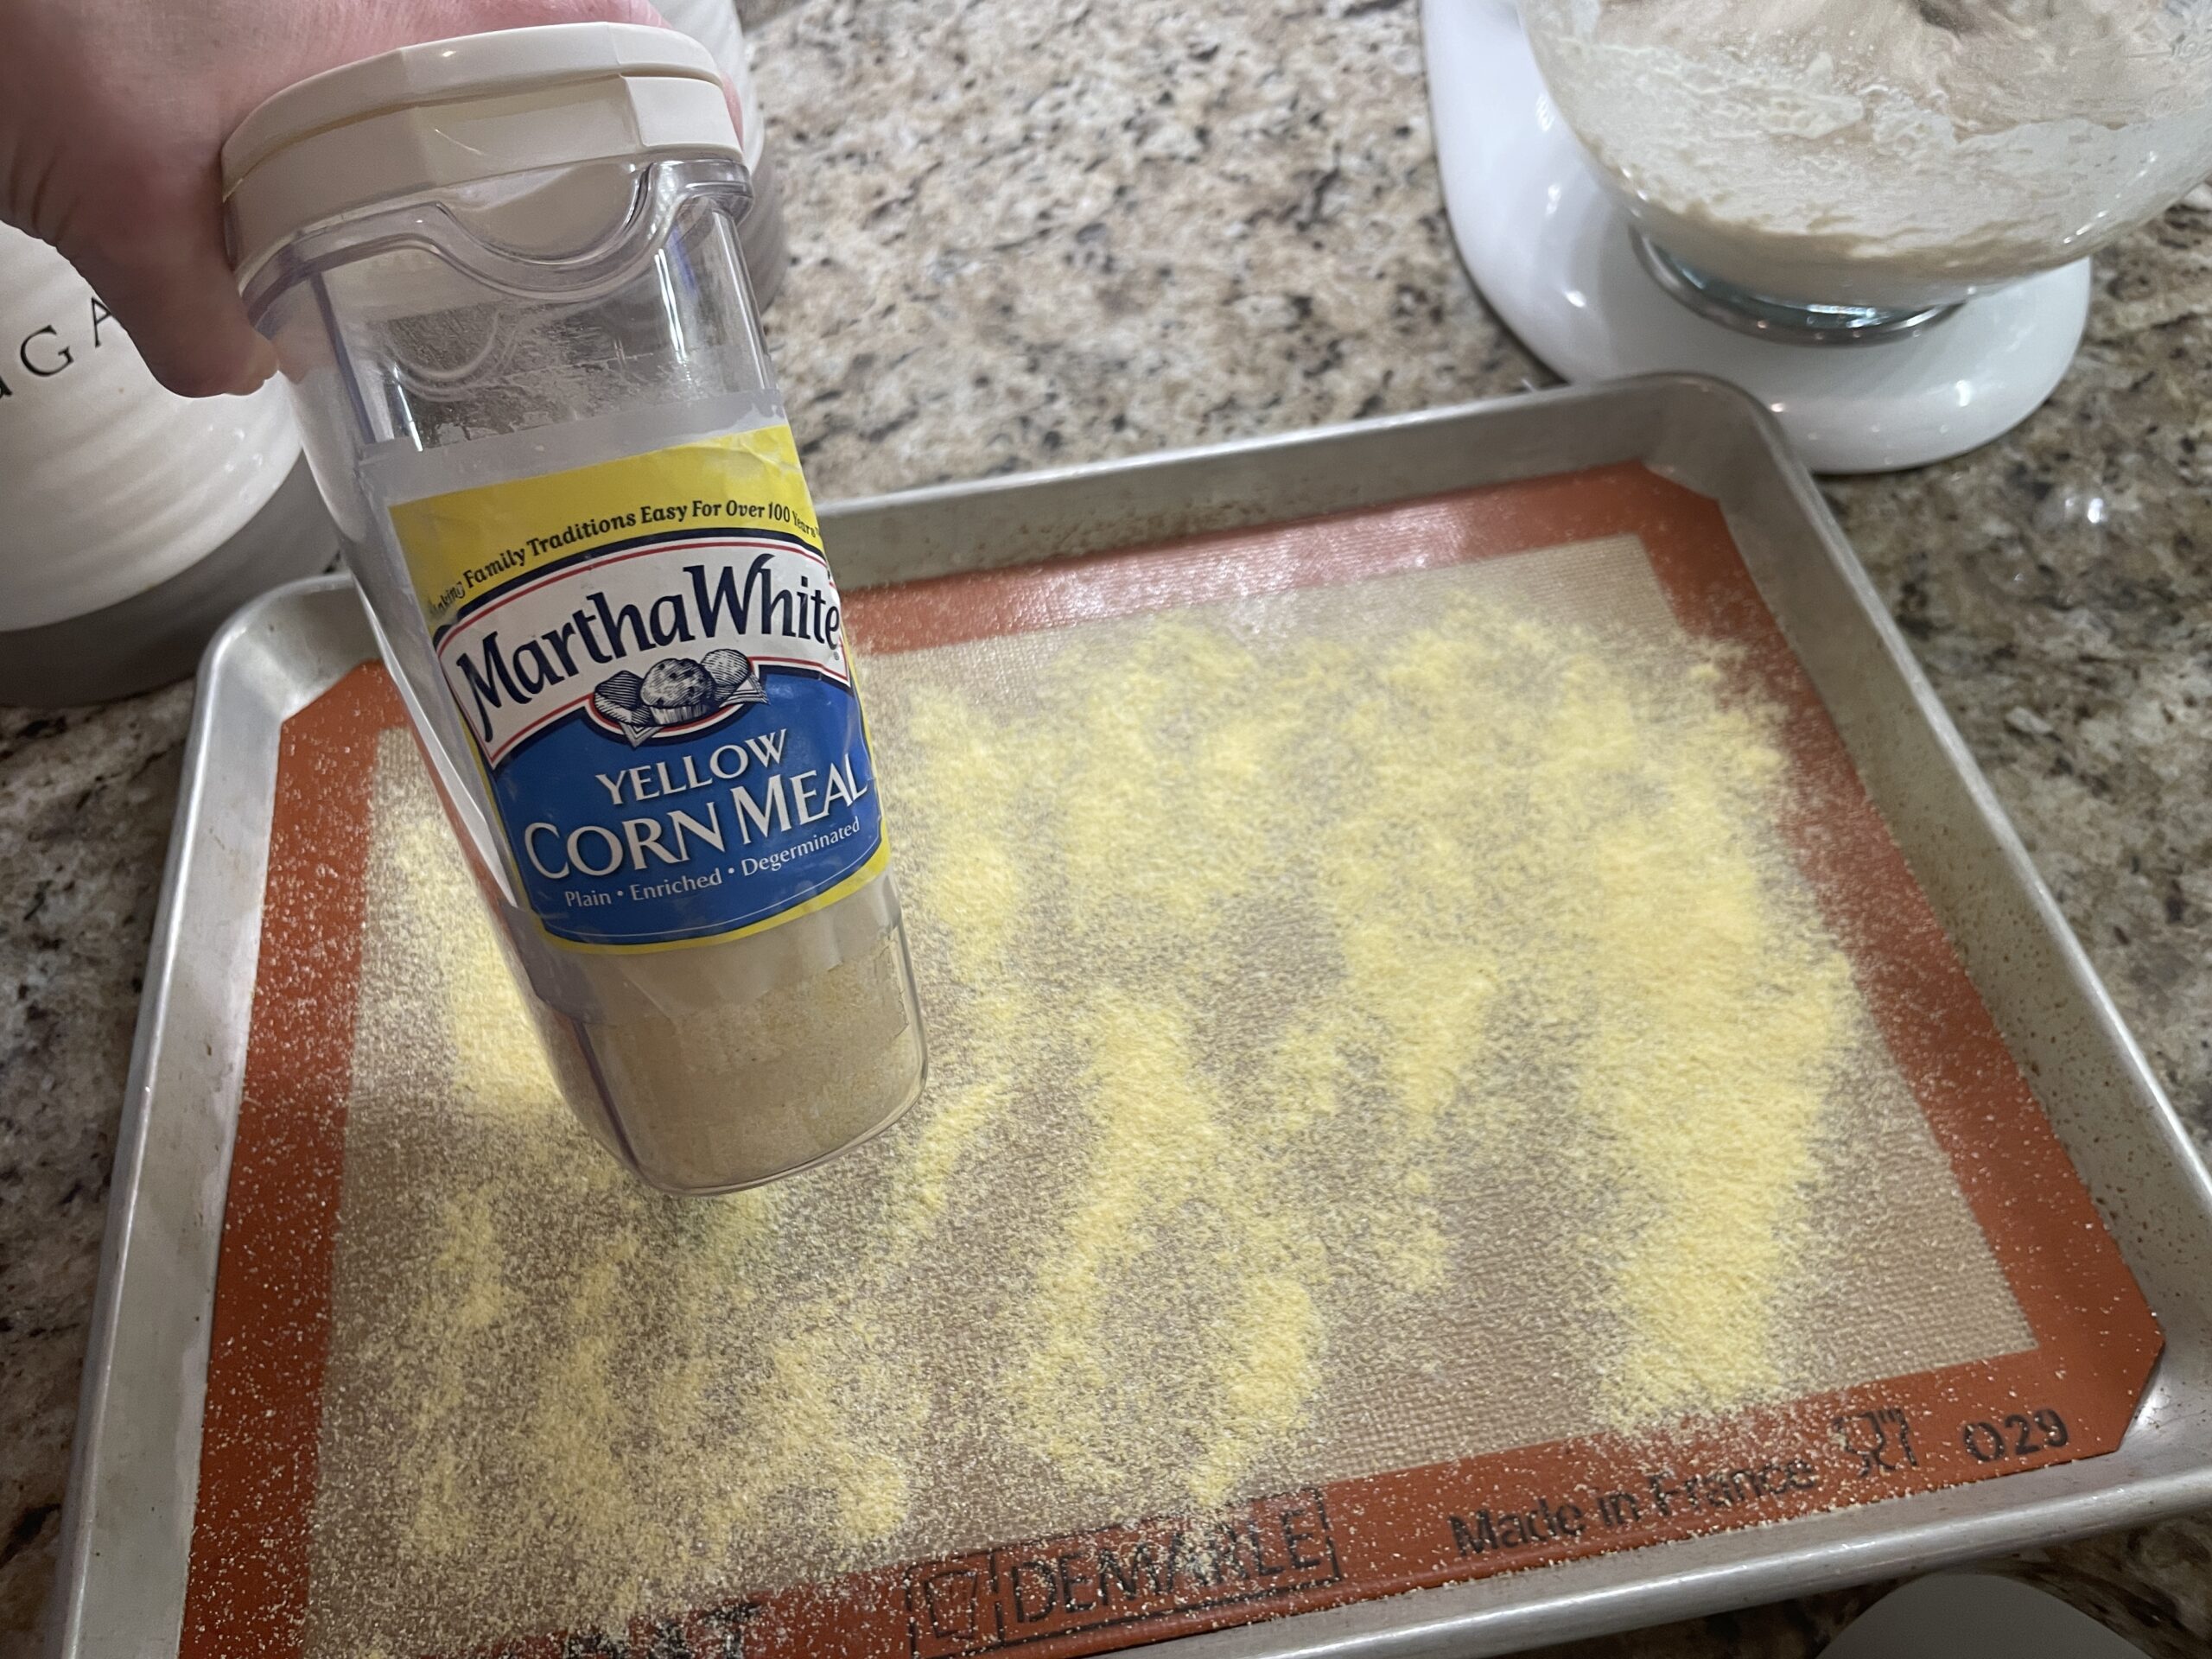

Go ahead and get your supplies ready while your dough is mixing. You will need a sheet pan with a liner that has been dusted/sprinkled with yellow corn meal. If you don’t have a non-stick liner you could use parchment paper instead. Next, get out your cast iron or your flat pan that you will be cooking on and have it ready to heat up.
The finishing touches and the rise
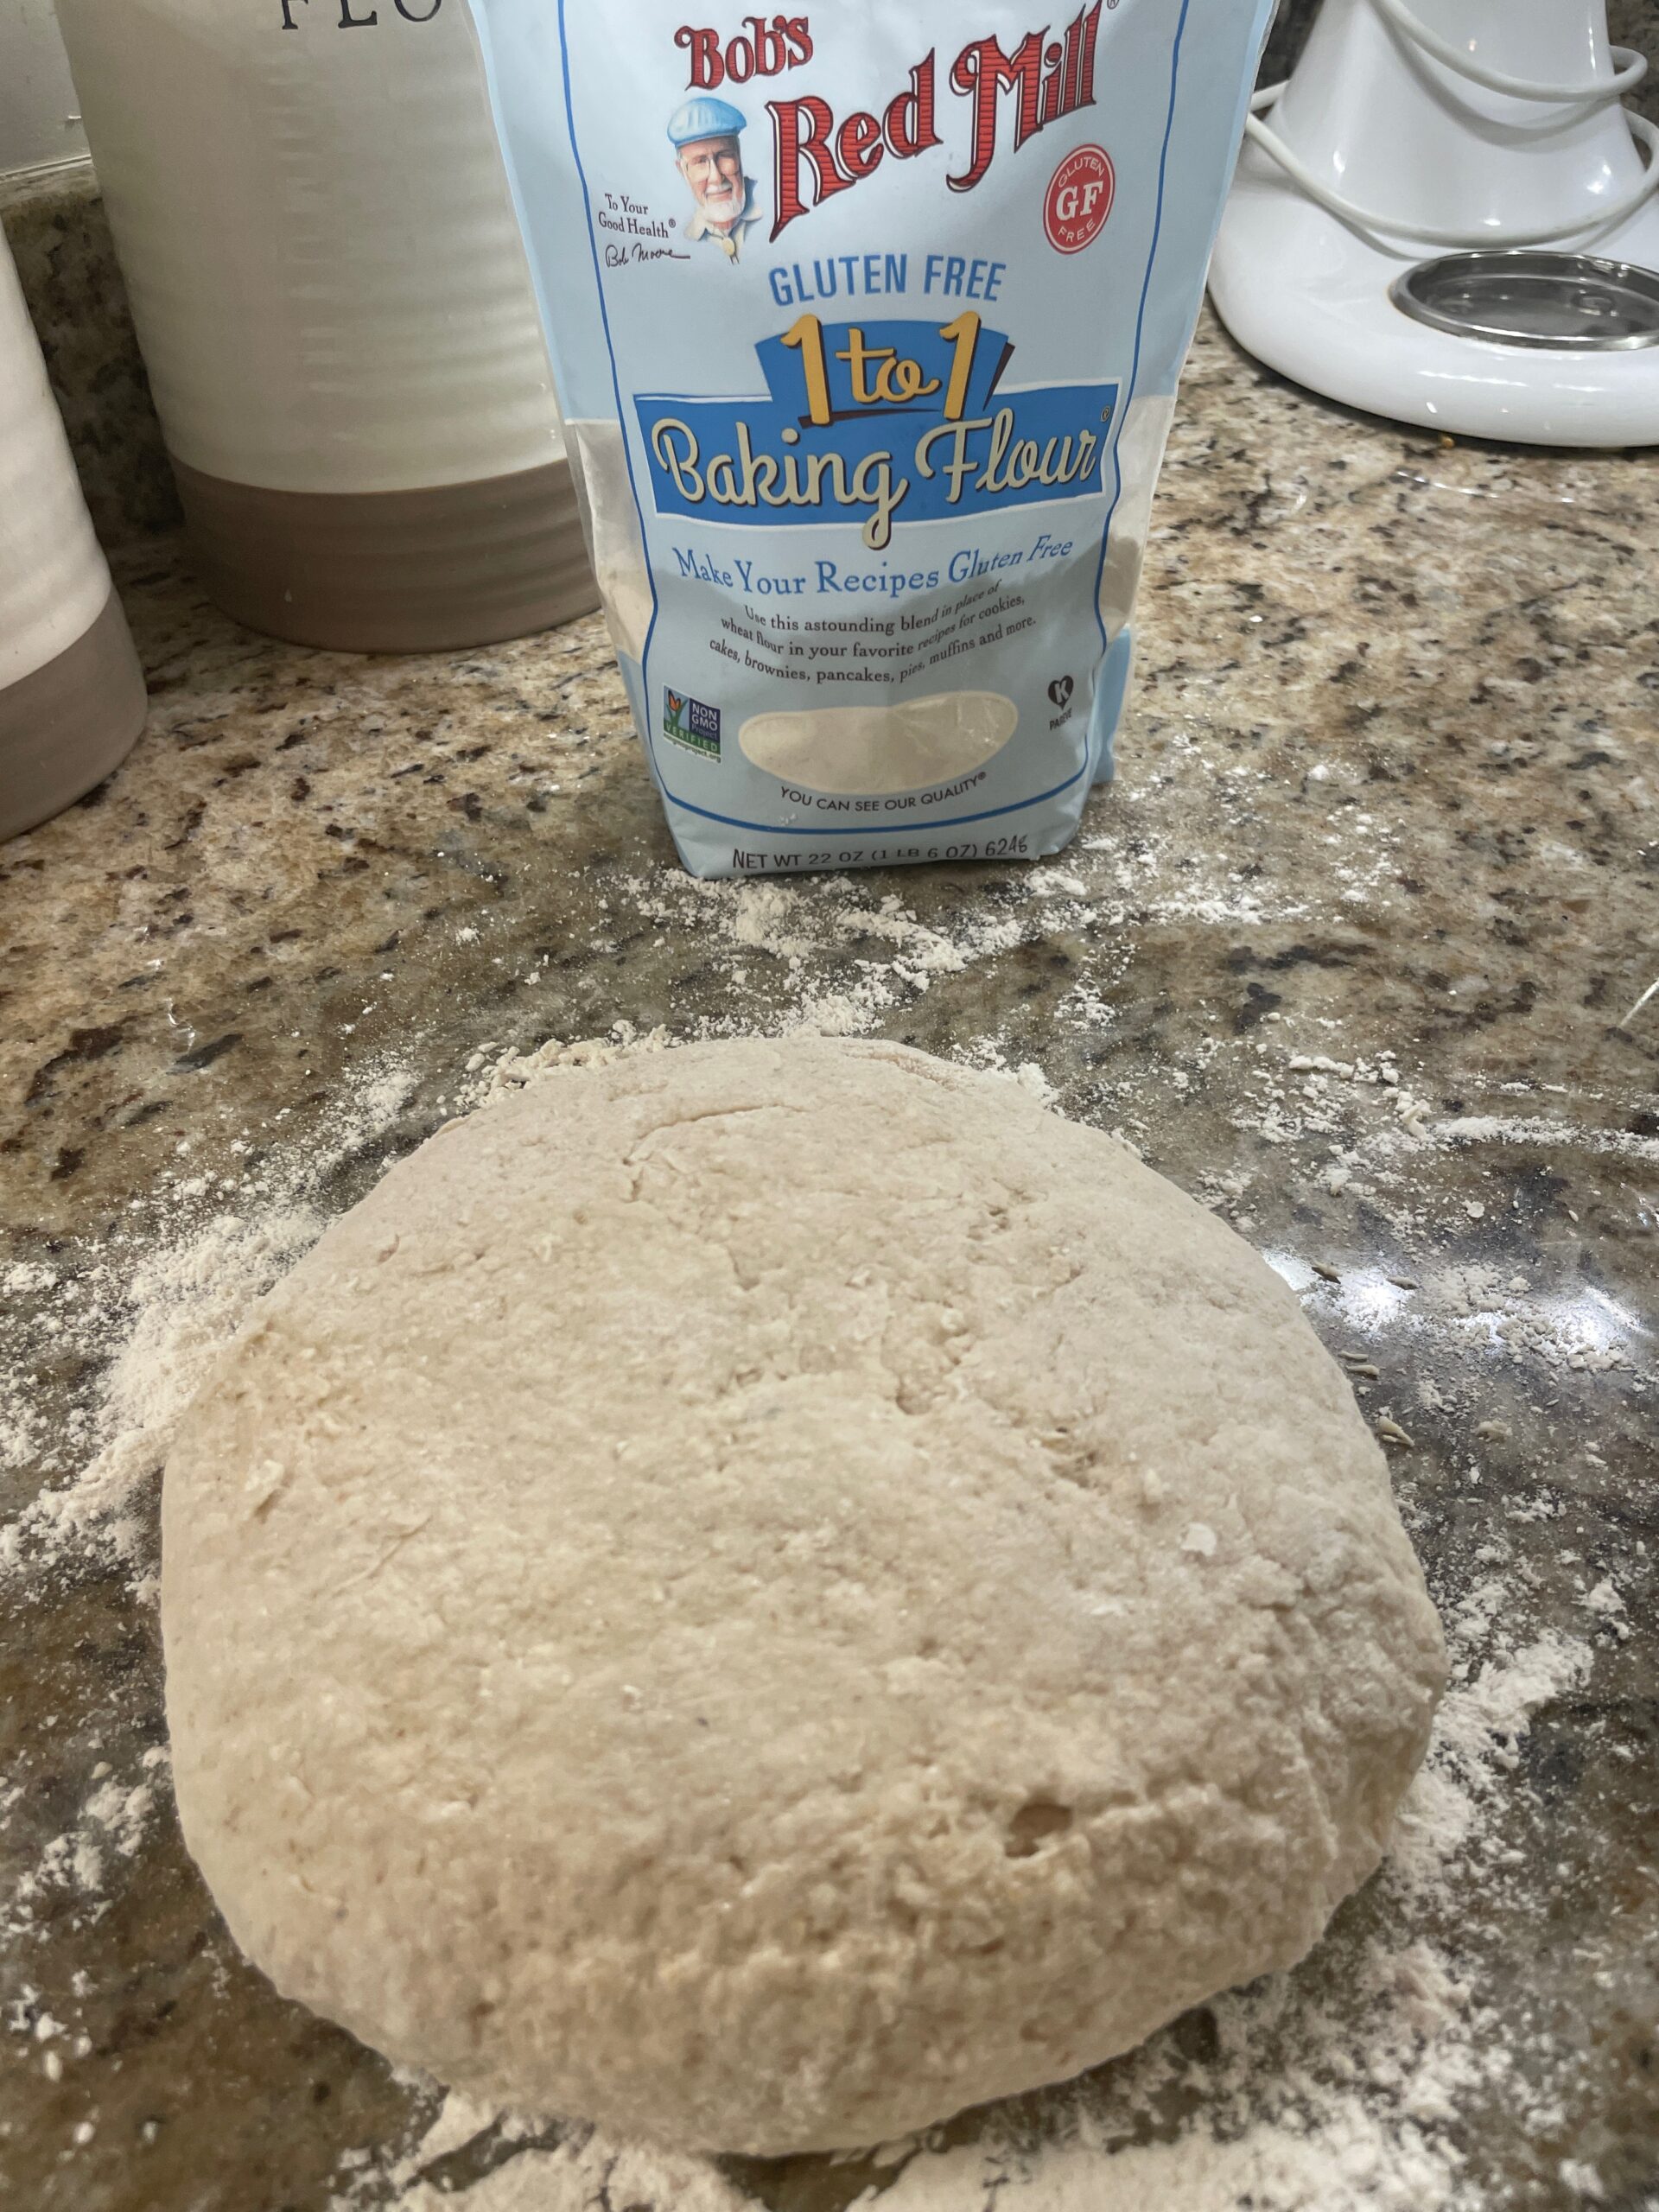
The final prep step is here! Once the dough is formed it will be sticky. Go ahead and sprinkle the counter with some 1 to 1 flour and flip the dough out onto the surface. You’ll need to add a bit of flour to the top of the dough to be able to work freely with it so it doesn’t stick to your hands. You can fold the dough at this point if you’d like but it isn’t a necessary step. Form the dough into a ball shape, grab your blade or knife and cut the dough into 8 triangles in the same way you would if you were making a scone. Pictures are included below for a more detailed description.
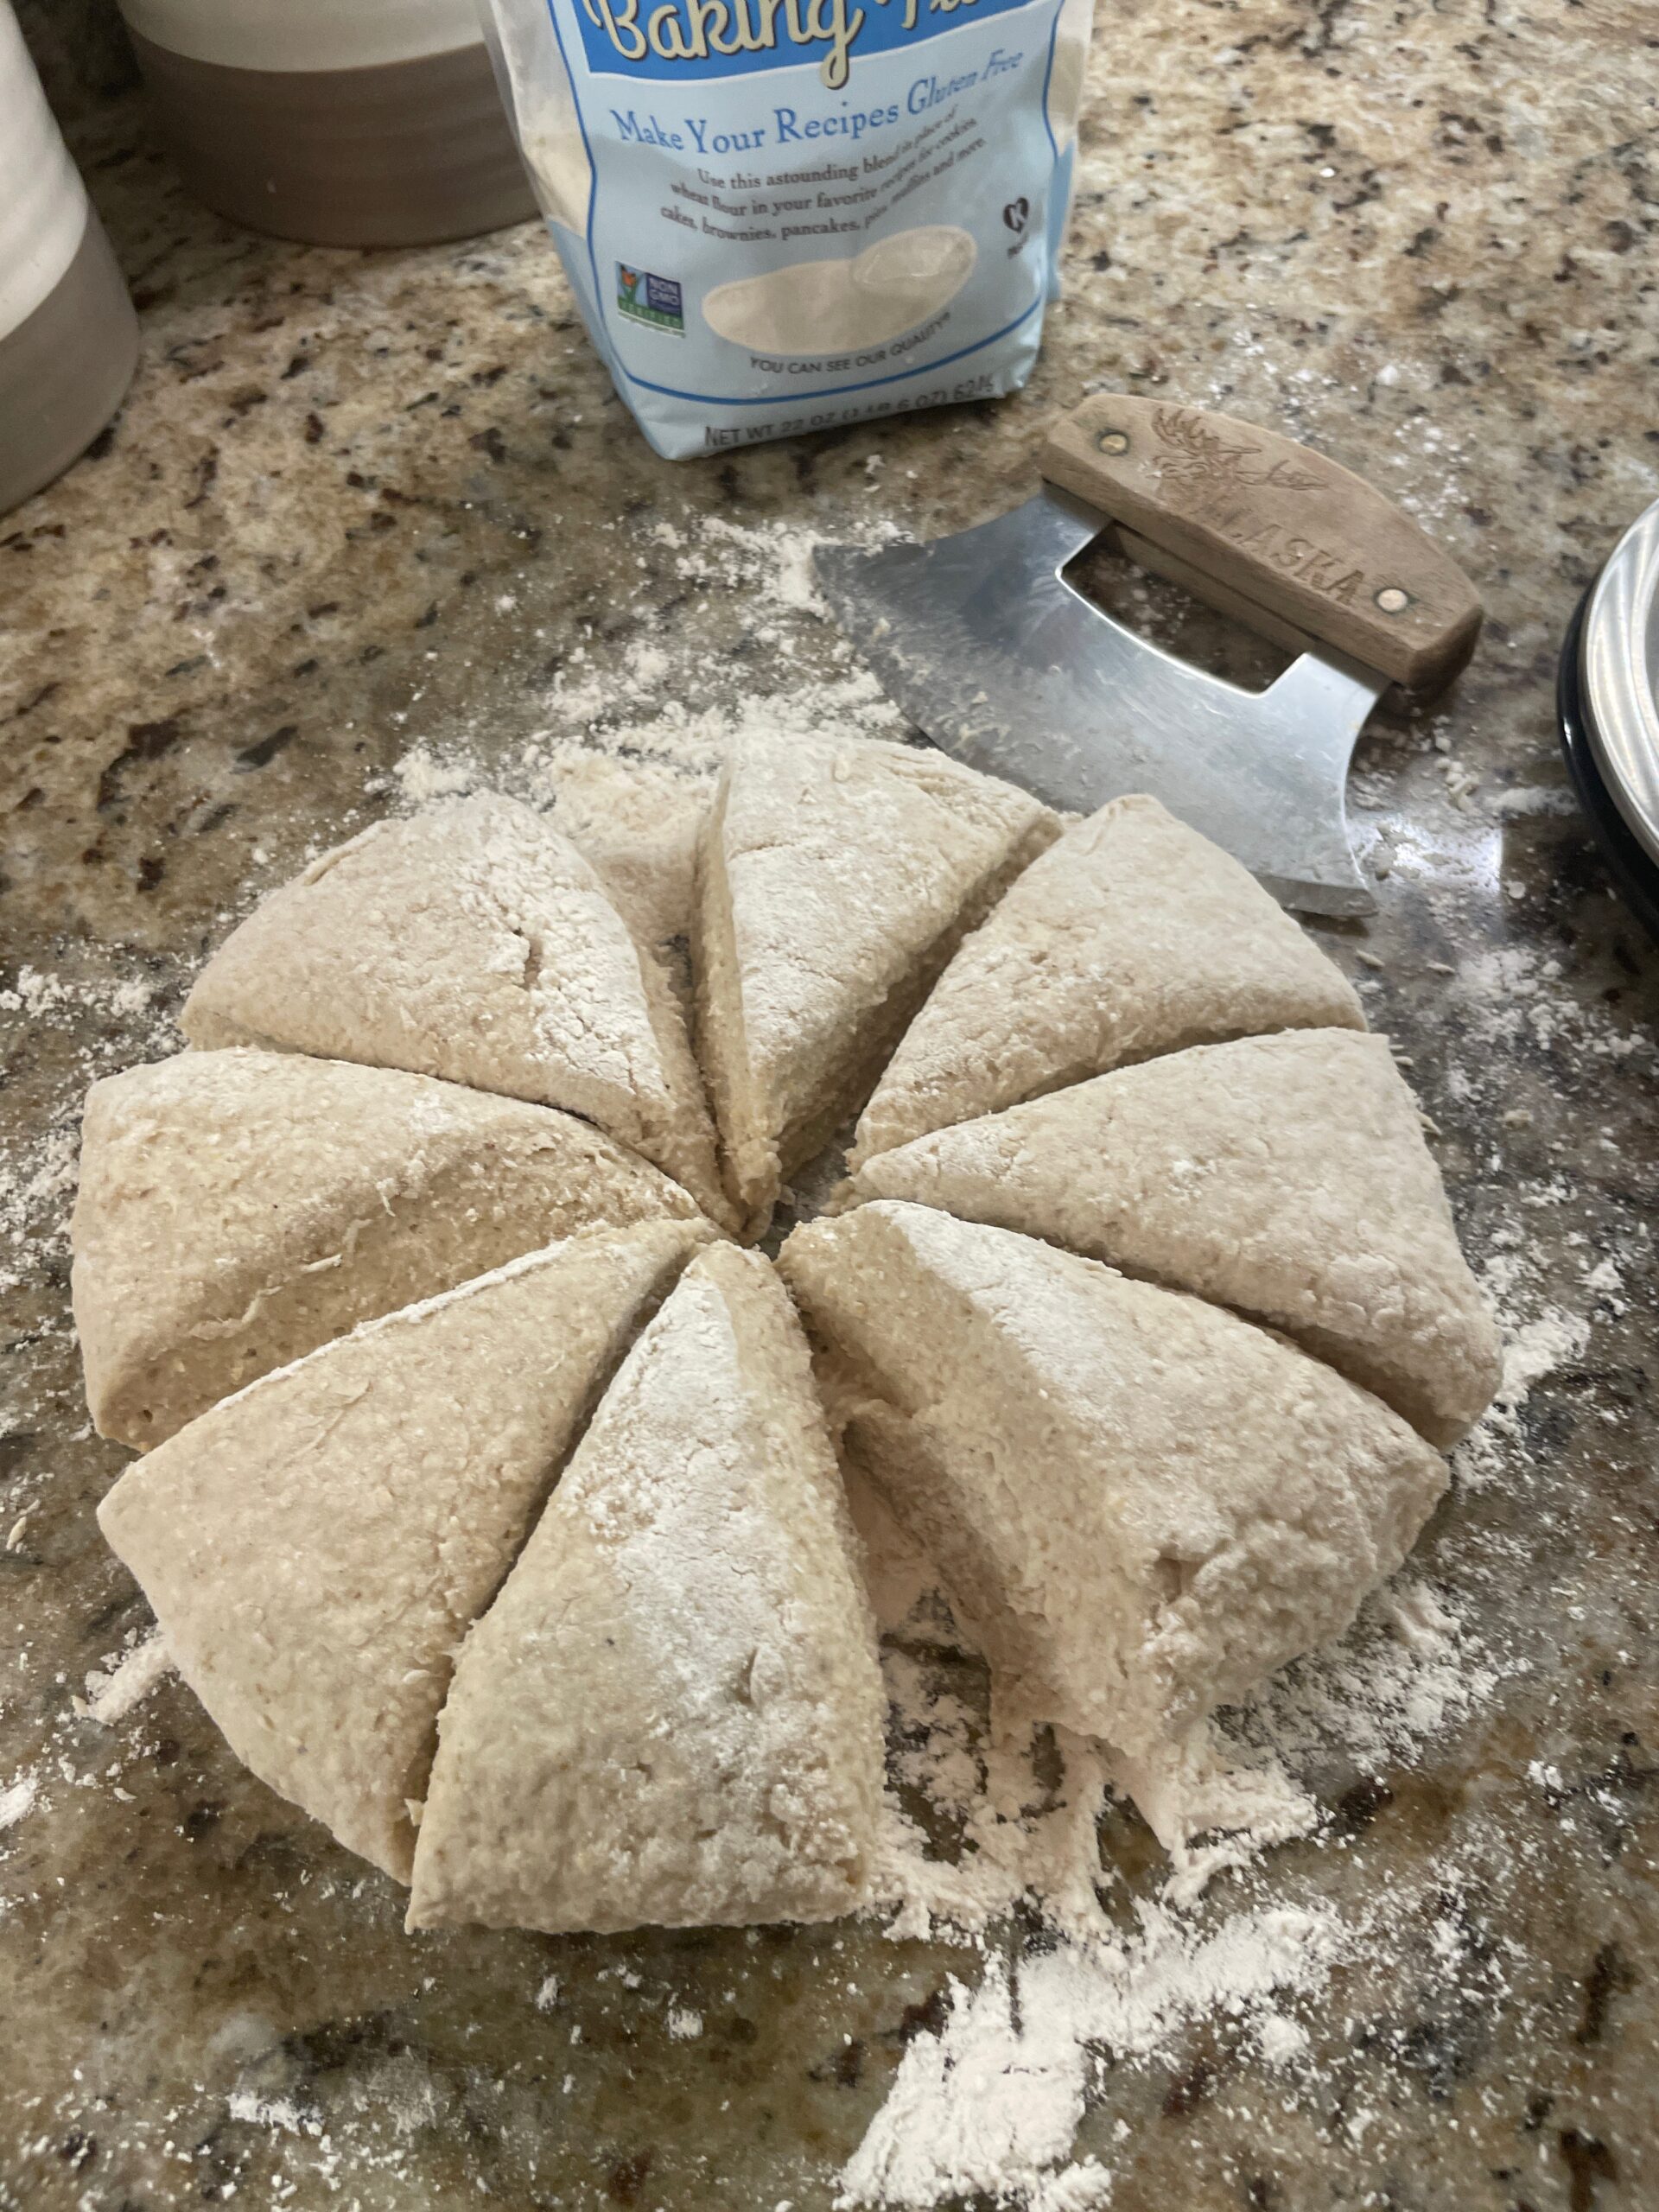
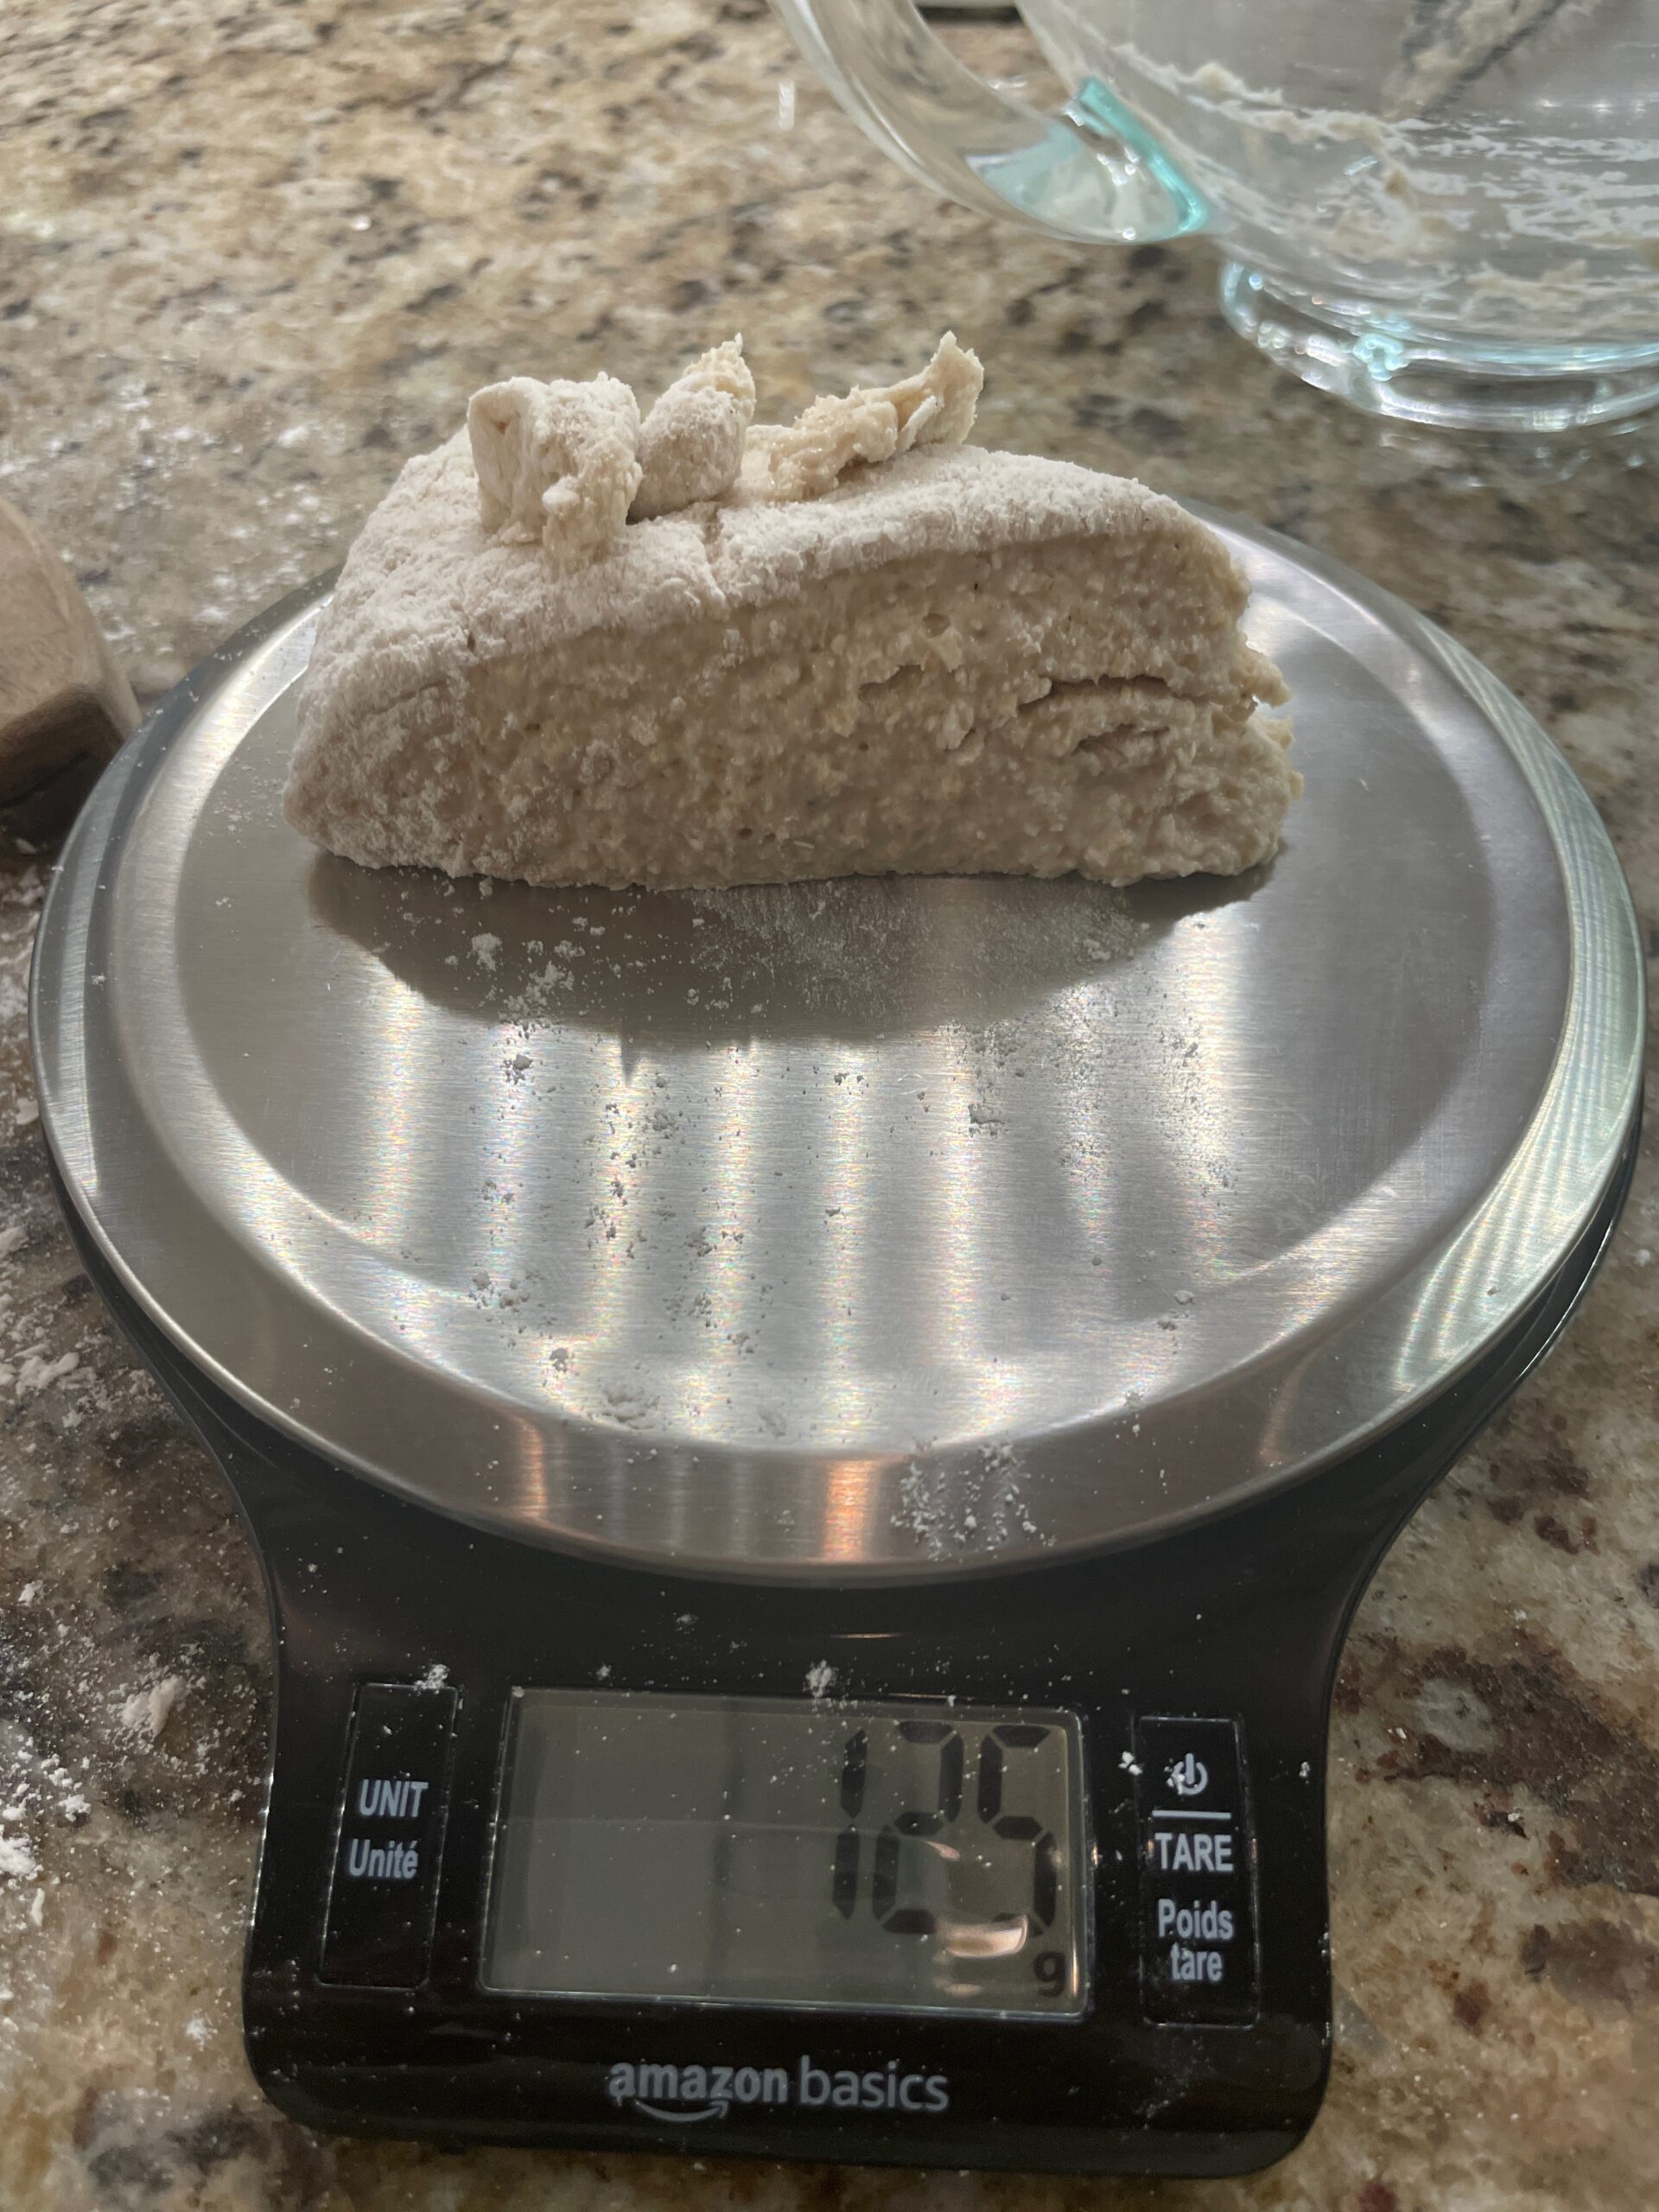
Each of the sections will need to be weighed on the kitchen scale and you want them as close to 125 g each as you can get them.
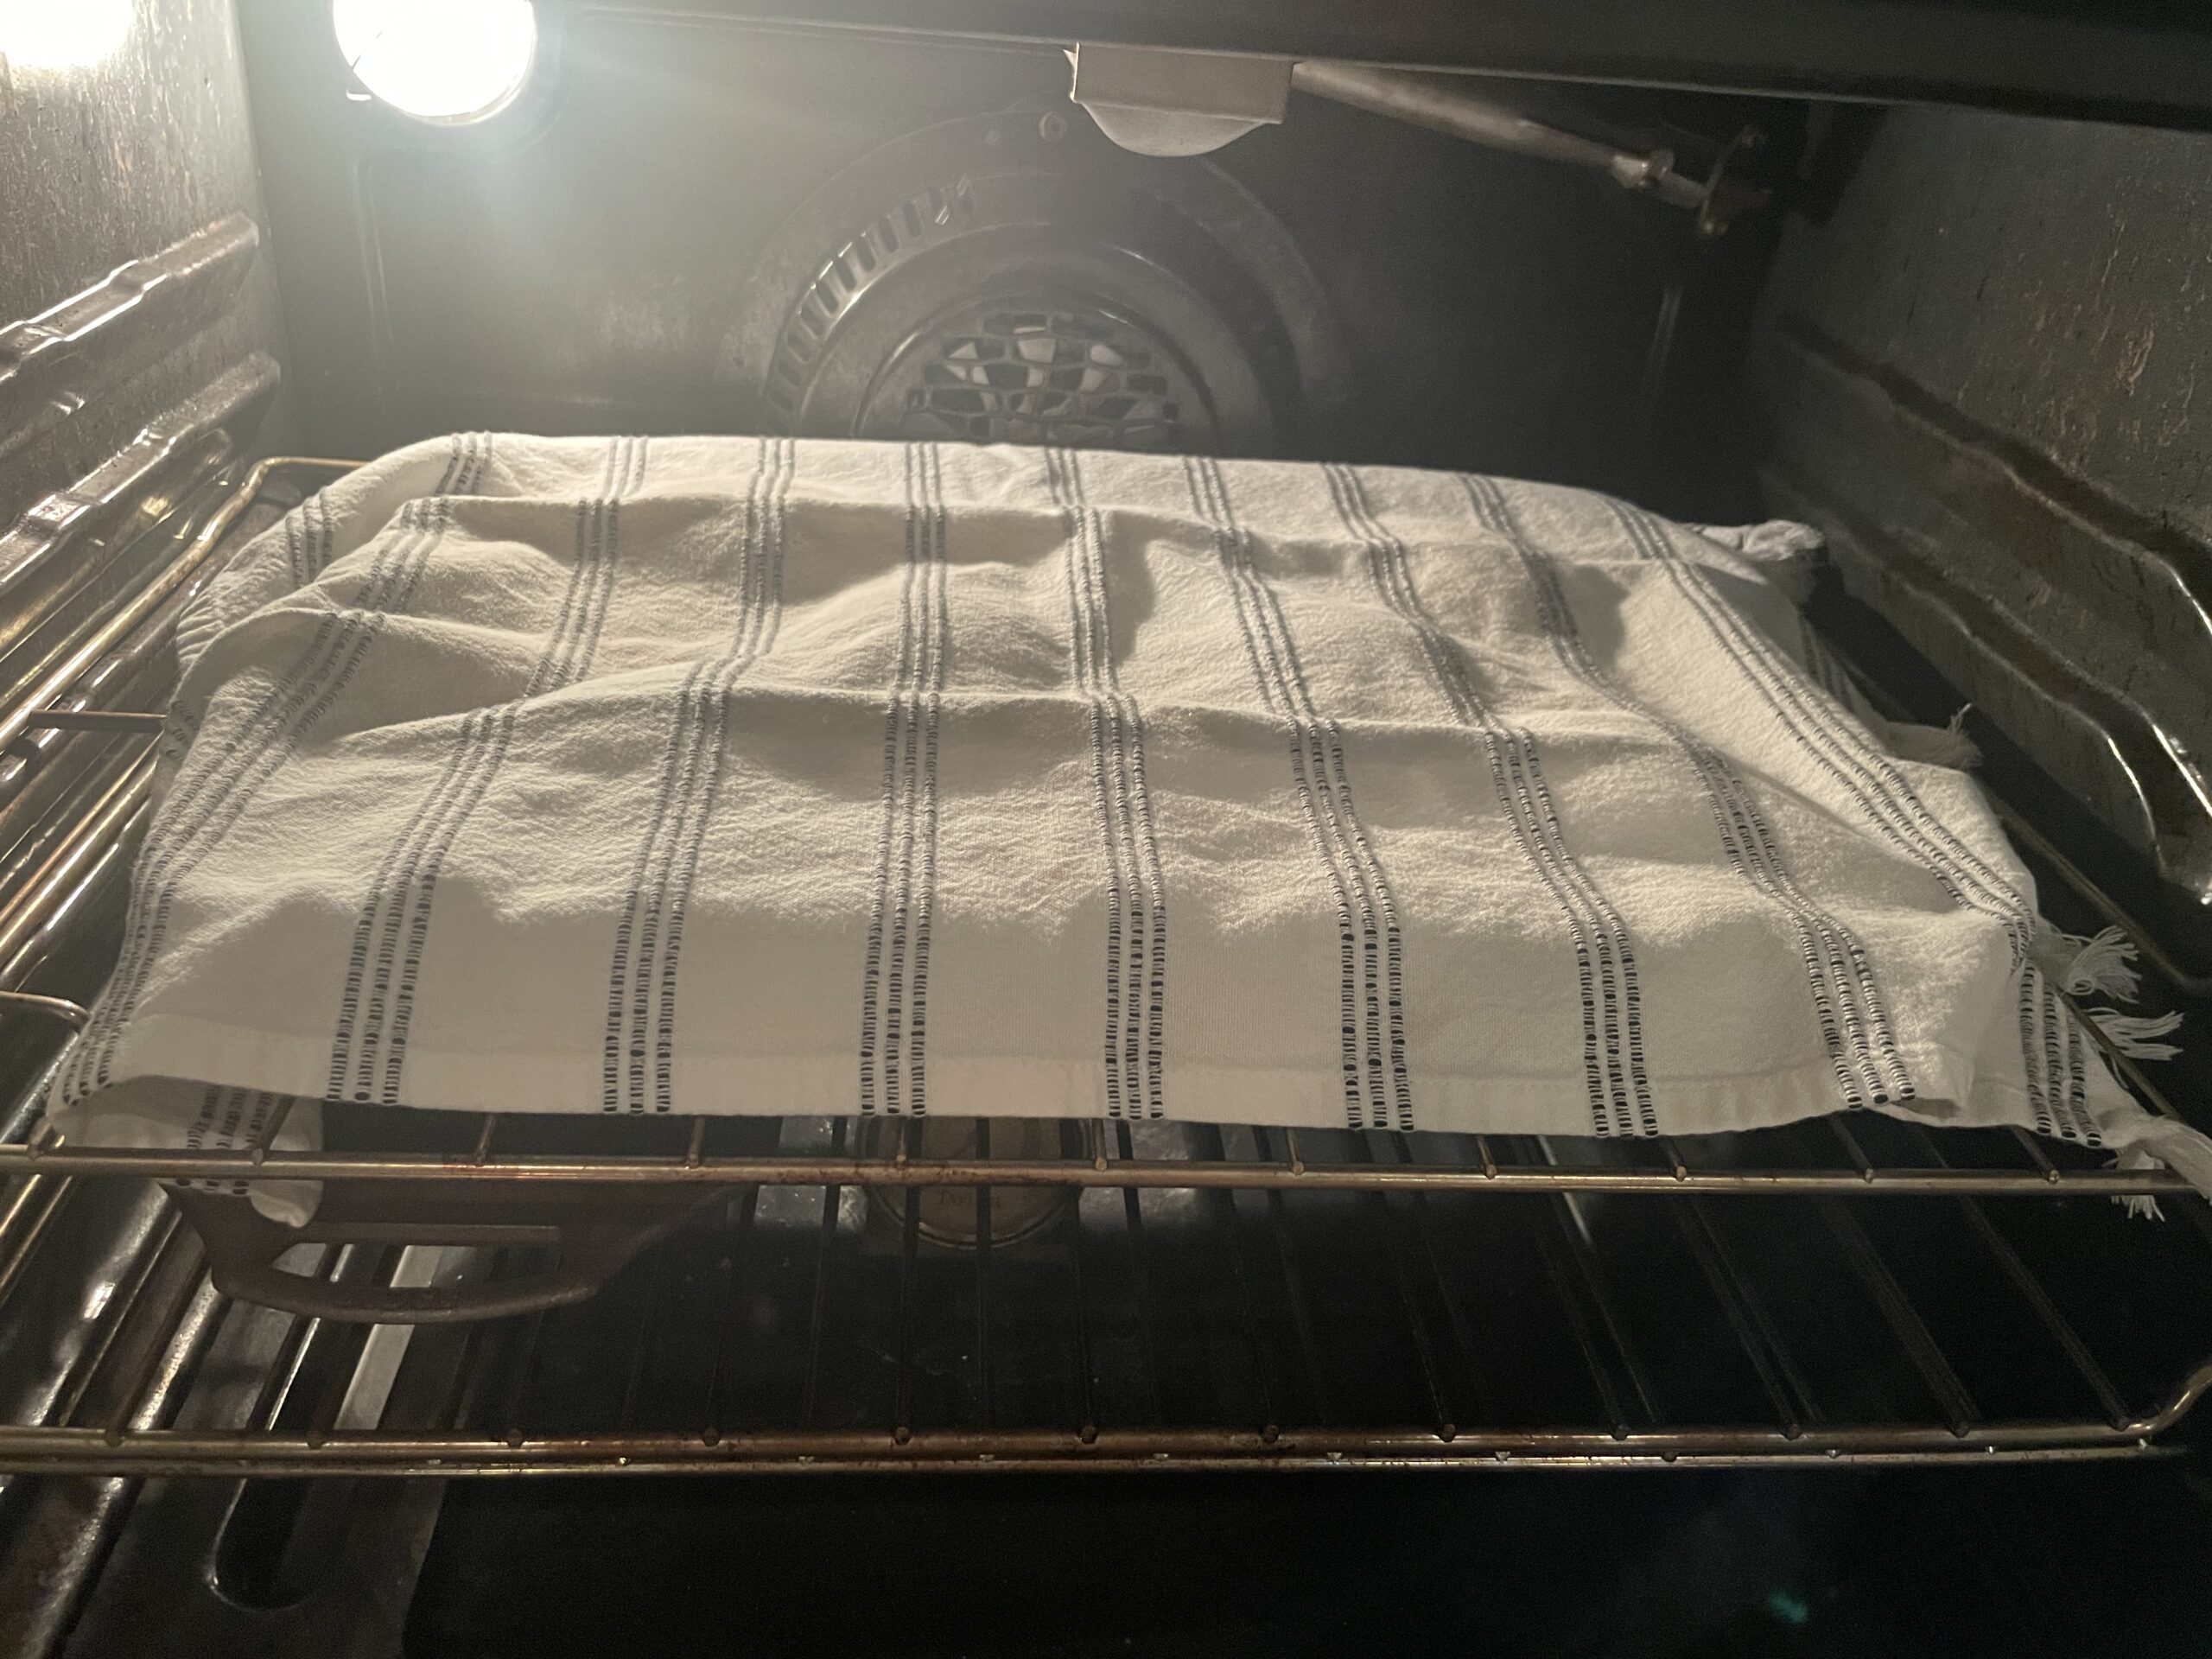
Once weighed shape them into balls and place them on your prepared sheet pan. Pat down the tops so the tops are a bit flat. Once your pan is full cover with a towel or parchment paper and put them in a warm place to rise for an hour. I generally just turn the light on in my oven (without any heat) and let them sit there for an hour. They will double in size in this time and will be ready to cook.
Moment of truth
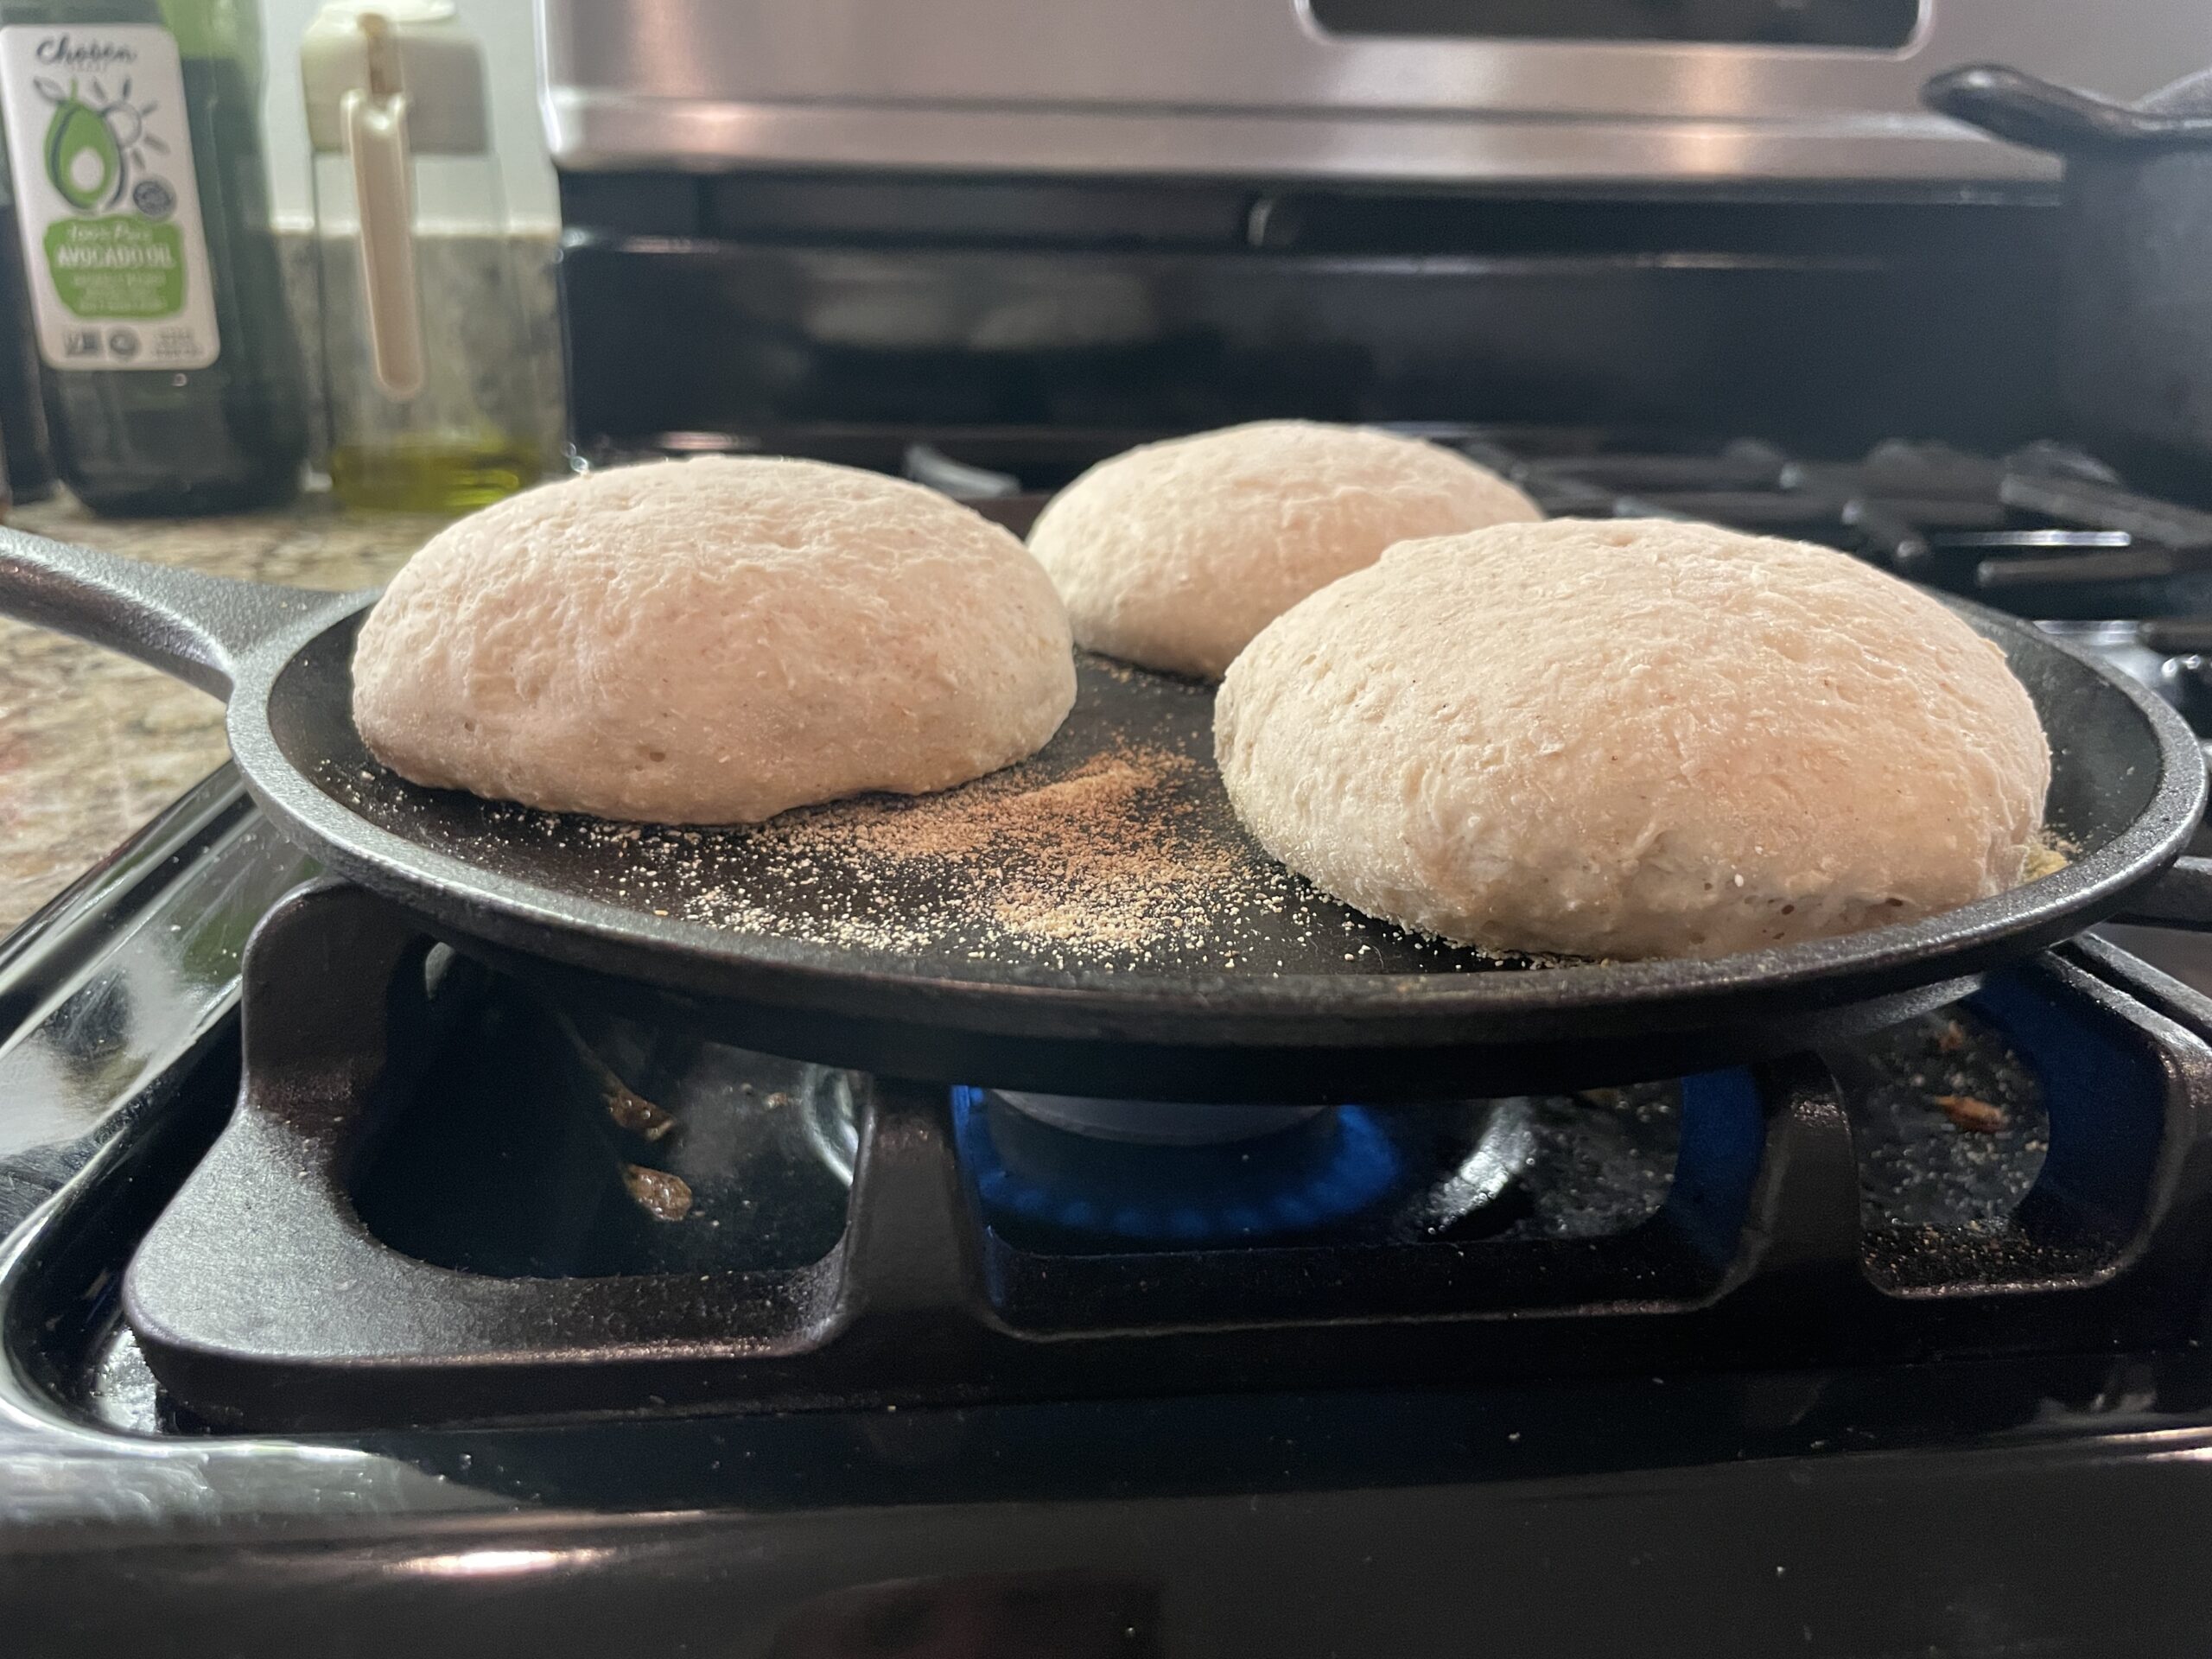
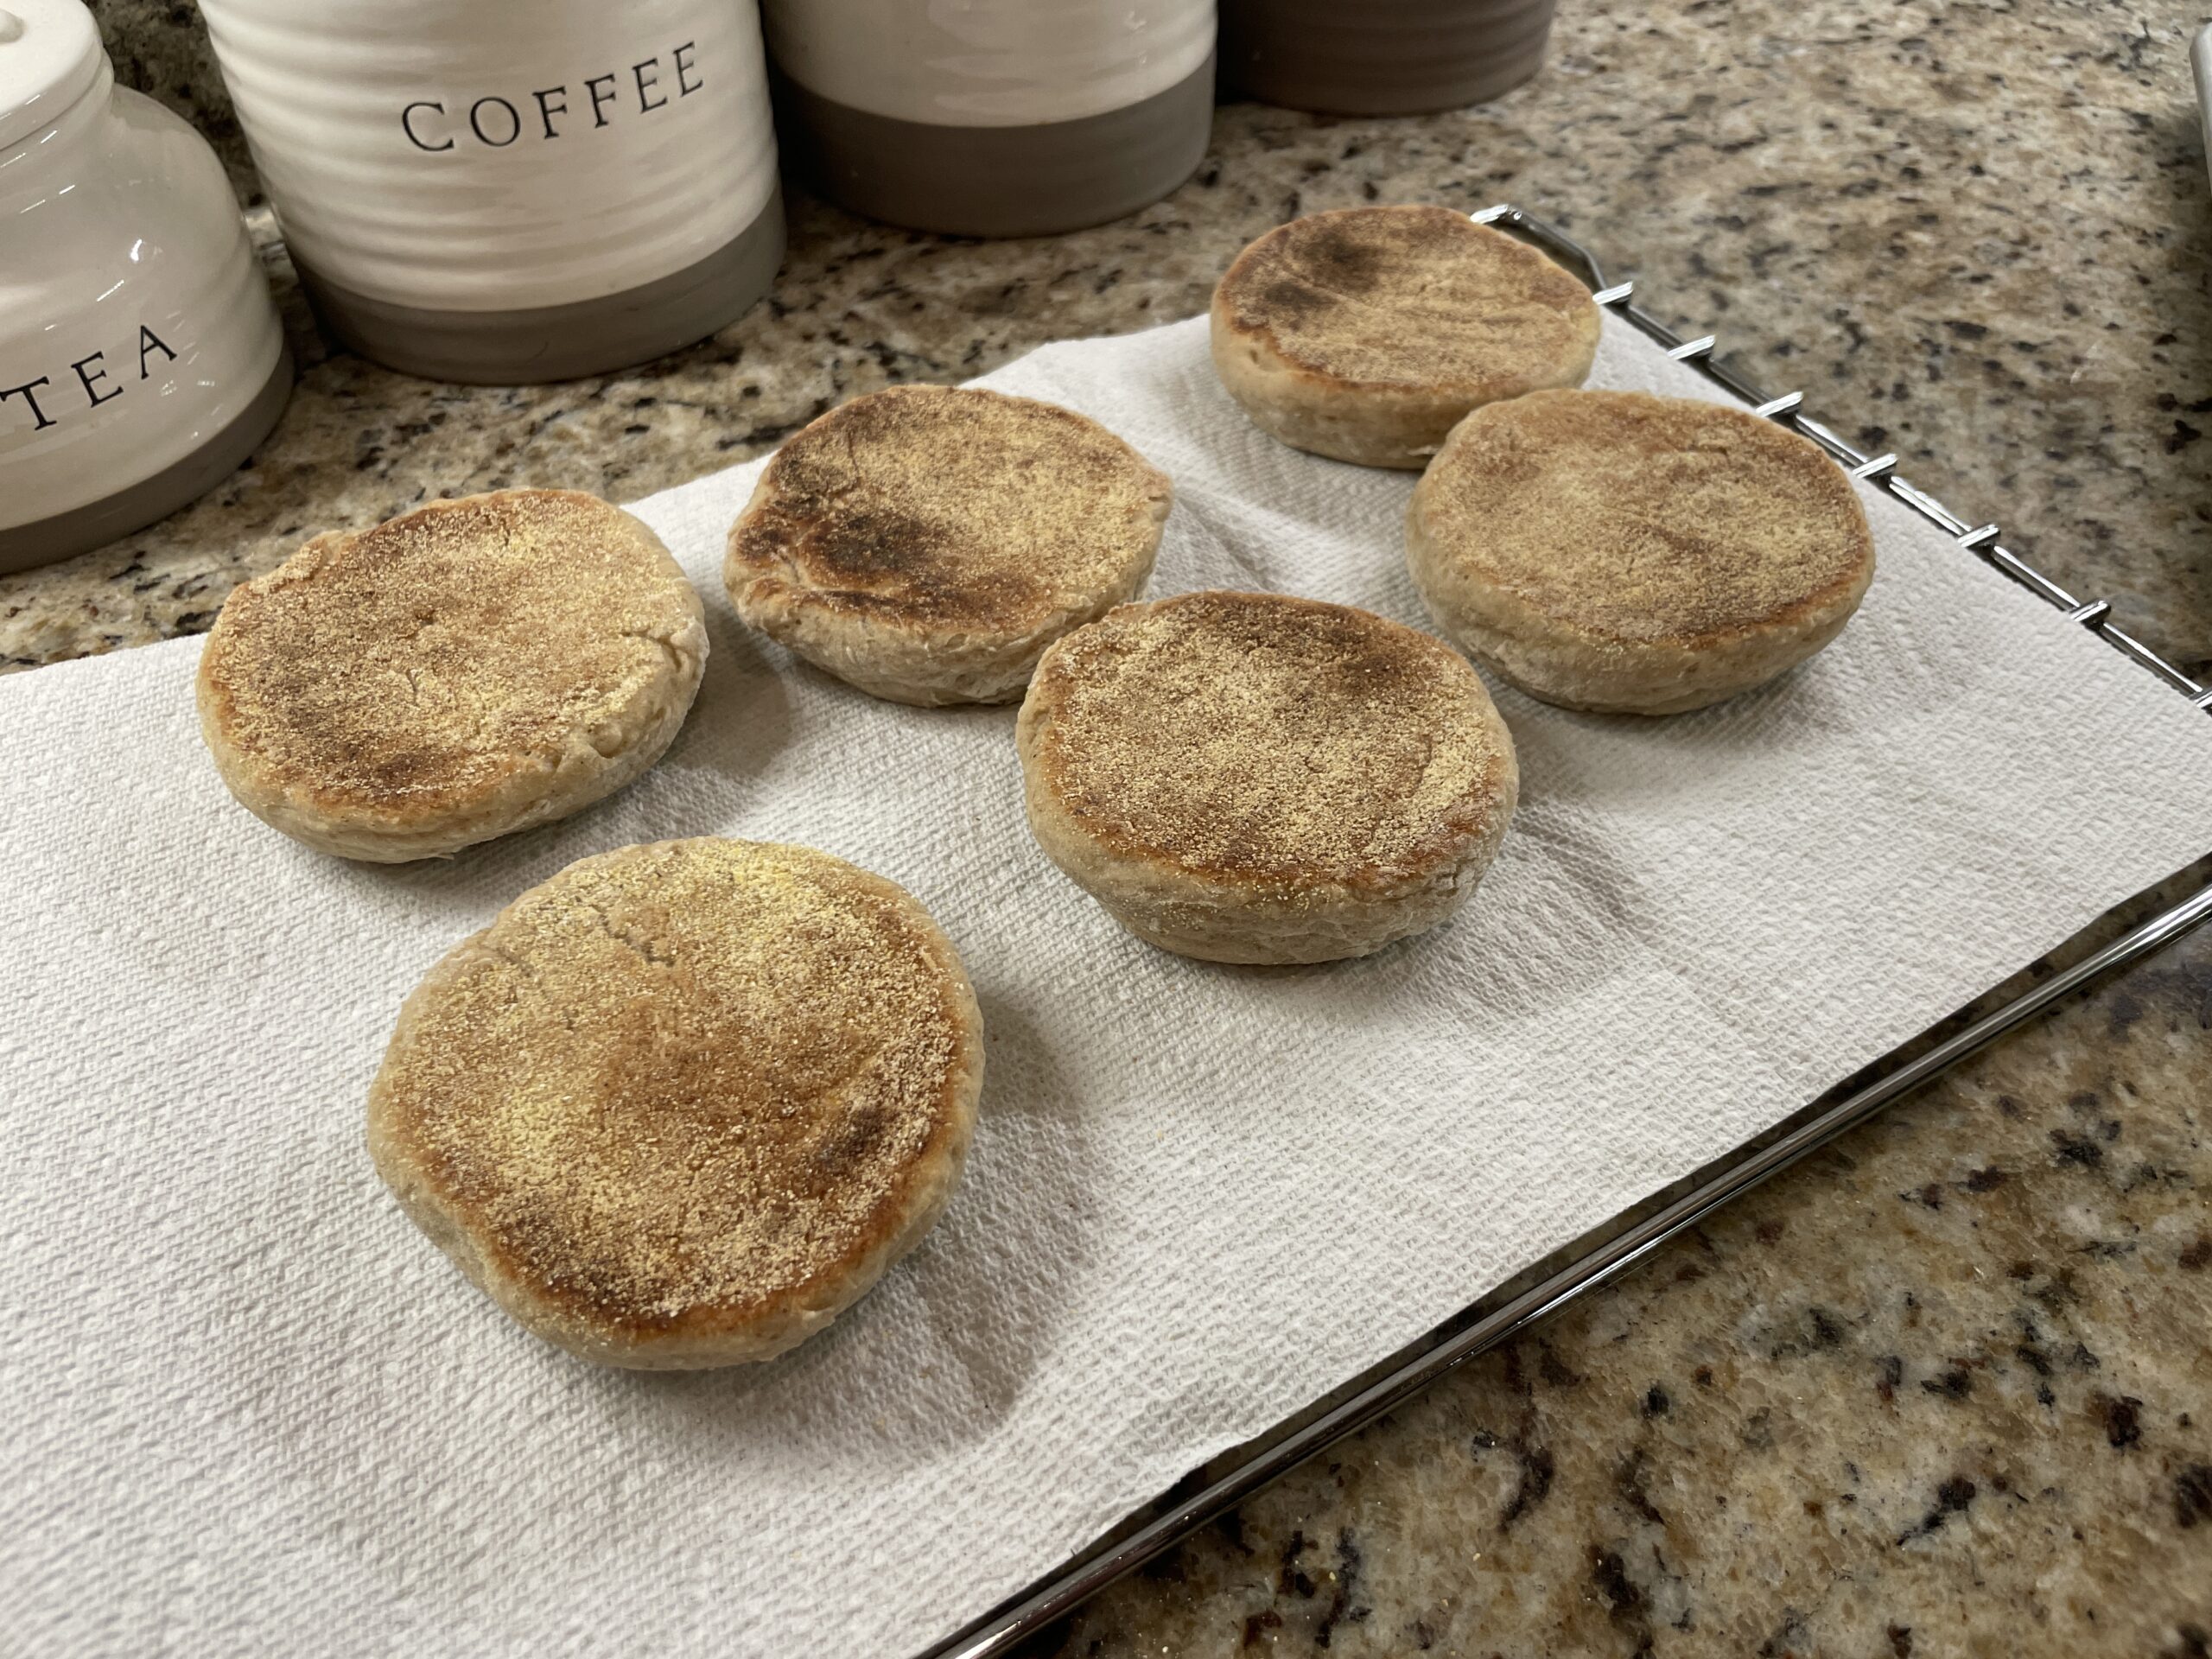
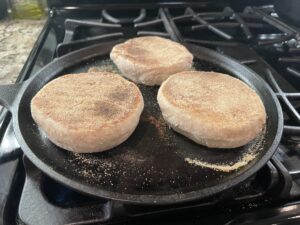
Once doubled in size you can remove from the oven and begin cooking. Cook on low heat so they cook all the way through. My cast iron isn’t very large so I cook them in batches of three at a time. Cook on one side for 11 minutes, then flip them over carefully and cook for another 11 minutes.
I’ve learned that even if they don’t look finished, when the 11 minutes is up they’re ready to turn. Then when the full 22 minutes is up they’re ready to come off. Let rest and cool for 45 to 60 minutes to avoid a gooey inside.
Just a few tips:
They are best fresh the day you cook them, but I also stick them in a zip bag or container (with a paper towel) to put in the toaster or microwave later.
Being gluten free it’s nice to have a sandwich type bread so I’ve used these for all sorts of things: just toasting and adding jelly, making a fried egg sandwich, even a peanut butter and jelly sandwich, as well as a turkey or chicken sandwich on occasion. Tons of ways to use these!

English Muffins: Allergen Friendly
Ingredients
Equipment
Method
- Gather your tools and ingredients. You will need a flat surface to cook your muffins on, on the stovetop.
- Using your large – 4 cup – measuring cup start by measuring out your water using your kitchen scale to get the exact amount of grams needed.
- Next, tare your scale and add the psyllium husk powder directly to the water. Stir, using a spatula, until mixed well and set to the side to gel.
- Using your medium – 2 cup – measuring cup measure out your milk on your scale. Then warm in the microwave for just a few seconds – should be warm to touch, not hot.
- Tare your scale and add the sugar and then your yeast to the warm milk. Stir slightly just until mixed and set aside to froth.
- In your mixing bowl, you will add all of your dry ingredients, don’t forget to tare your scale between each – potato starch, 1 to 1 flour, oat flour, salt. Mix the ingredients together and set aside.
- Lastly, you will measure out your oil and your vinegar separately and add them to your psyllium husk mixture that should be a gel at this point. Mix together well.
- Place your dry ingredients mixing bowl on your stand mixer and add all the wet ingredients – the psyllium husk mixture and the yeast/milk mixture.
- Using a dough hook, mix these ingredients for several minutes until well established dough is formed. It will be sticky and you may have to use a spatula to scrape the sides and incorporate some of the dry ingredients more thoroughly.
- Once a sticky dough is formed, sprinkle some 1 to 1 flour on your counter and pour the dough out onto the surface. Incorporate some of the flour on the surface of the dough to avoid it sticking to your hands. You can fold over the dough a few times but this isn’t necessary. You just want to form a flat circle of dough to be cut like scones into triangles.
- Once you have a flat circle of dough, use a knife or sharp blade to cut the circle into 8 triangular pieces. Each of these pieces needs to weigh 125 g, so you will need to use your scale to weigh and adjust as needed.
- Once the triangle is cut and weighs close to 125 g you will form it into a circle and place it on a lined pan that has been dusted with yellow cornmeal. You should have 8 round dough muffins on your pan when finished.
- Cover the dough with a towel or parchment paper and set in a warm place for 60 minutes to rise. I generally turn the light on in my oven (with no heat) and set the pan on the top rack just to provide a warm place for them to rise.
- Once the 60 minute rise time is up the muffins should have doubled in size. Place your cast iron skillet or flat cooking surface on your stovetop and turn the heat on low. Once the pan is hot you will transfer your muffins using a spatula and cook for 11 minutes on each side. Make sure you set a timer. When cooked through, set on a elevated surface with a paper towel or cloth so they can cool without getting soggy.
- ** Just a few notes for cooking. I generally turn the muffins in a clockwise motion while they are cooking because I have a gas stove and they can cook unevenly if I don’t.