Thanksgiving is the one holiday that we don’t have to miss out on the best part, THE TURKEY! The options are endless. From fried turkey to smoked turkey or spatchcocked turkey on the grill…the possibilities are endless. (Just be careful what you inject your turkey with and check ingredients first). But that’s not what I’m here for. I’m here for the sides. On the menu today we have gluten-free, diary-free, alpha-gal safe Mac n’ Cheese!
Is Mac n’ Cheese a Thanksgiving staple? Well, maybe for some but wasn’t the Mac n’ Cheese what you always went to as a kid? It’s just a fun addition that you know the kids will eat and that the adults secretly enjoy. This recipe adds an option for those of us with allergies, that pairs nicely with turkey!
The Recipe
Gluten free pasta is actually pretty easy to find these days. More so than it was ten years ago anyways. I don’t have any specific pasta that is my “favorite,” other than homemade obviously. You can find any gluten free pasta at your local grocery store to use for this. I use elbow pasta but you can use any kind you would like.
You’ll want to start by boiling the water while you’re working on the roux. That way the pasta and the roux will be ready at the same time and you can mix the ingredients.
While the water heats up for the pasta, get out your saucepan and melt your butter for your roux. It’s a good idea to get all of your roux ingredients together and ready ahead of time. Once the butter is melted and bubbling go ahead and add the flour. You’ll mix it in well and let it brown for just about a minute. Next, you will need to add the milk – whisking constantly as you slowly pour in the milk. Once the milk is incorporated you can take a minute to add your seasonings – pepper and garlic salt. Whisk well and often at this point. It will need to cook for 4 to 5 minutes to thicken but while it is cooking be sure you’ve added your pasta to your boiling water so it will be finished when the roux is finished.
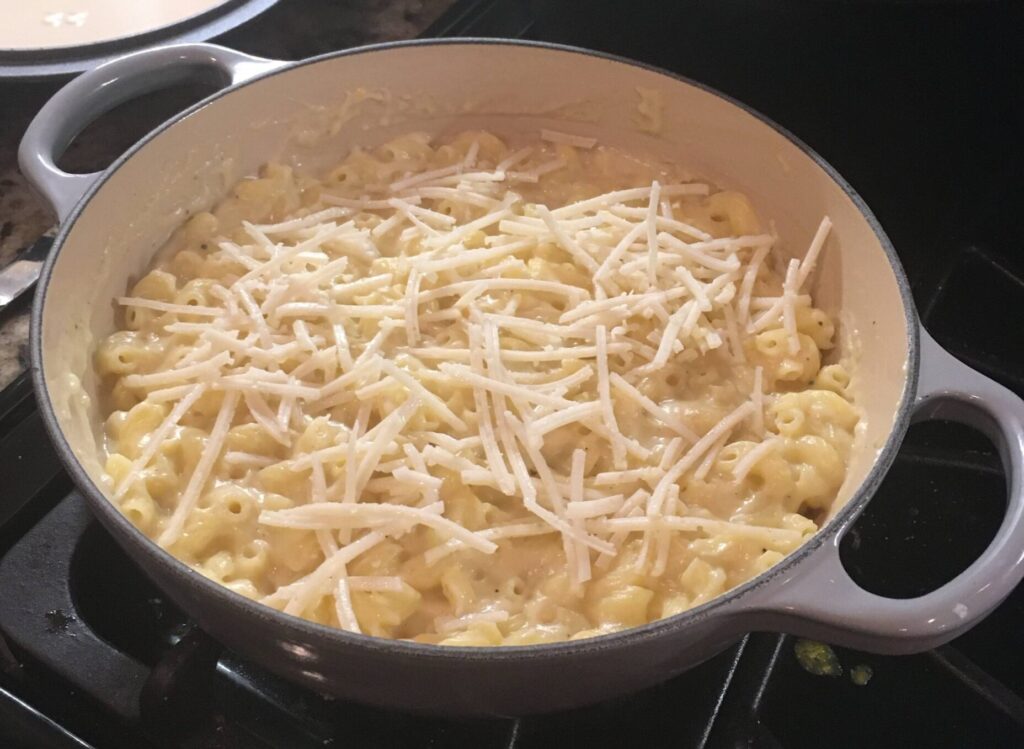
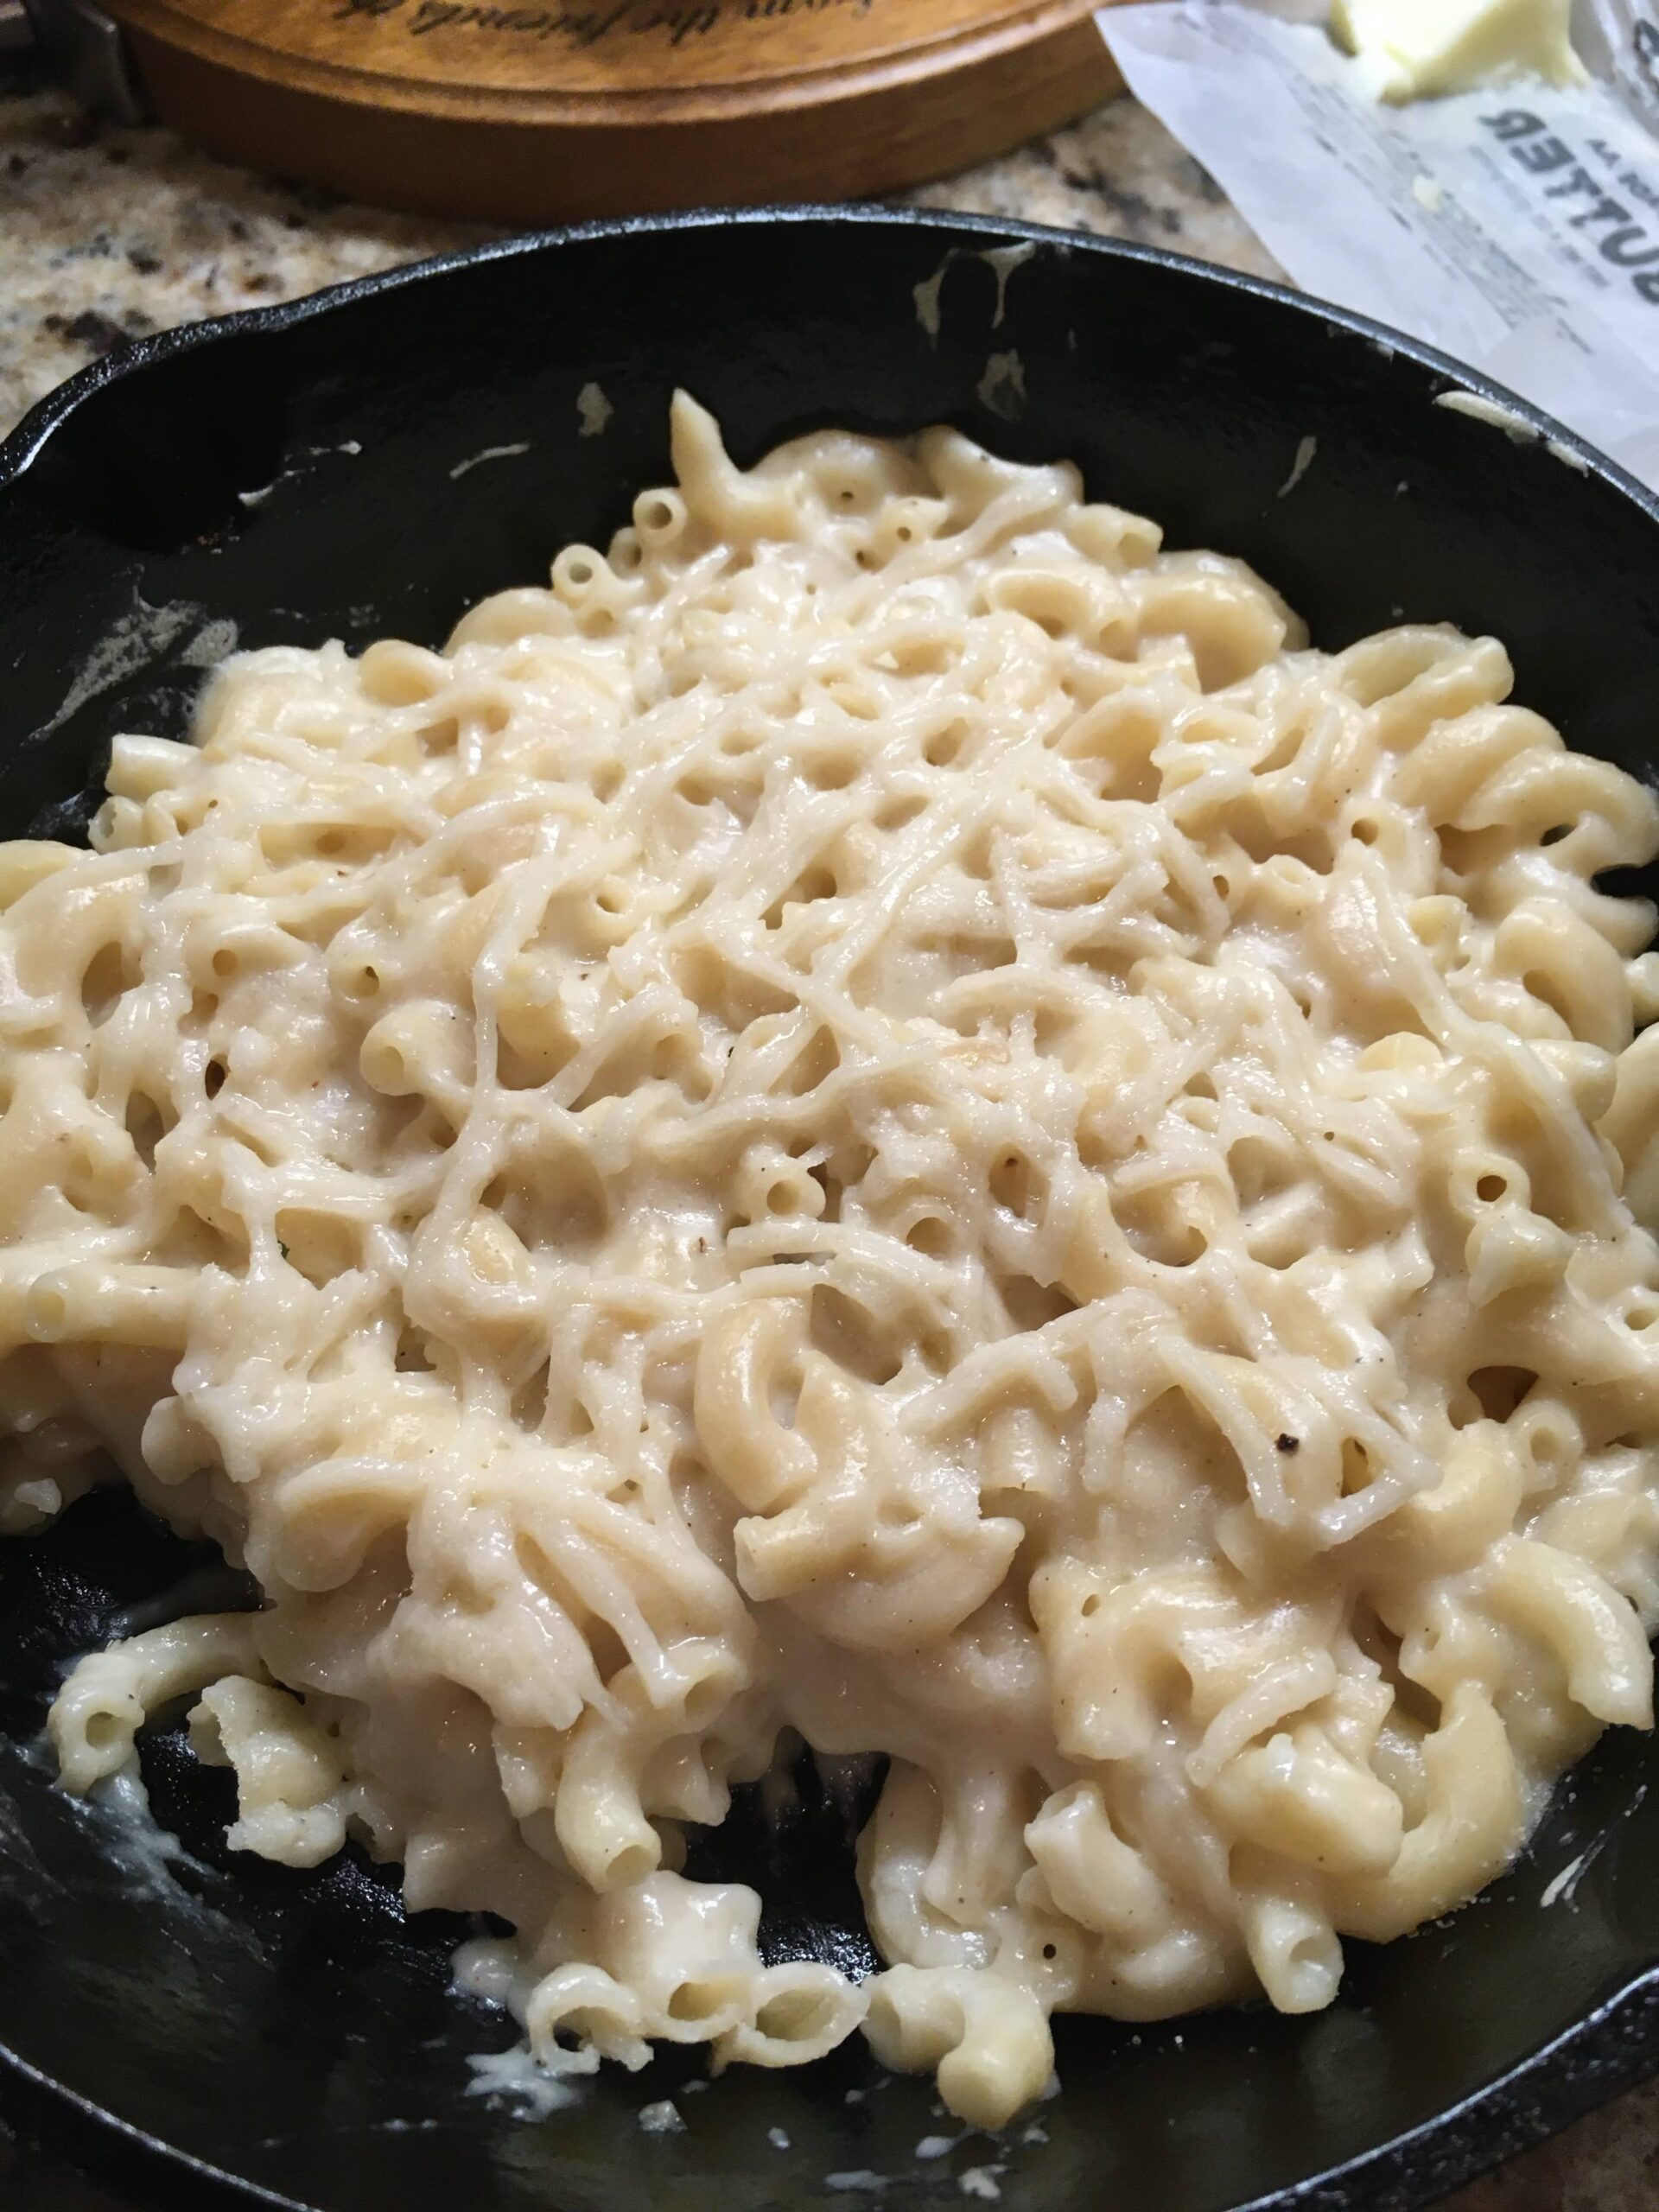
Once the pasta is cooked and drained, you’ll take the thickened roux and pour it over the pasta. At this point, add your cheese and then mix all the ingredients together. Pour your Mac n’ Cheese mixture into a 9×13 pan or some sort of similarly sized casserole dish and top it with the additional Daiya cheese shreds.
Finally, you’ll put it in the oven on 350 degrees for 20 to 30 minutes until the cheese on top has melted. Remove from the oven and serve with really any other main entree. Mac n’ Cheese pairs well with most meals.
Side Note
This was a recipe that I created from Miss Kay Robertson’s cookbook. I would make her Mac n’ cheese recipe for my husband and the kids and the creamy, cheesy”ness” made me miss being able to eat it. So I changed a few ingredients to make it work as a gluten-free, dairy-free and Alpha Gal friendly option. If you want her original recipe you can find a link to her cookbook on my linktr.ee shop on Instagram or you can click the link above. (IG link is at the bottom of this page) Keep in mind that her cookbook is not allergen free recipes. This is just a recipe that I used as a guide and changed some ingredients to make it safe.
Macaroni N’ Cheese
Ingredients
Equipment
Method
- Preheat oven to 350 degrees.
- Cook the pasta according to the package directions.
- While the pasta is boiling, melt the butter in your saucepan on medium heat. Add flour, stirring continuously. When combined, slowly whisk in the milk. Add salt, pepper and other seasonings at this point. Whisk until it thickens, then turn off the heat.
- Drain the pasta and then cover with the roux and add 1½ cups of the cheese and mix together.
- Pour into a casserole dish or a 9 x 13 and sprinkle with the remaining cheese.
- Bake until the cheese has melted and the pasta is hot.