As simple as it is, pizza is a wholesome meal. Depending on how you “decorate” (what my kids call it) your pizza, it can include almost every food group. This gluten-free, dairy-free and Alpha-Gal safe pizza is requested often in our house.
Some Alpha-Gal safe suggested toppings:
- Cheese – dairy free of course
- Vegetables – grilled or raw peppers, spinach, tomatoes, broccoli, onion, olives, etc.
- Fruit – pineapple, apple, berries – some people even use pear
- Meat – turkey pepperonis, grilled or smoked chicken, turkey bacon, ground taco turkey meat, smoked turkey sausage (cooked in the air fryer) etc.


Although, I do often order pizza out for the rest of the family to eat, we also enjoy making our own at home. A tool that I’ve come to love in my home, is my bread maker and honestly I can’t say that I’ve ever actually made bread in it. But I use it often to make dough for things using the dough setting.
The Dough – Gluten Free
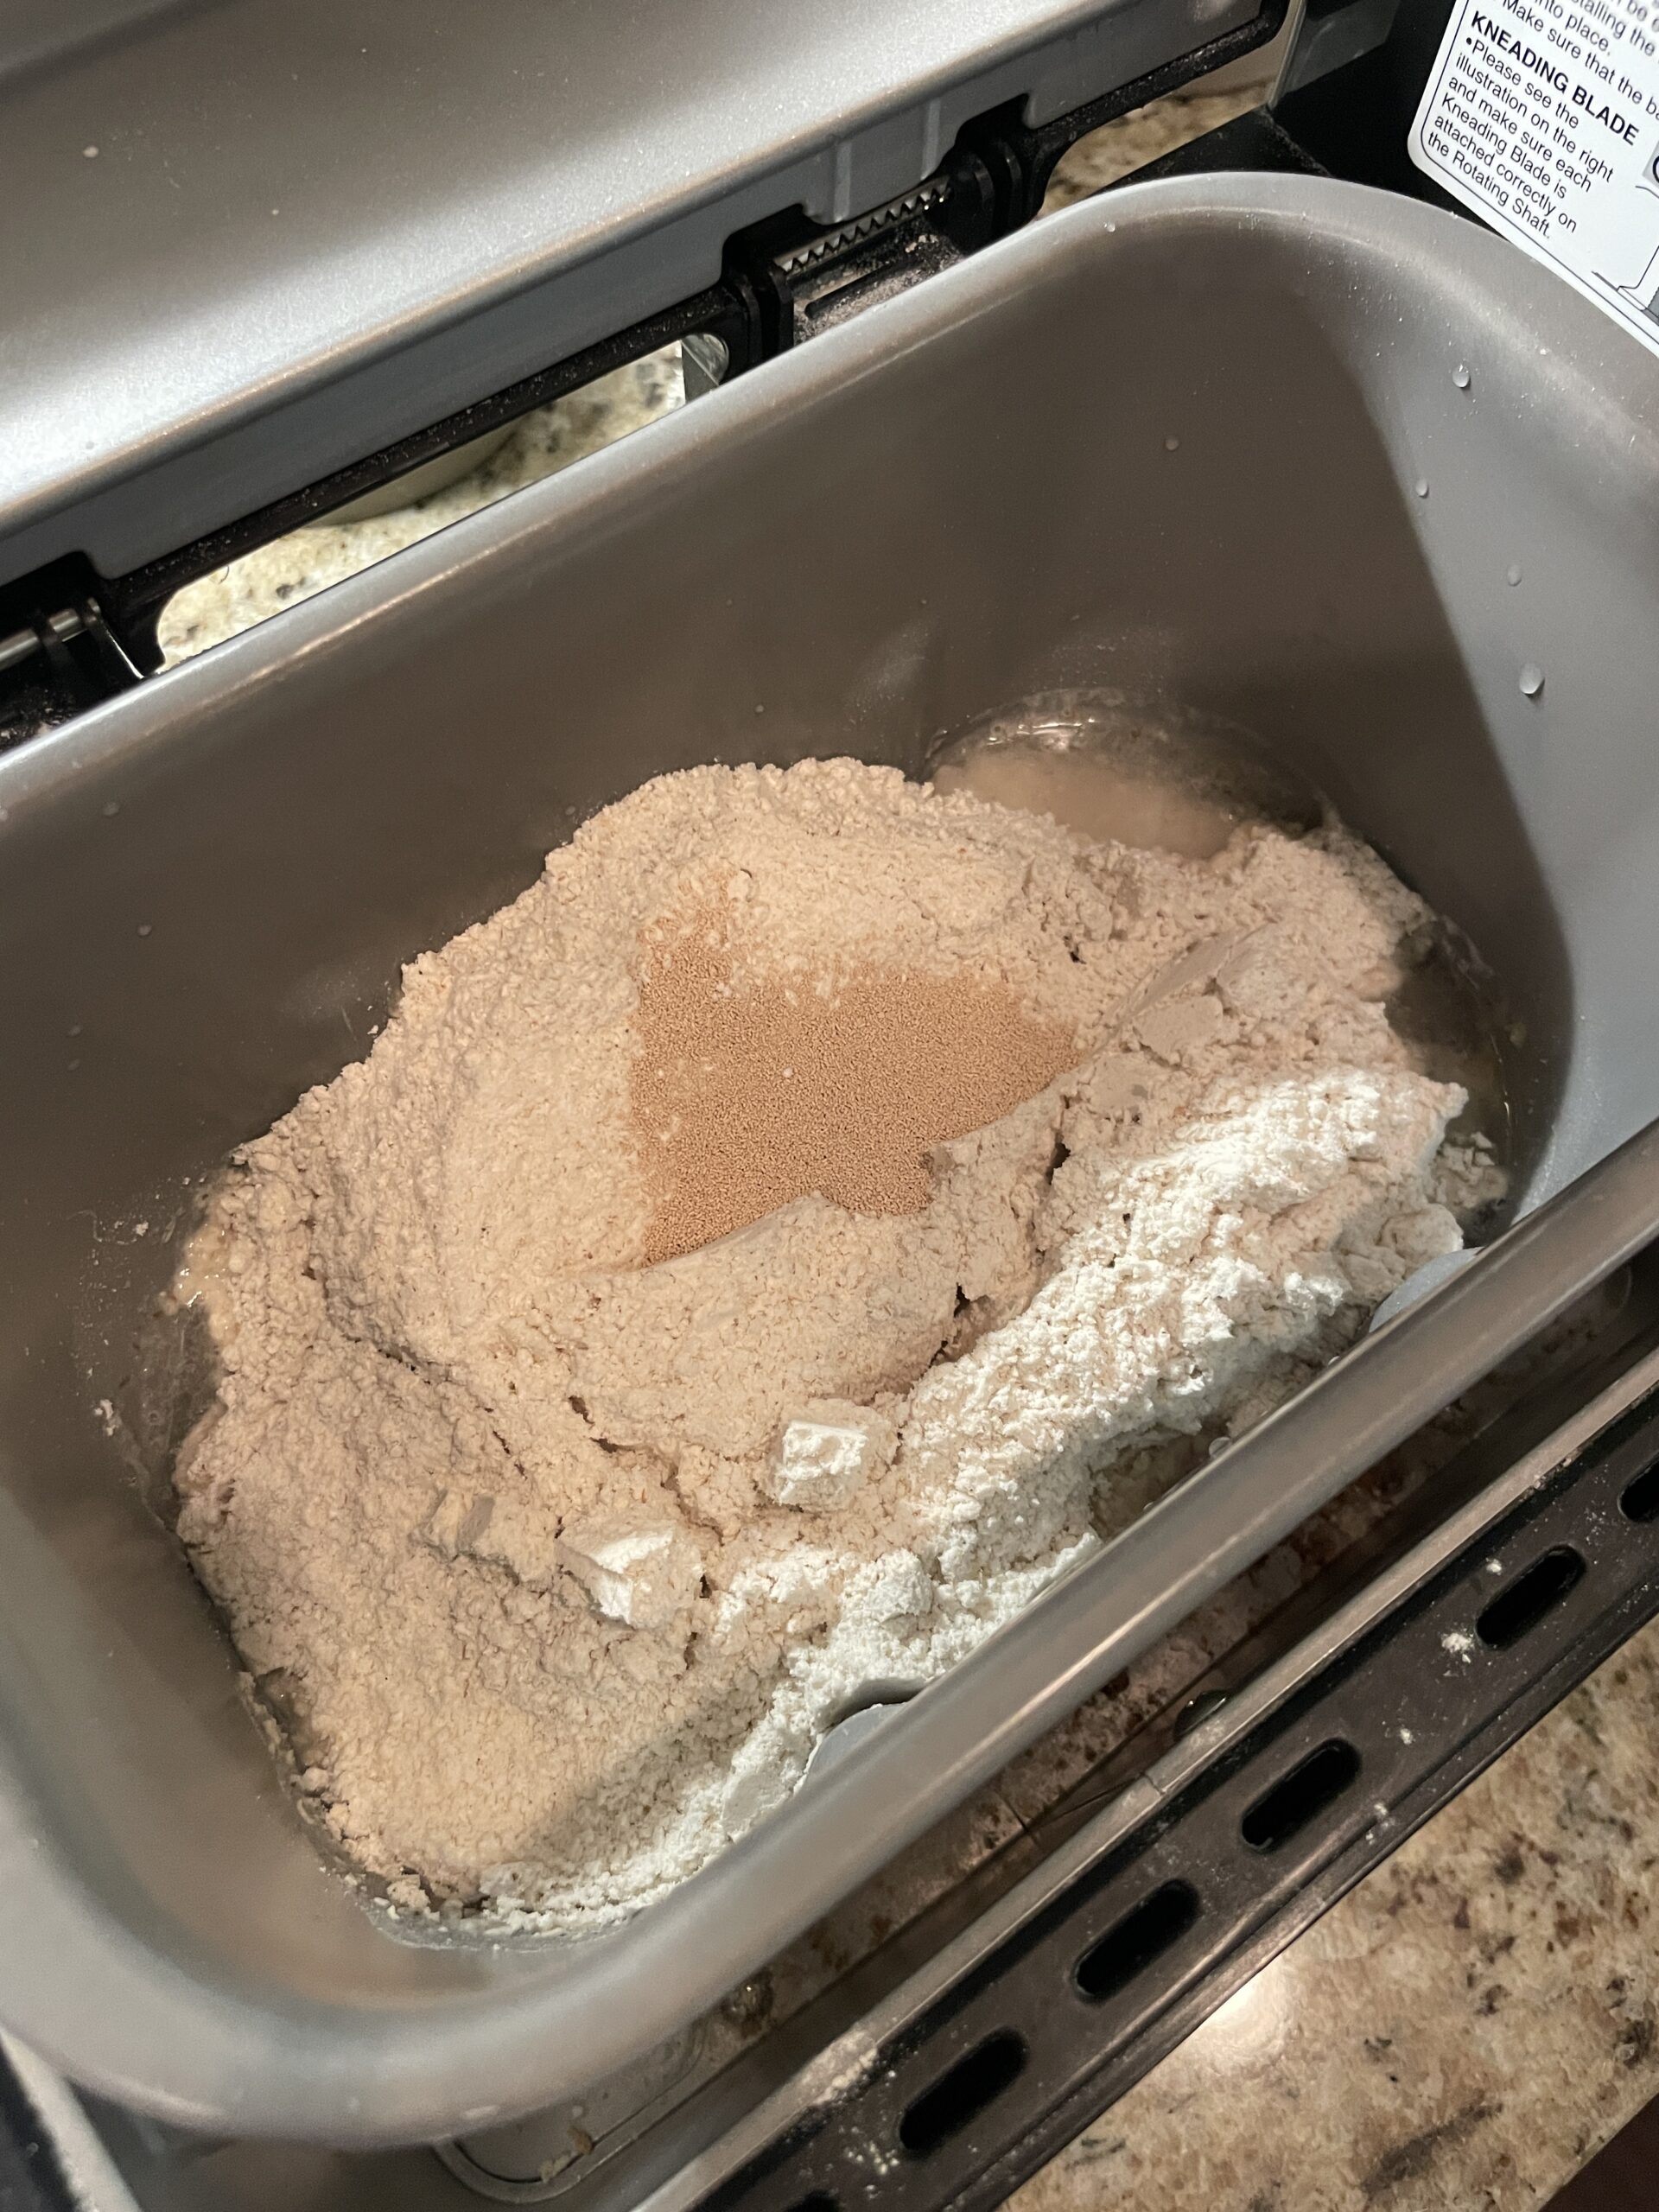
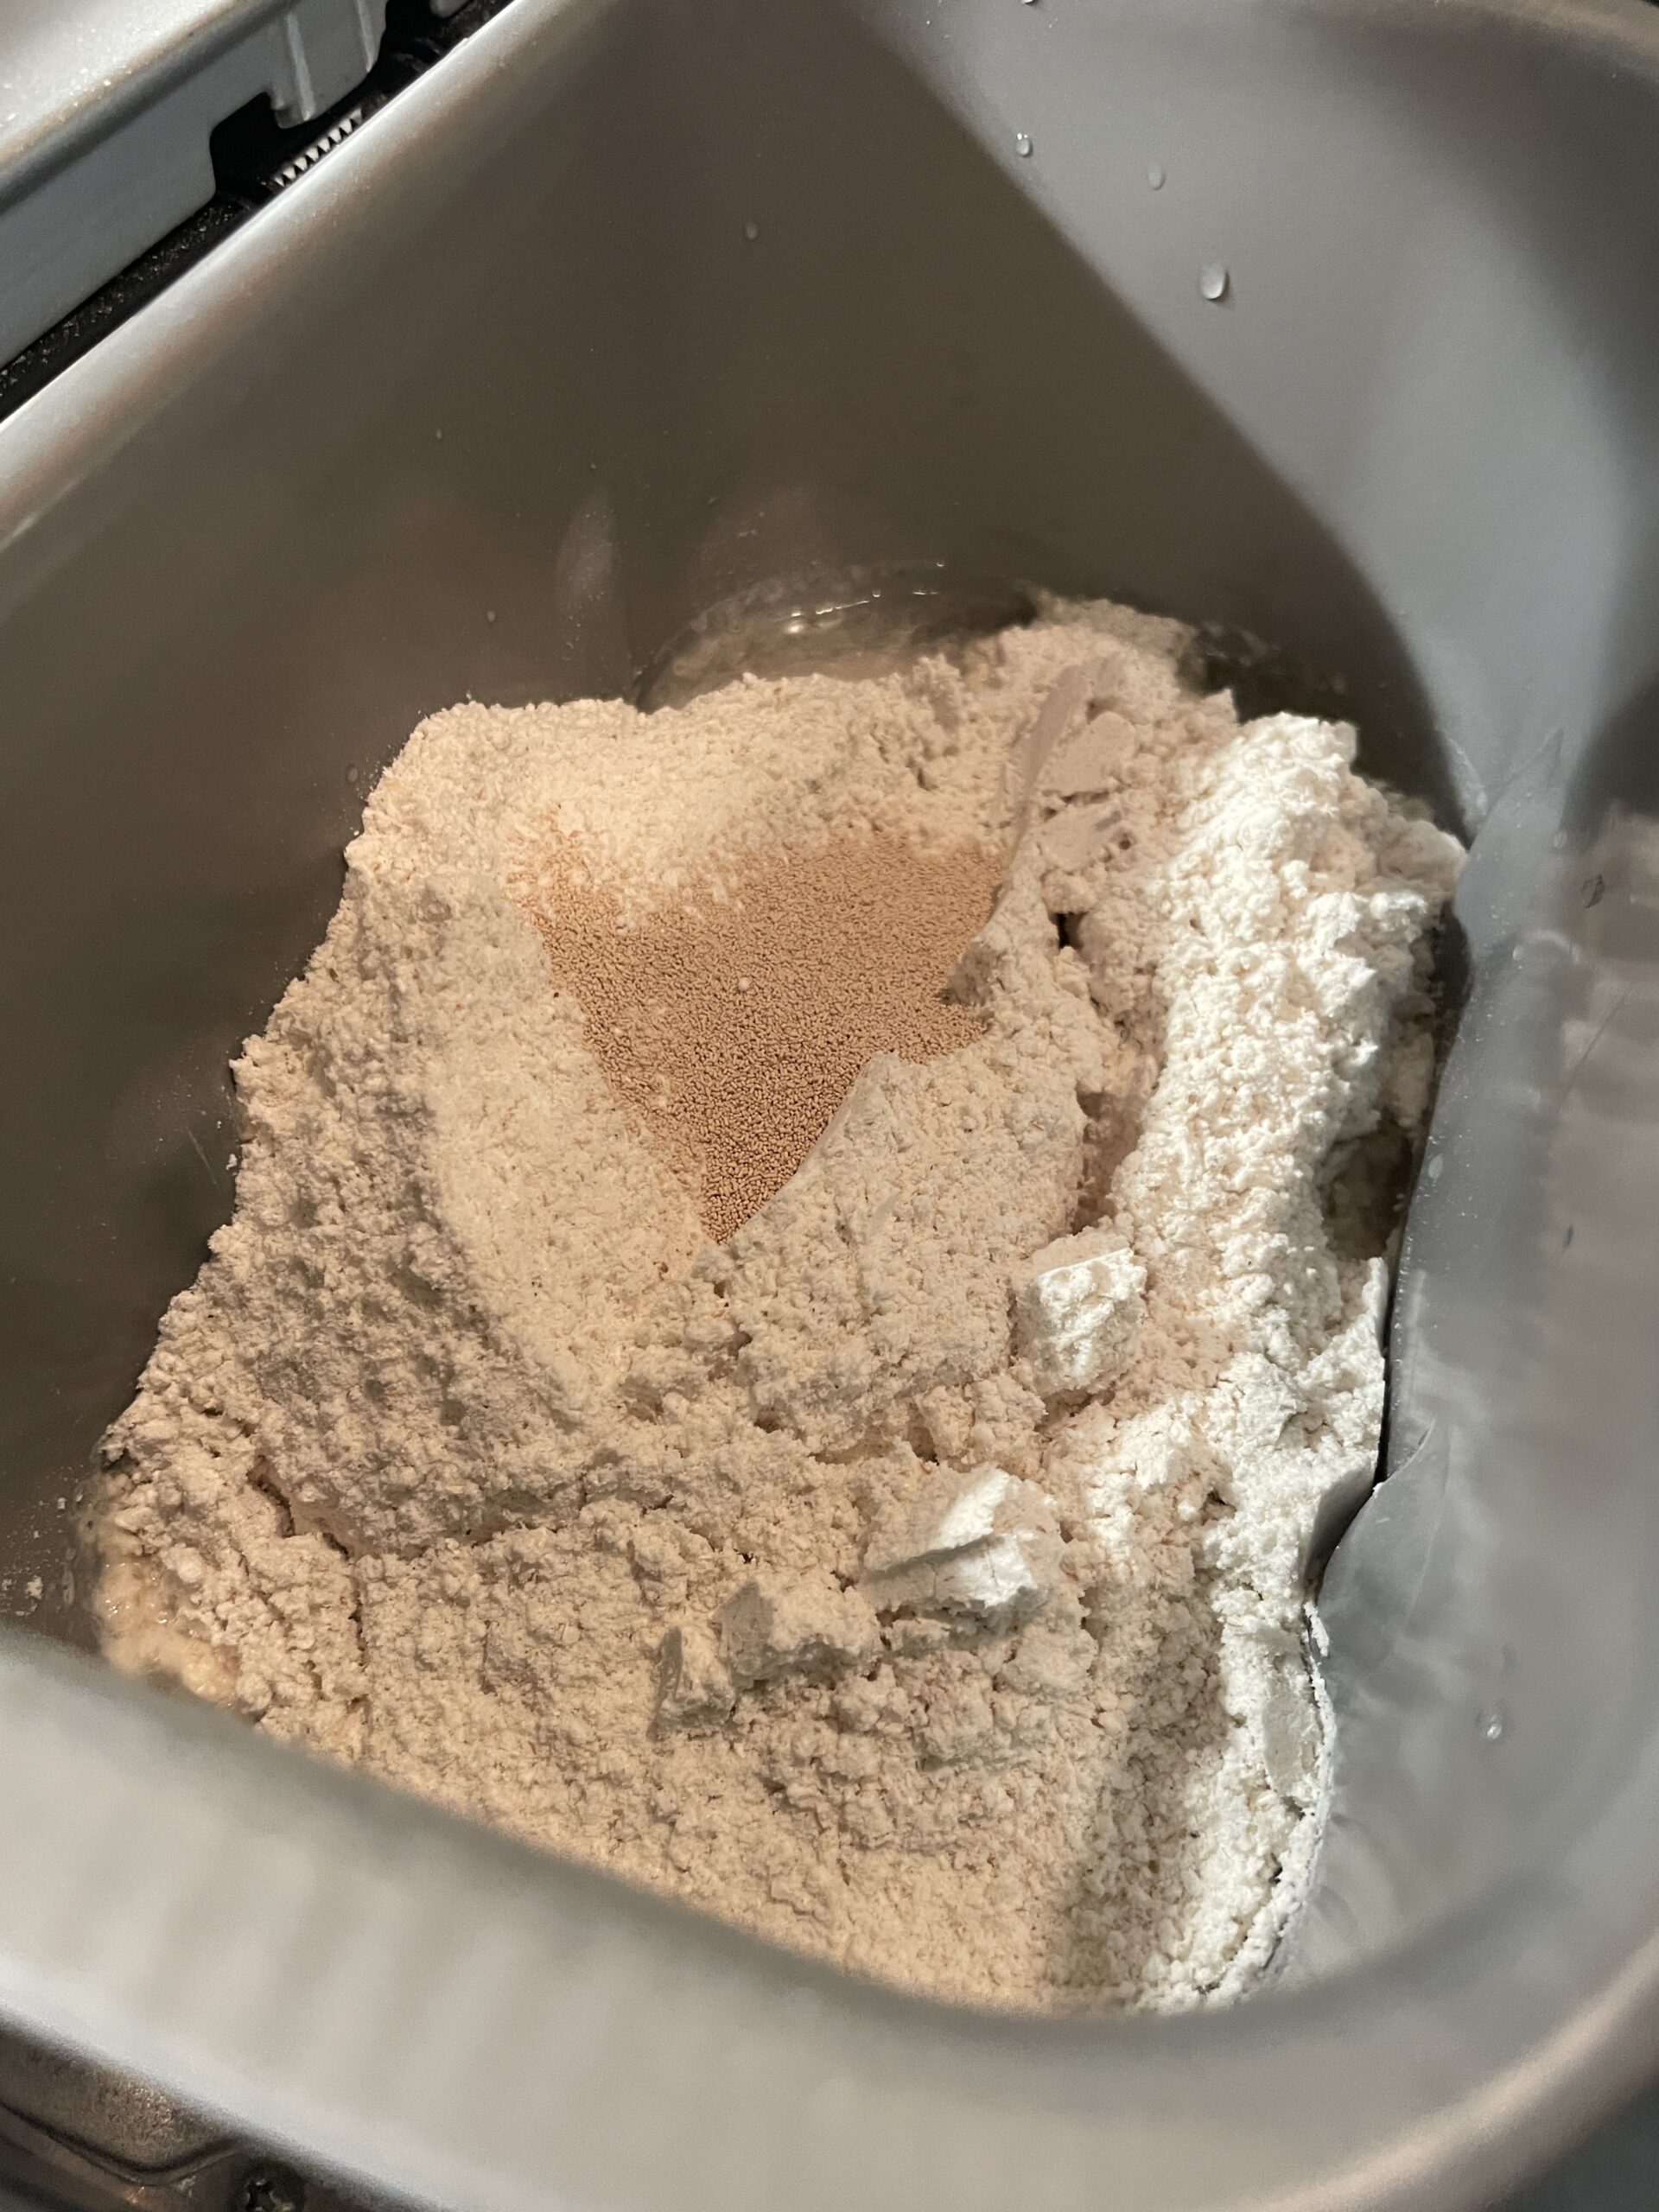
The recipe posted below is for the gluten-free pizza dough in a bread machine but you could easily make it by hand, there’s just some kneading and rising that will have to be done. My bread machine dough setting is 45 minutes long and it does the kneading and rising all for me. I have a Zojirushi bread machine but you can use any machine that has a dough setting. Just keep in mind that all the wet ingredients go in first on the bottom and the dry ingredients go in last, on top of the liquid.

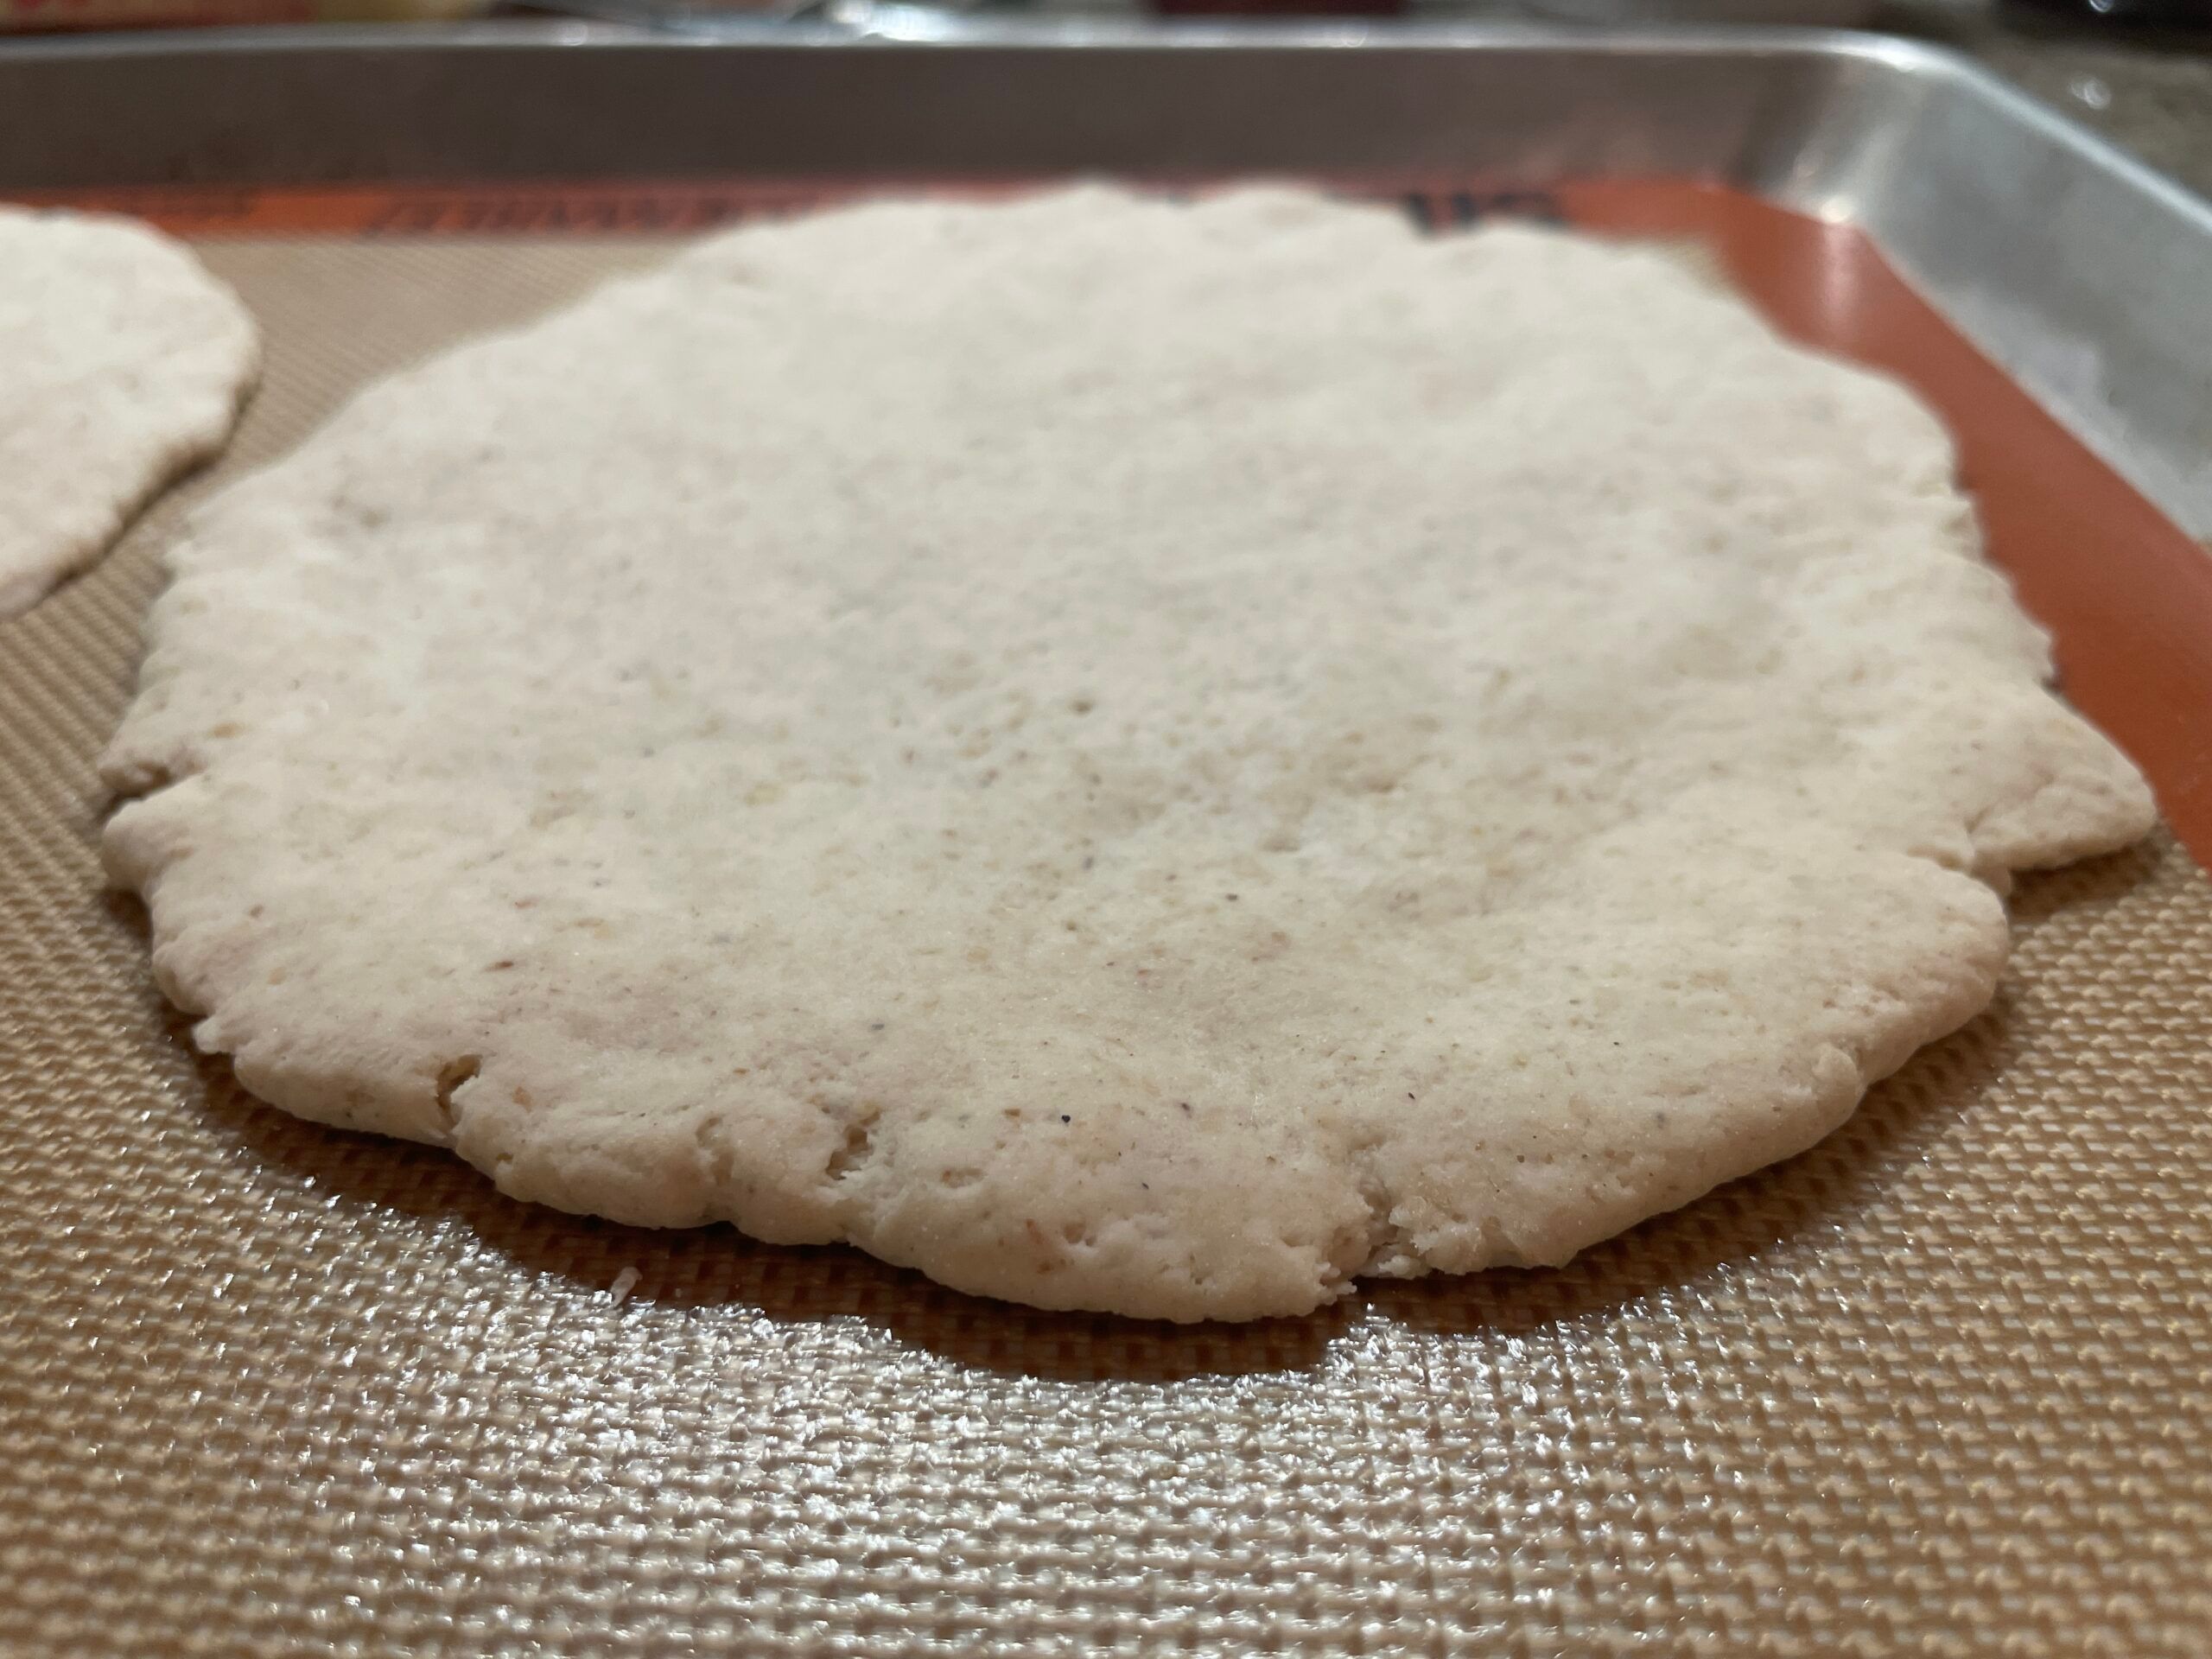
This gluten-free dough is soft, pliable and it can give you the large yeast bubbles, just let it rest before adding toppings. In the recipe, I add psyllium husk powder and potato starch, both of which help with the pliability of the gluten-free flour. These two ingredients allow for this bread to be chewy and soft instead of crumbly and brittle. I generally just pull and shape the dough to form the crusts but you can also use a rolling pin and roll it out to get a thinner crust for a more crispy pizza. This recipe will make enough dough for four 10” pizzas.
There are several options if you have extra dough, you can:
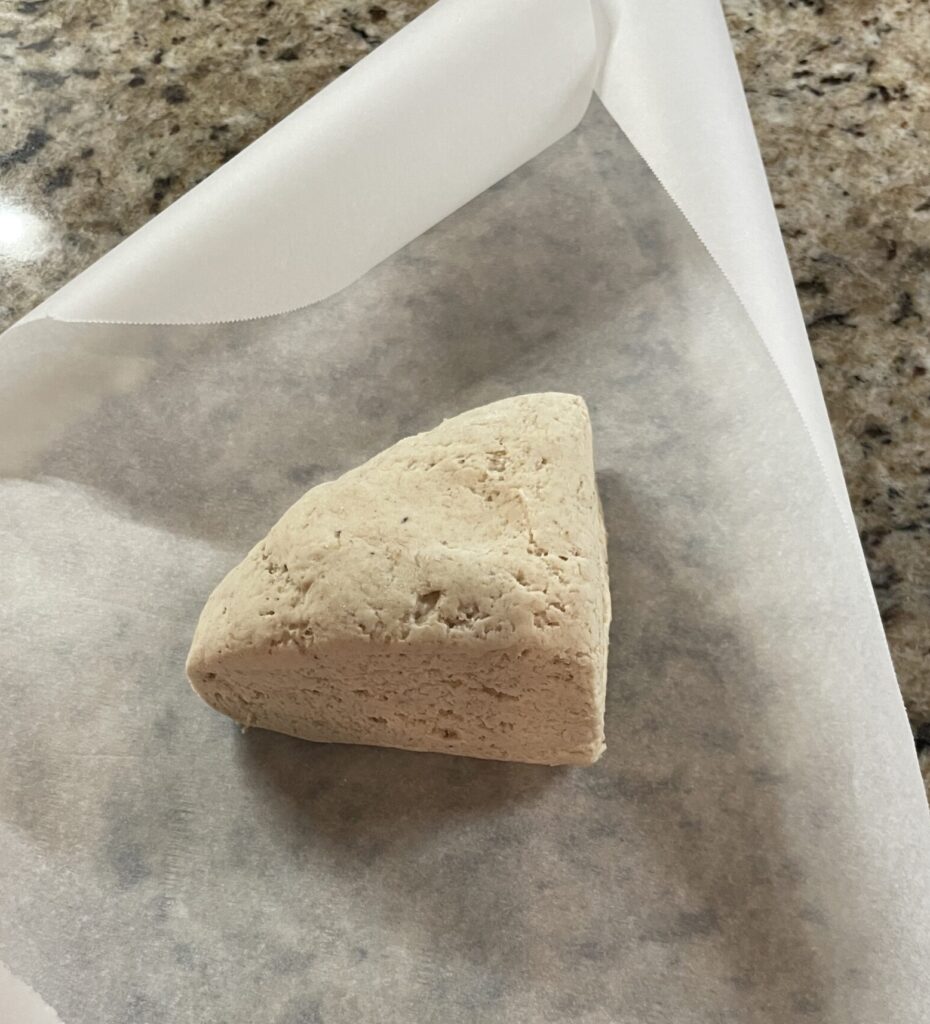
~ cut the dough into fourths, wrap portions in freezer paper and place in a ziplock bag then put in the freezer to thaw and used later
OR
~ go ahead and make the pizza with toppings, sauce and cheese, wrap well and place in a gallon freezer bag to store in the freezer. This can cook from frozen at a later time.

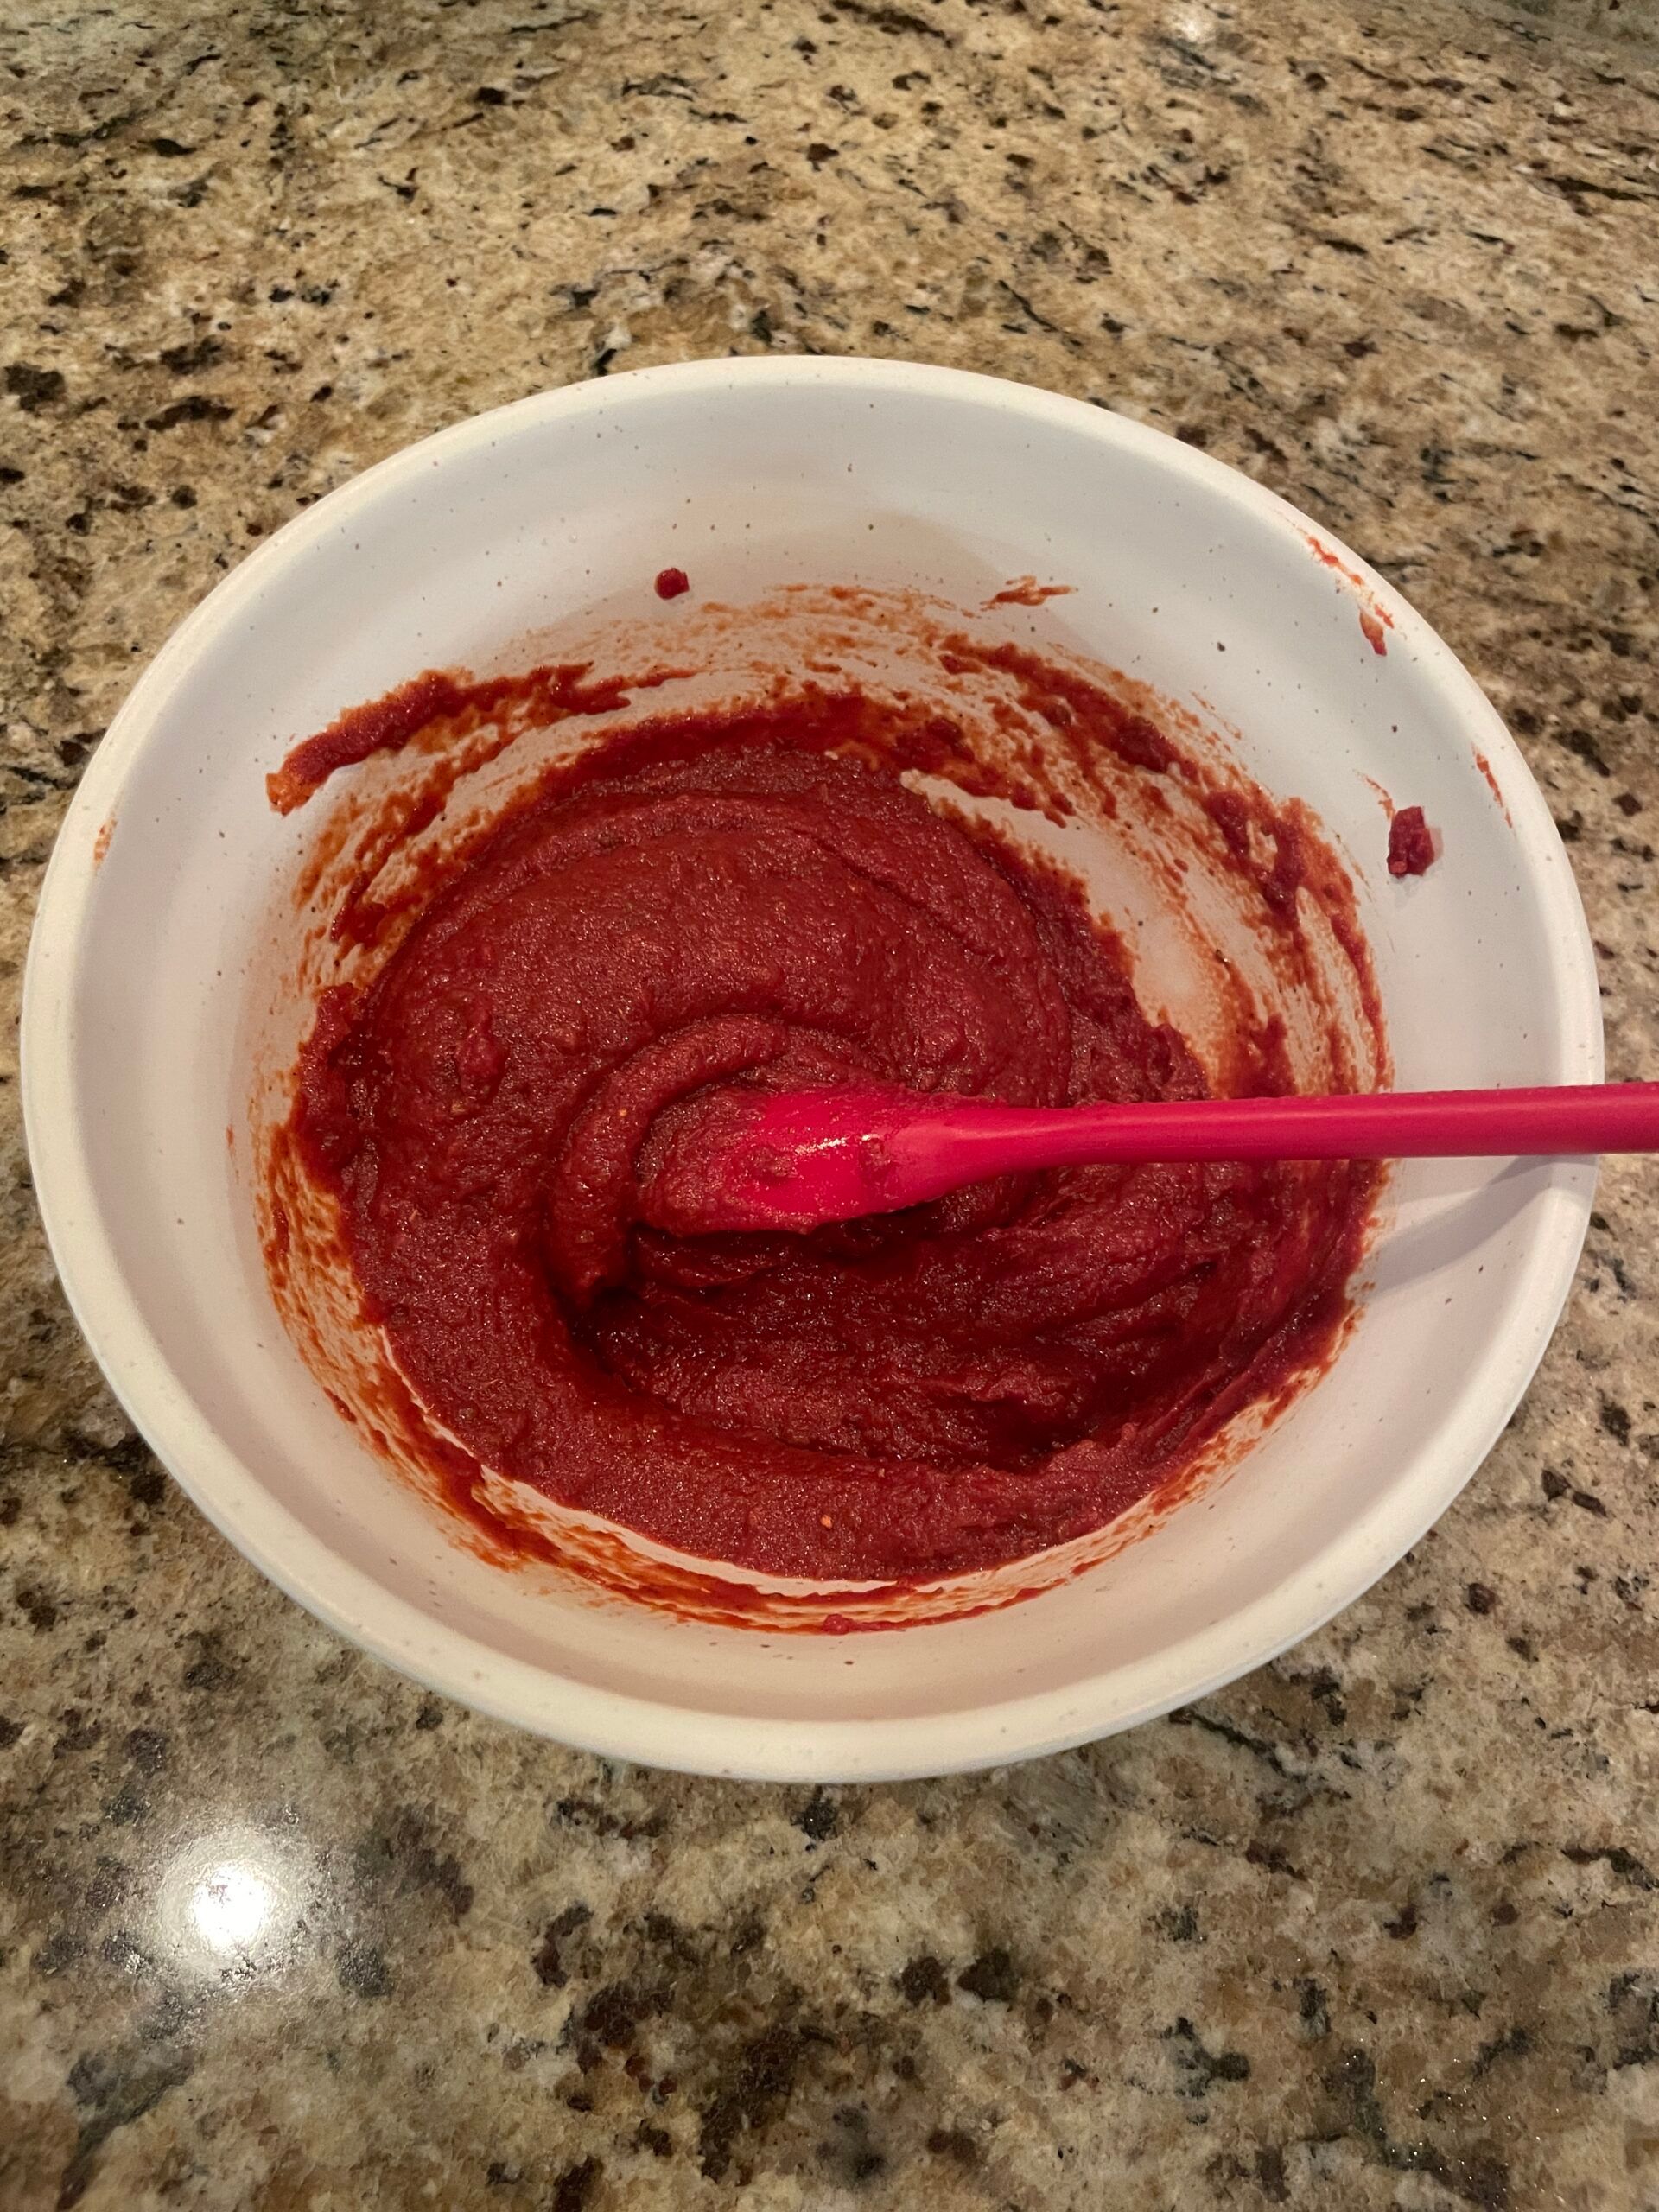
The Sauce
For the sauce, you can definitely just buy some pizza sauce and I do know that there are some Alpha-Gal friendly ones. However, I do like making my own. All I need is a few basic ingredients I already, generally, have on hand. Things like olive oil, oregano, garlic salt, white vinegar, a can of tomato paste, etc. I do like a thicker pizza sauce. If you prefer a thinner more runny sauce though, you can use canned tomato sauce instead of paste. The recipe calls for tomato paste. If you use tomato sauce you will need to adjust the oil and vinegar.

The Toppings
This is where you can get creative and personalize your pizza. I often will go through and see what left over meat we have or vegetables we have on hand, etc. before deciding if I need to make other things. For instance, taco meat left from Taco Tuesday, smoked chicken or smoked sausage. If we do, I just dice it up in small pieces and add it as a topping to our pizzas.
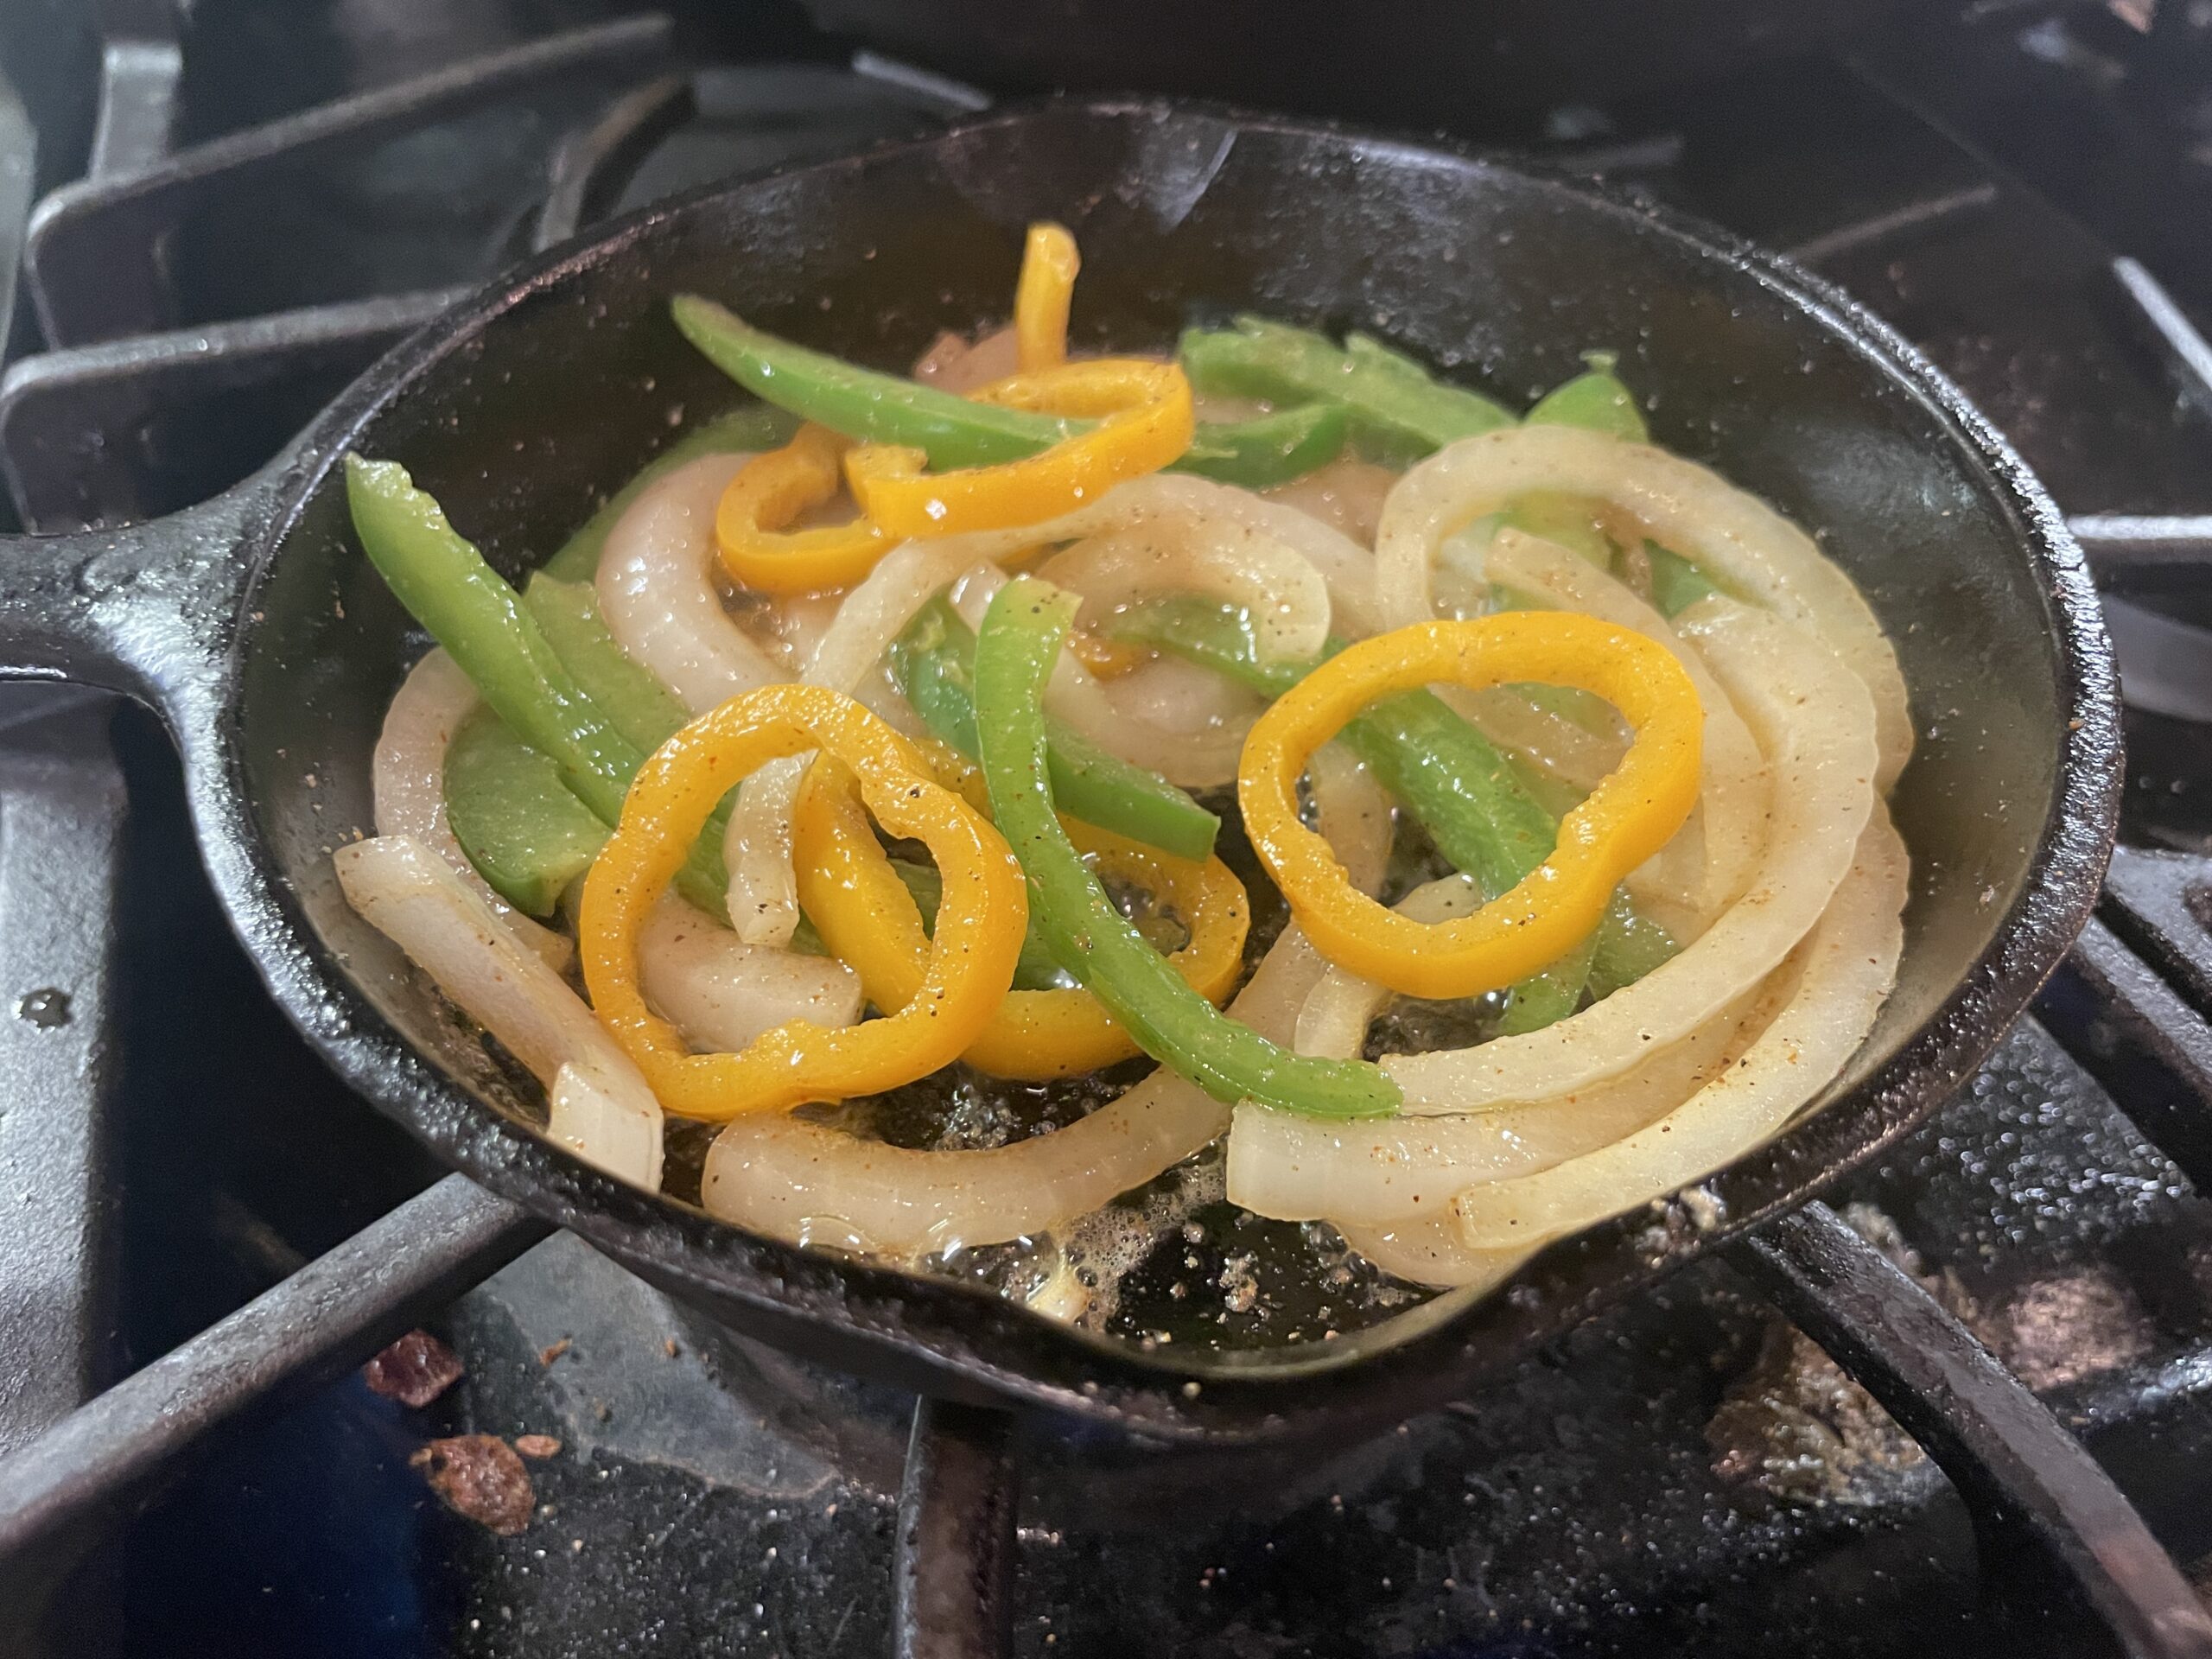
The kids don’t like peppers and onions so they generally just have meat and cheese. My husband and I both like peppers and onions though so I will sauté a pan of them and have them ready to add. Again though, really whatever vegetables you have in your fridge will work. For example, roasted veggies like broccoli, brussel sprouts, or spinach, etc. can all be great options.

Cooking
The cook time really isn’t long at all. The main focus is that the cheese is melted. The Daiya dairy free cheese shreds that I use do take a bit longer to melt. Generally by the time the cheese melts, and is perhaps browning/bubbling a bit, the crust is cooked all the way through and is ready to come out of the oven.
Last Note … Really, I promise!!!
In reality it probably seems daunting to go through all these steps and make everything from scratch. But really it’s just a matter of a few steps. The bread machine saves me time. While it’s making the dough I can preheat the oven, make the sauce, gather the meat and veggies from the fridge or cook what I need to. Then once the dough is done I have everything else ready to go.
Each person having their own personal pizza allows the kids to have some left overs for lunch the next day perhaps or even some pieces to stick in the freezer to be reheated later. It’s a win-win for me, I get dinner and lunch for the kids out of it! With the added perk of it being delicious!
Homemade Pizza
Ingredients
Equipment
Method
- If you are using a bread machine, go ahead and get that out and make sure you have all the parts. You can go ahead and set it to the dough setting. I go ahead and start mine because it takes a few minutes to warm up at the very beginning.
- If you are mixing the dough by hand, you’ll need to add dry ingredients to the bowl first and then all the wet ingredients. Mix well with a non-stick spatula and then continue to knead the dough until it reaches a smooth consistency.
- While the bread machine is warming up go ahead and start adding the ingredients in the order listed on the recipe (wet ingredients first – on the bottom (with the exception of the salt and sugar) then dry ingredients last – on the top)
- Close the lid and let the machine work. My cycle is for 45 minutes. Yours should be something similar.
- This is when I get my small bowl and start making the homemade tomato sauce. You’ll add all of the sauce ingredients into the small mixing bowl and stir until completely combined. If you want a thinner sauce you can add more oil or vinegar a tsp at a time.
- If you are sautéing peppers and onions or cooking any type of meat topping you would do this now while the dough is being prepared. Suggested toppings are in the blog post above.
- Once you have your sauce ready and your toppings chopped up, cooked and ready to spread you can go ahead and preheat your oven to 350 degrees F.
- Prepare your sheet pan by adding a non-stick cooking sheet or spray.
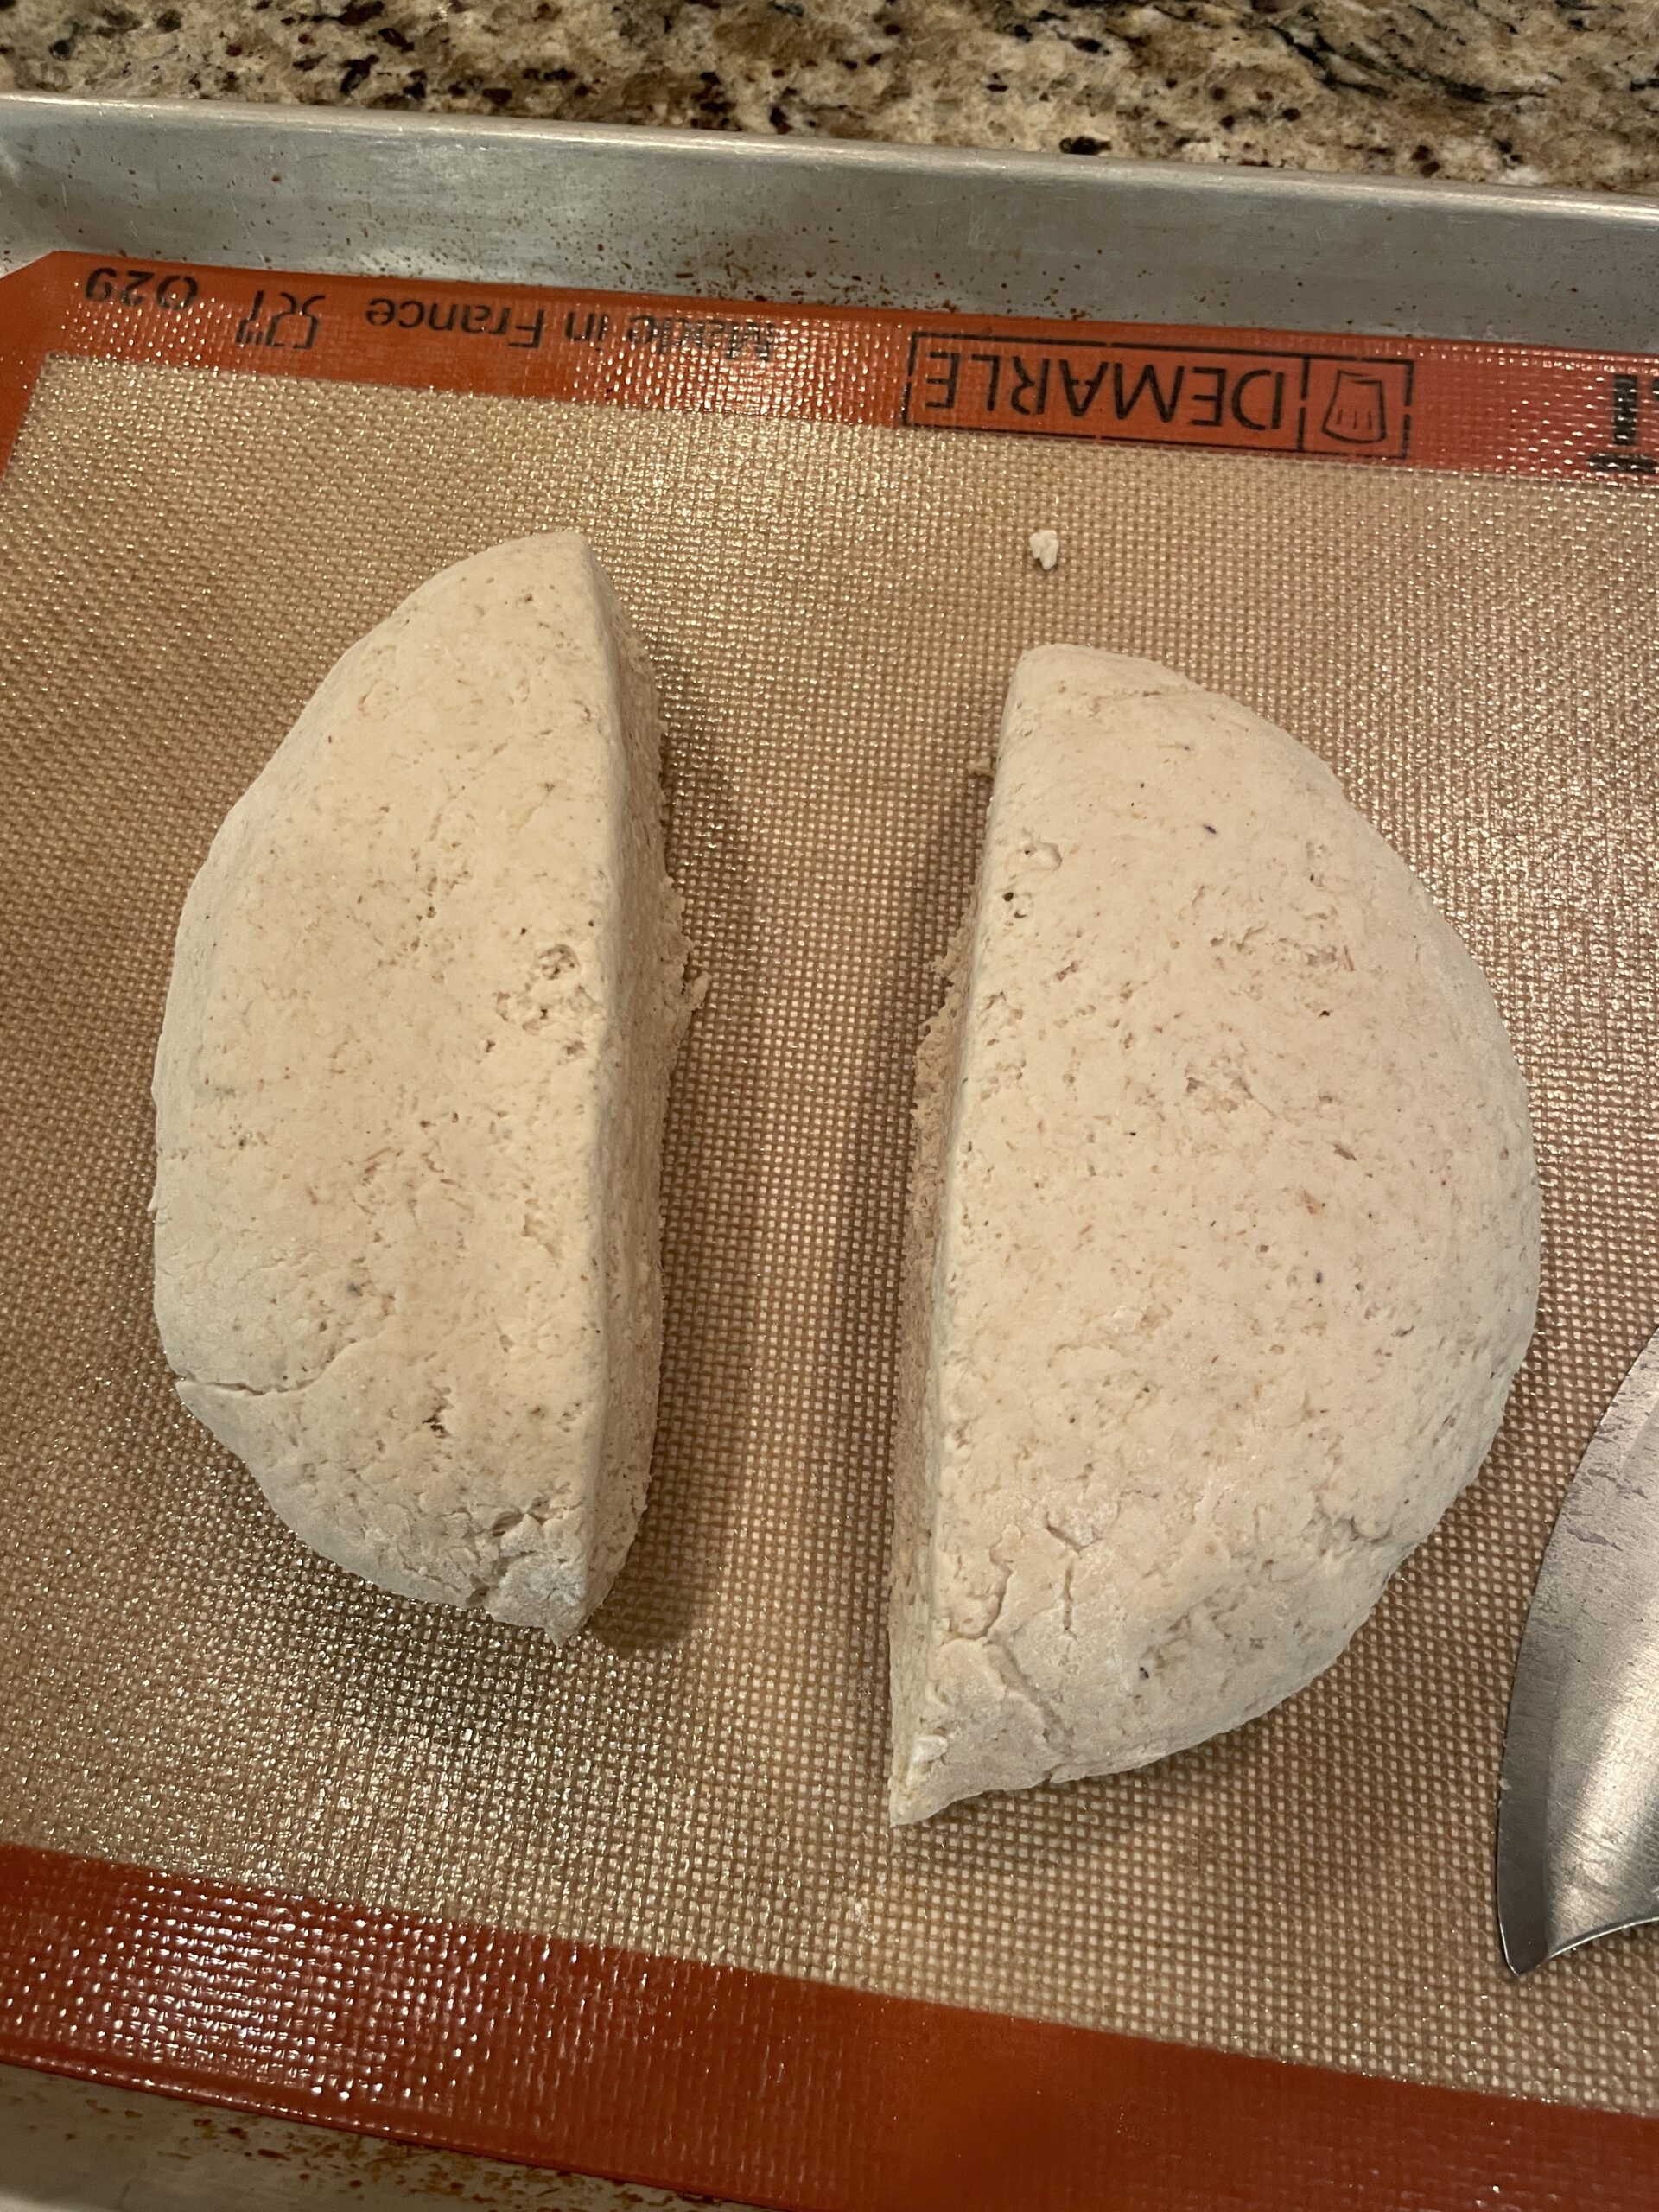
- When your dough is ready, turn the dough out onto your sheet pan and form a circle. Cut the dough into fourths. You can use all sections or you can wrap some up and put them in the freezer for later.
- You can either use a rolling pin to roll out your dough or you can form it by pulling and stretching to the desired size and shape.
- Once all the dough sections are shaped, let them sit for about 5 minutes on your sheet pan. This will allow the yeast time to form air bubbles that give the pizza character. If you’re pressed for time you can skip this step.
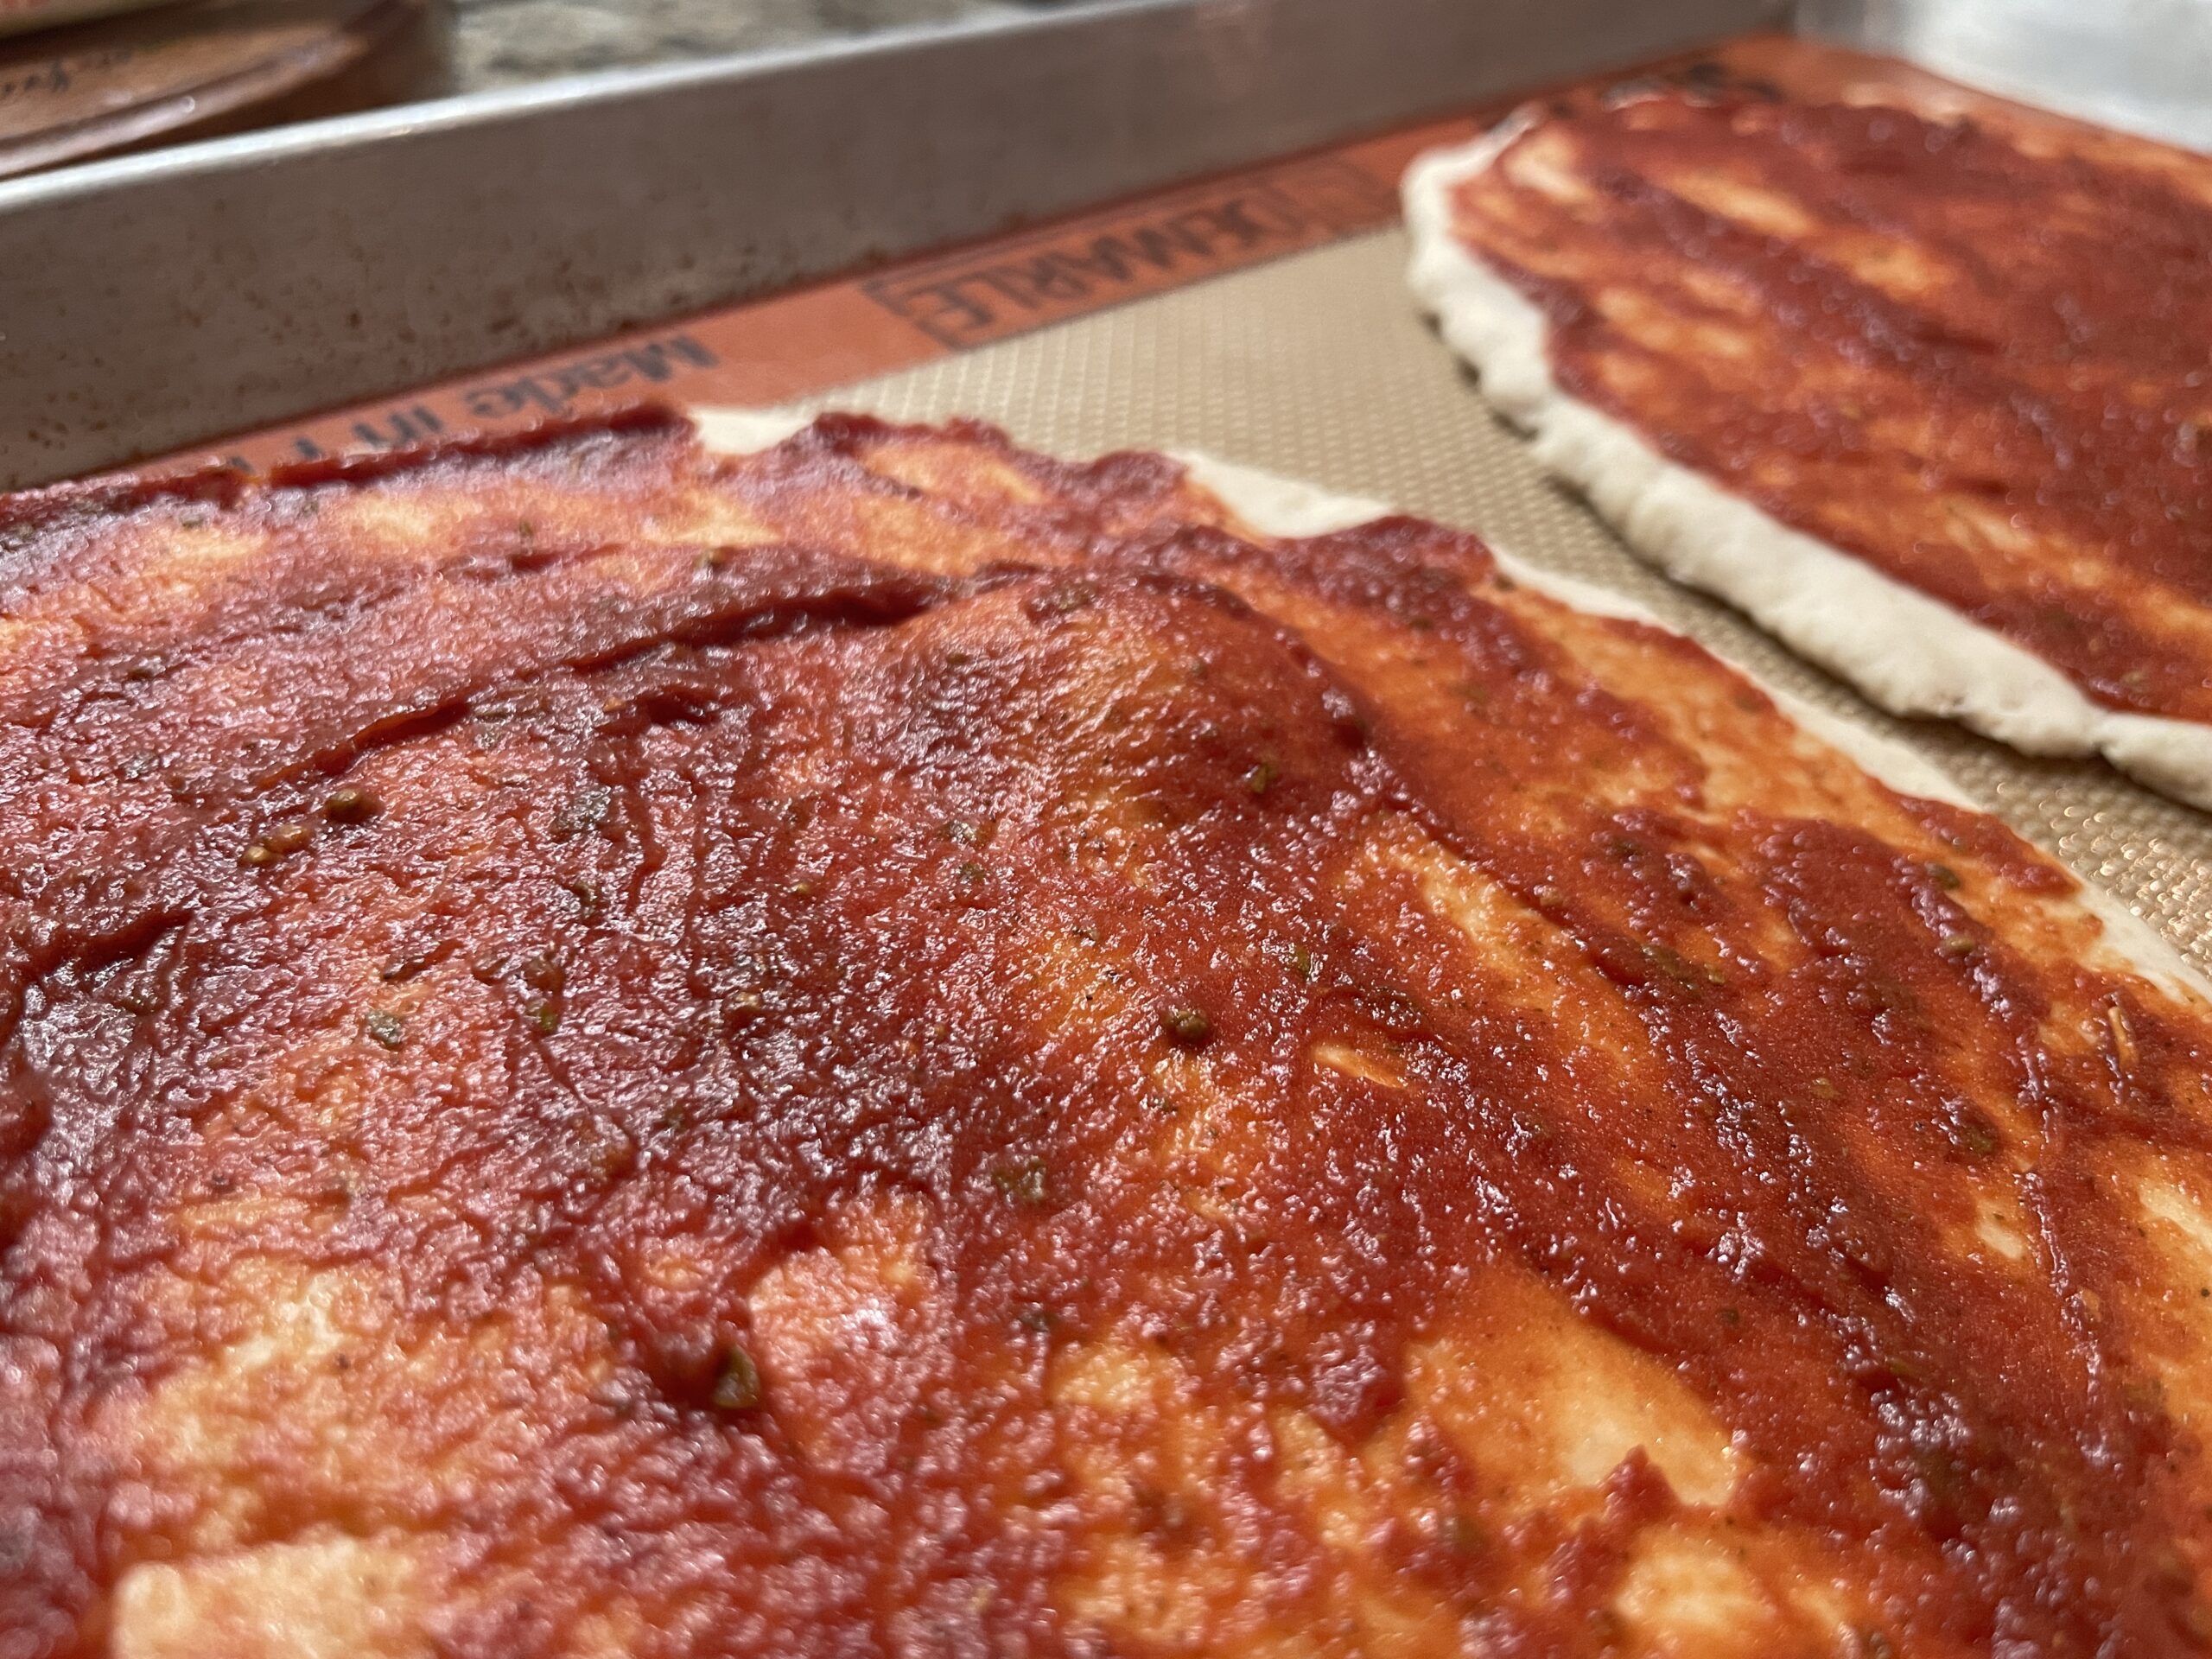
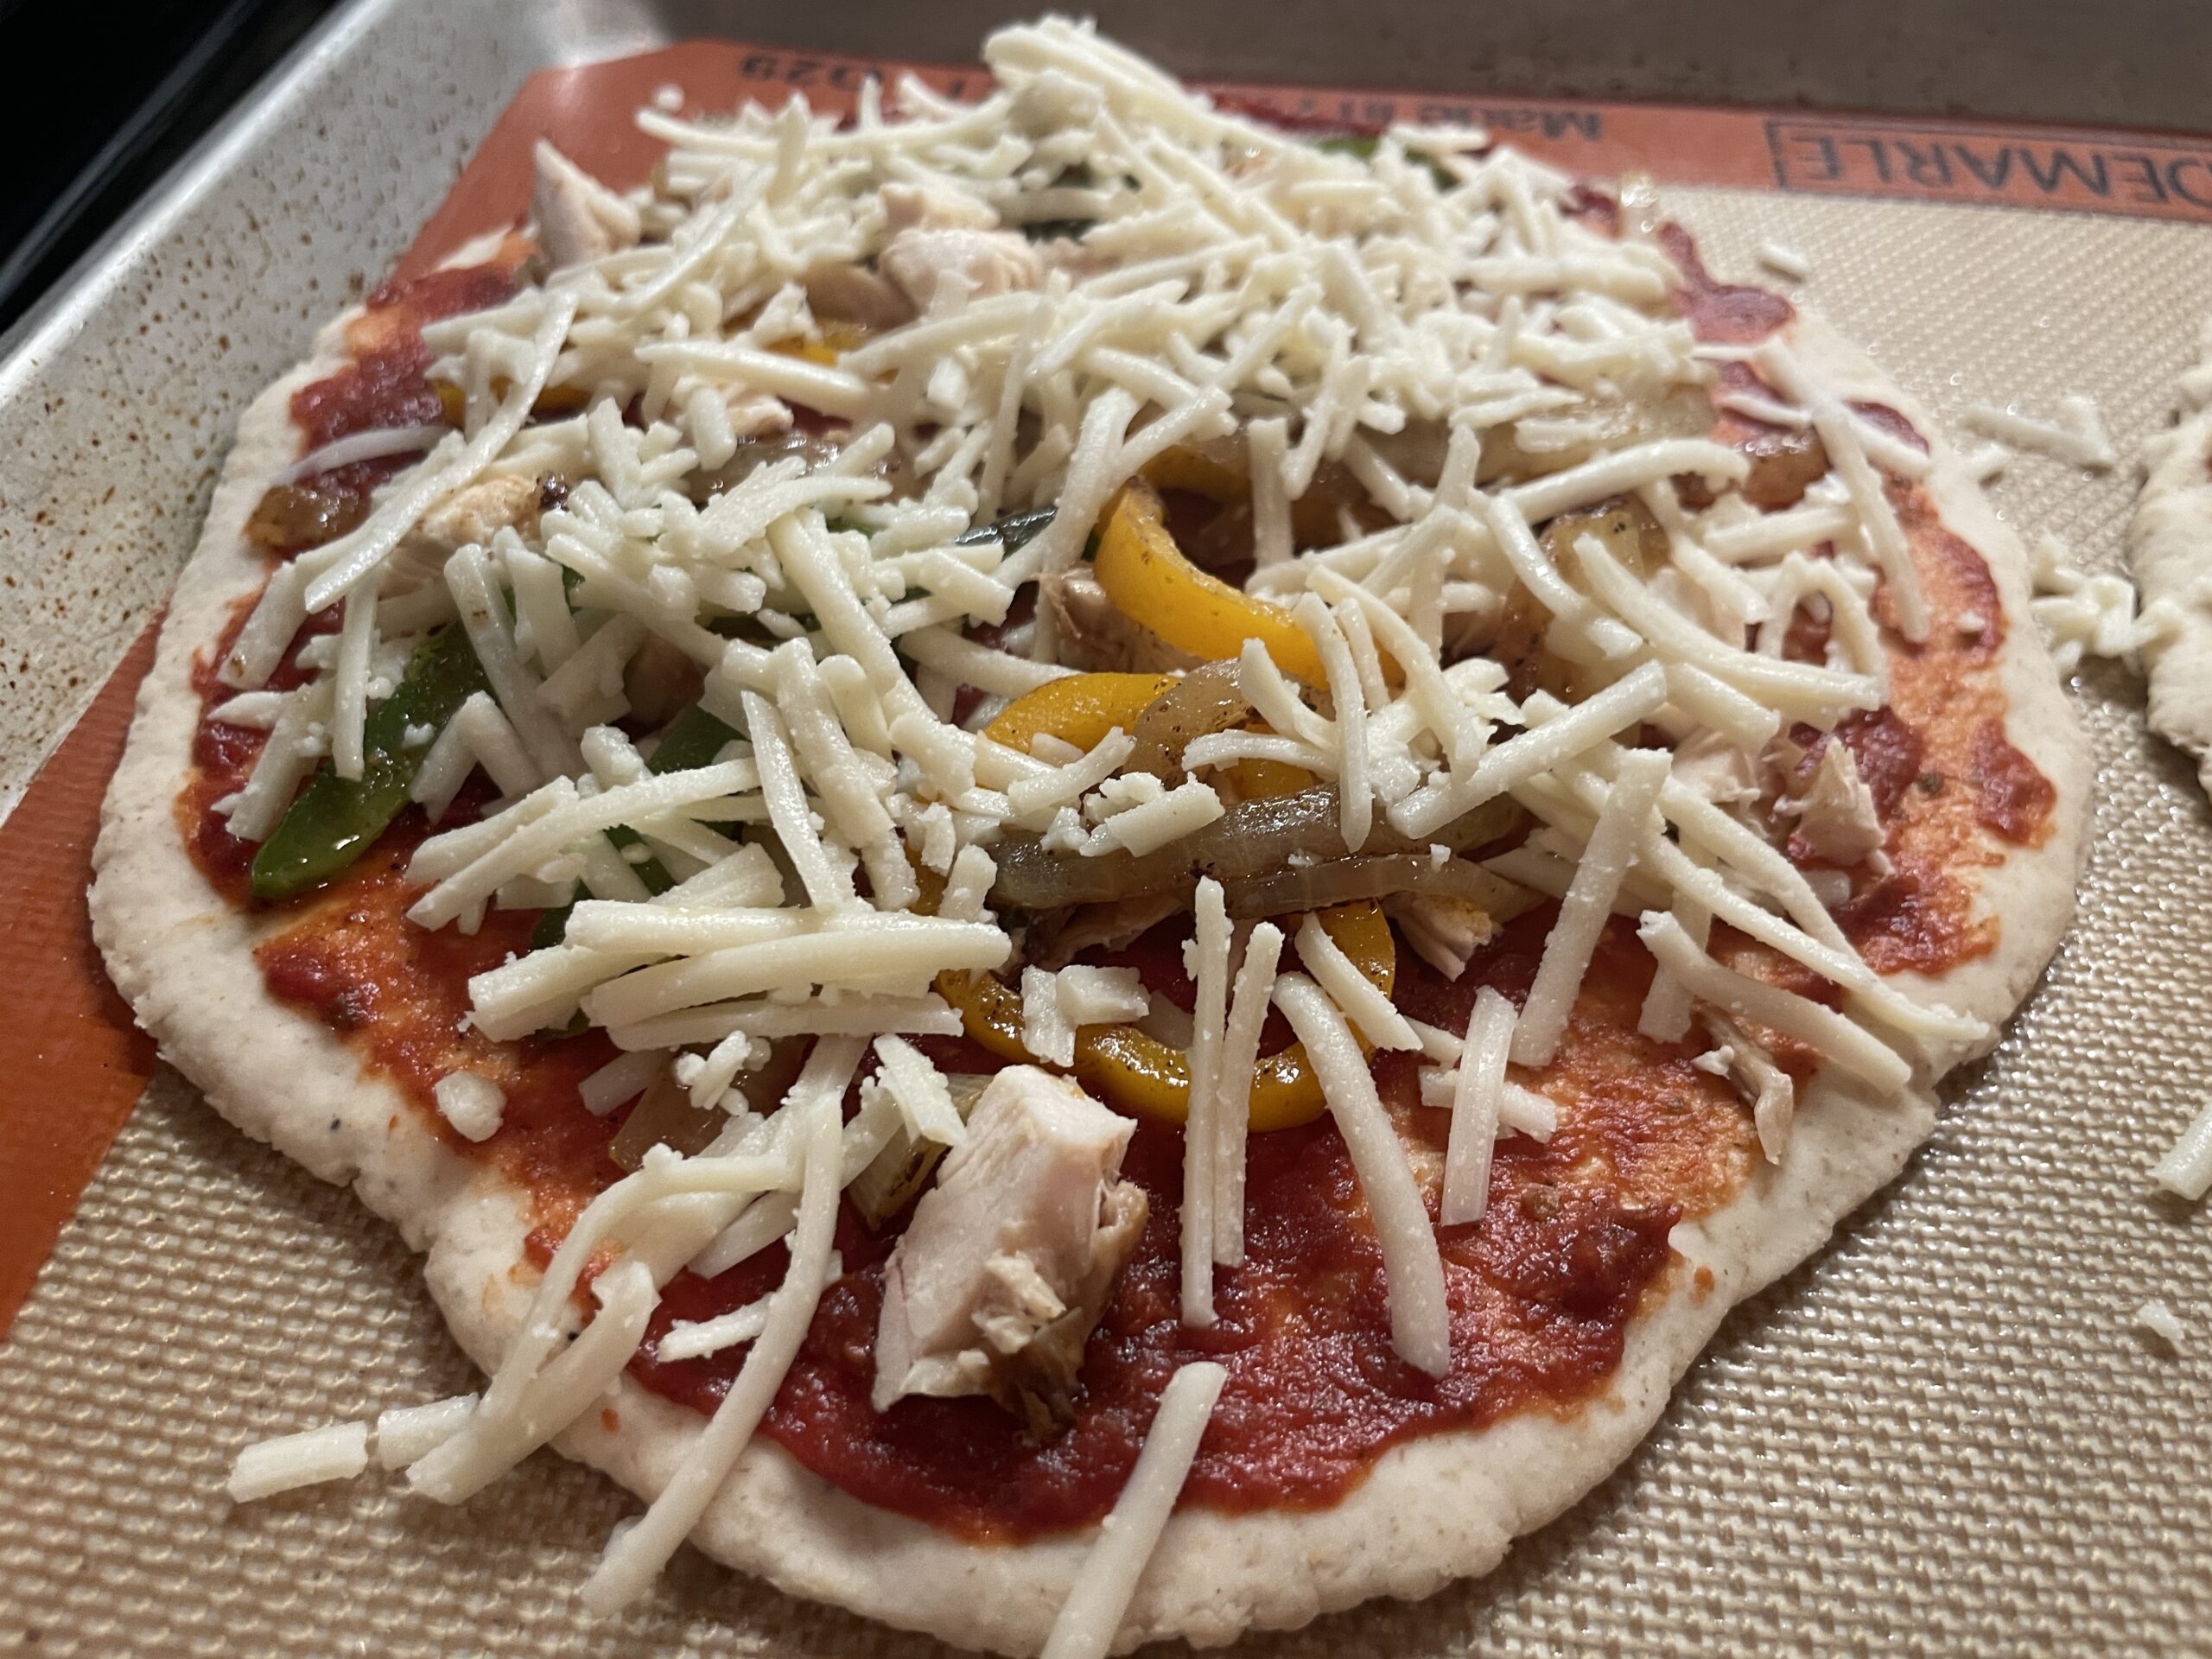
- Go ahead and spread your sauce out on the pizza dough, add your toppings and then finish it off with the cheese.
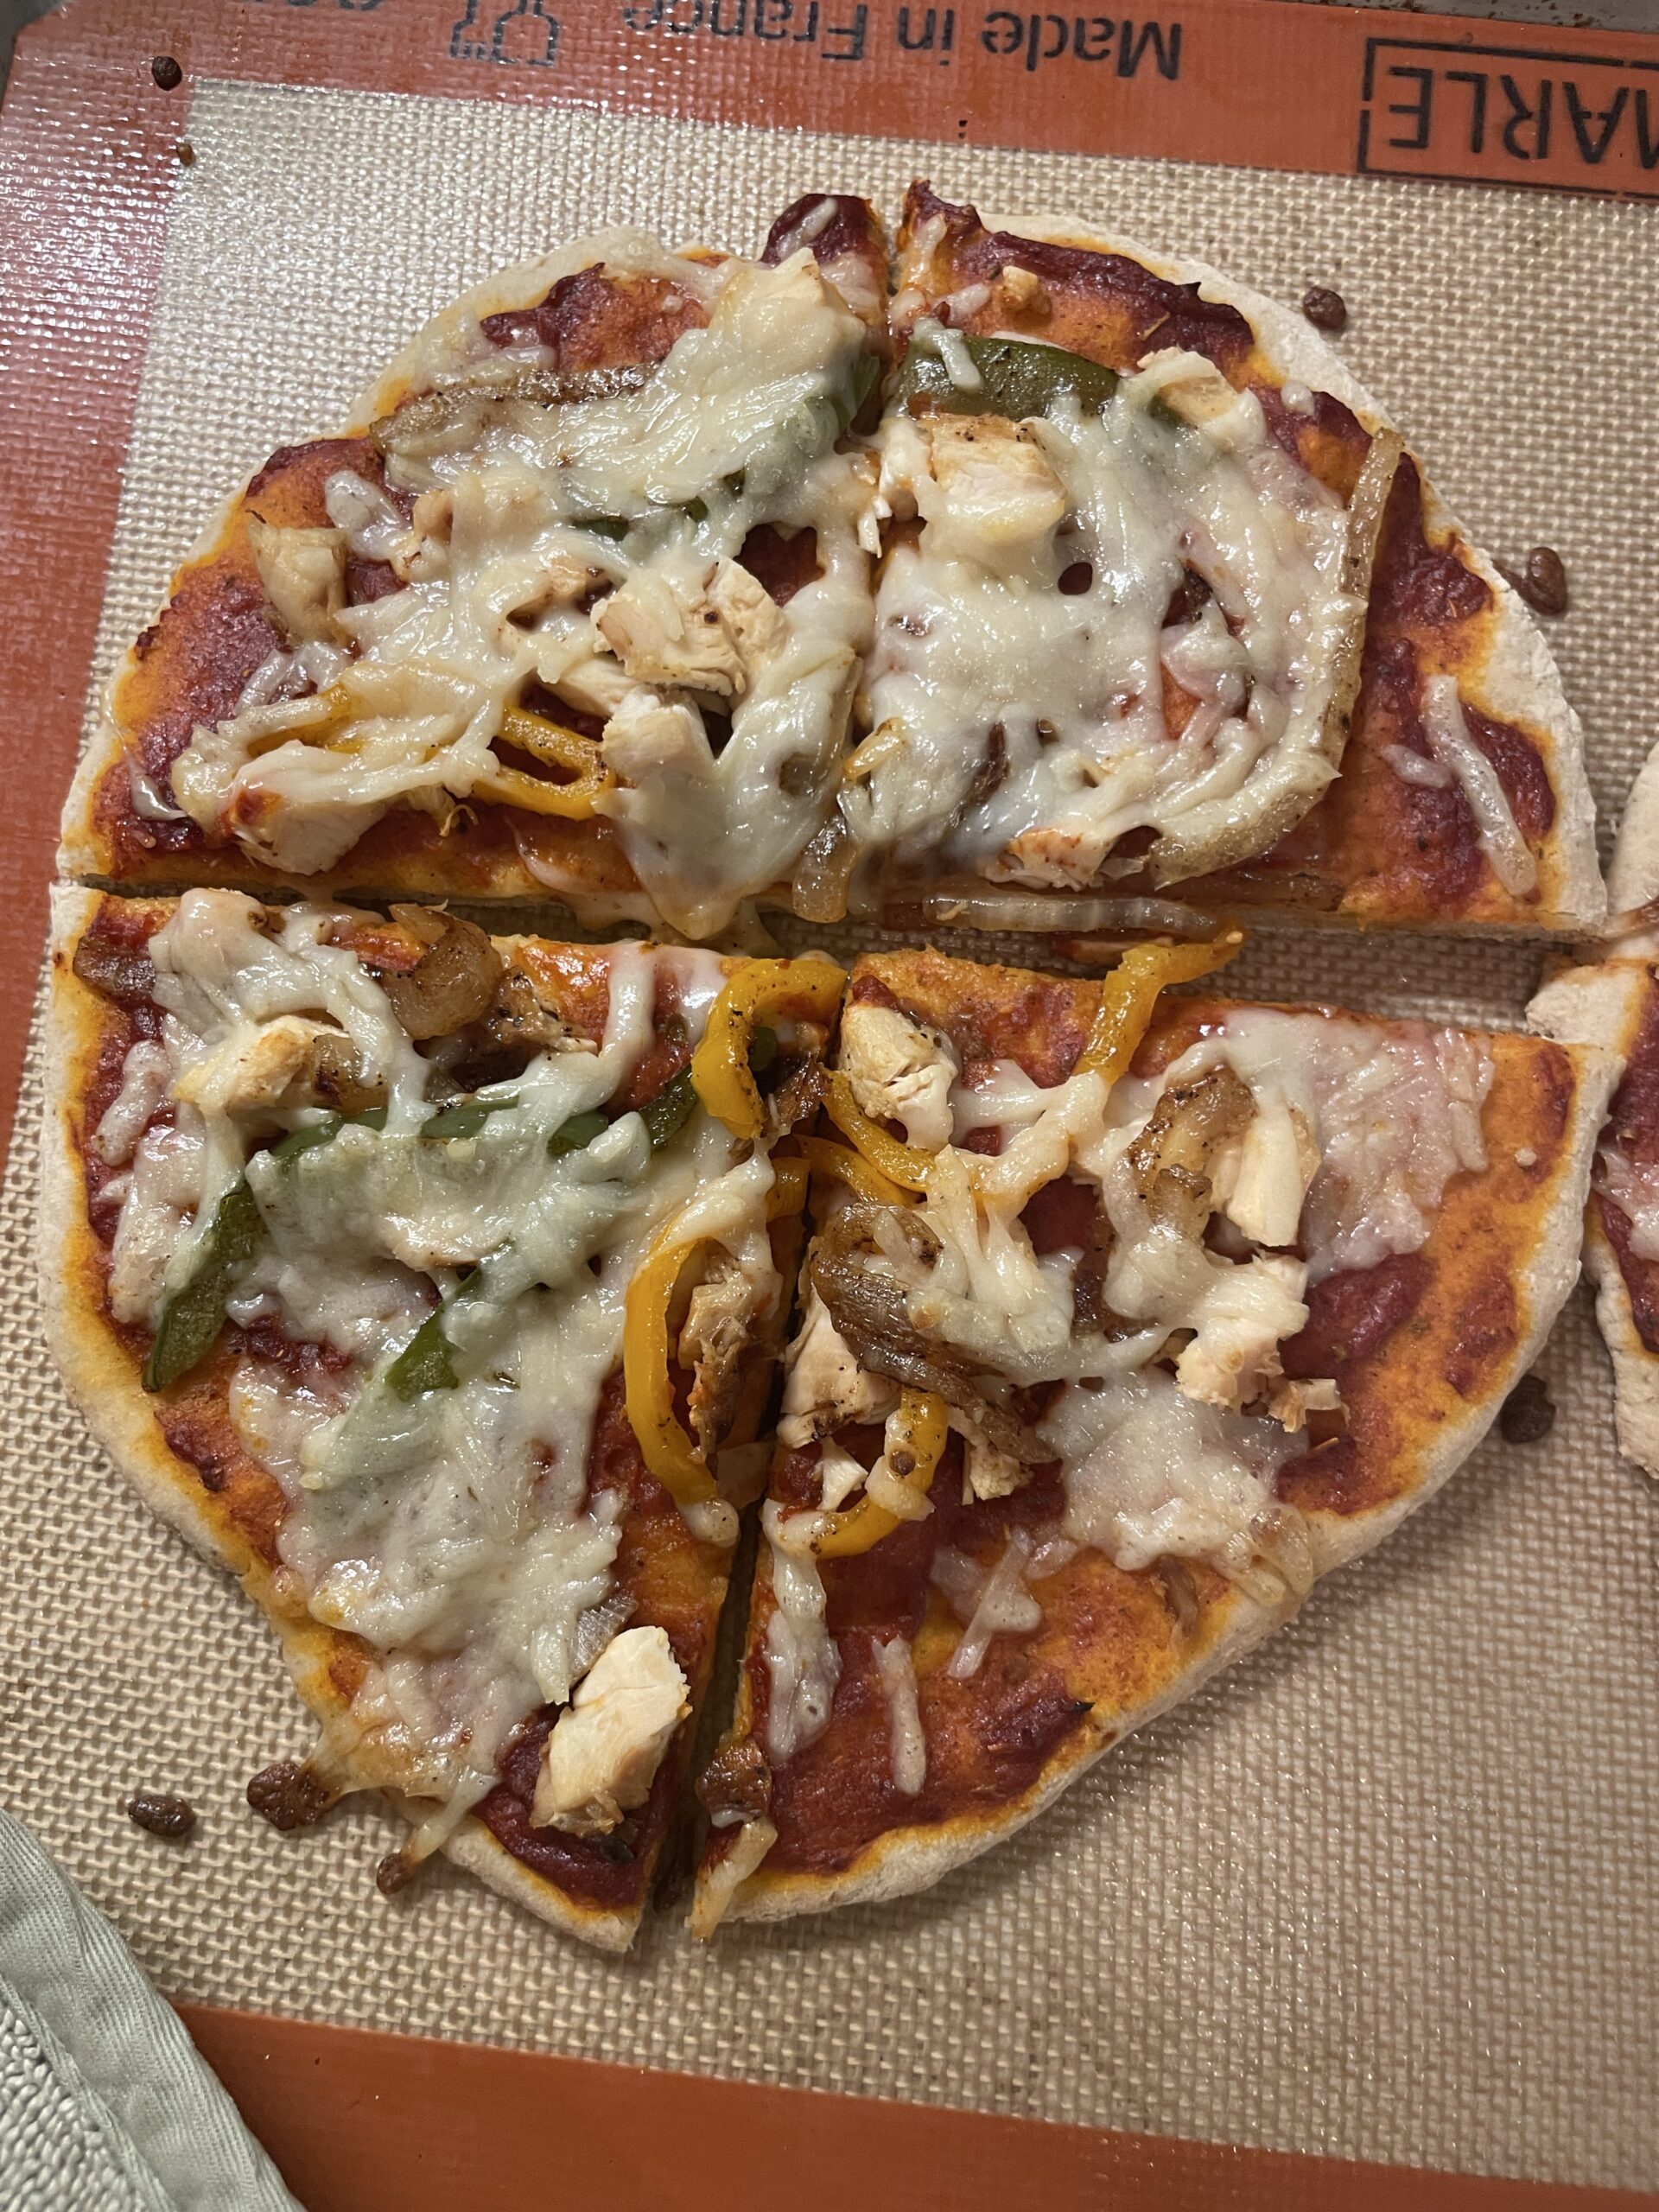
- Place the pan with prepared pizzas in the oven and cook for 20 minutes or until the cheese is melted and bubbling.
- Cut with a pizza cutter and serve.